Fresh Heirloom Tomato Bruschetta

IMG_3815Somewhere in my DNA, there is an Italian heritage hanging out. Though I haven’t yet been to the country I seem to have an affinity for anything Italian. The culture, language, food, and history are all part of Italys draw on me.  Italy is a country that has always had a pull on my heartstrings. Chianti is my favorite wine AND Italy was my favorite part of Eat, Pray, Love. Honestly, I usually start the book with the intention to simply stop after Italy but I always get wrapped up in the purpose of the book and wind up reading India and Indonesia and mirroring her own journey in my life as I read it.

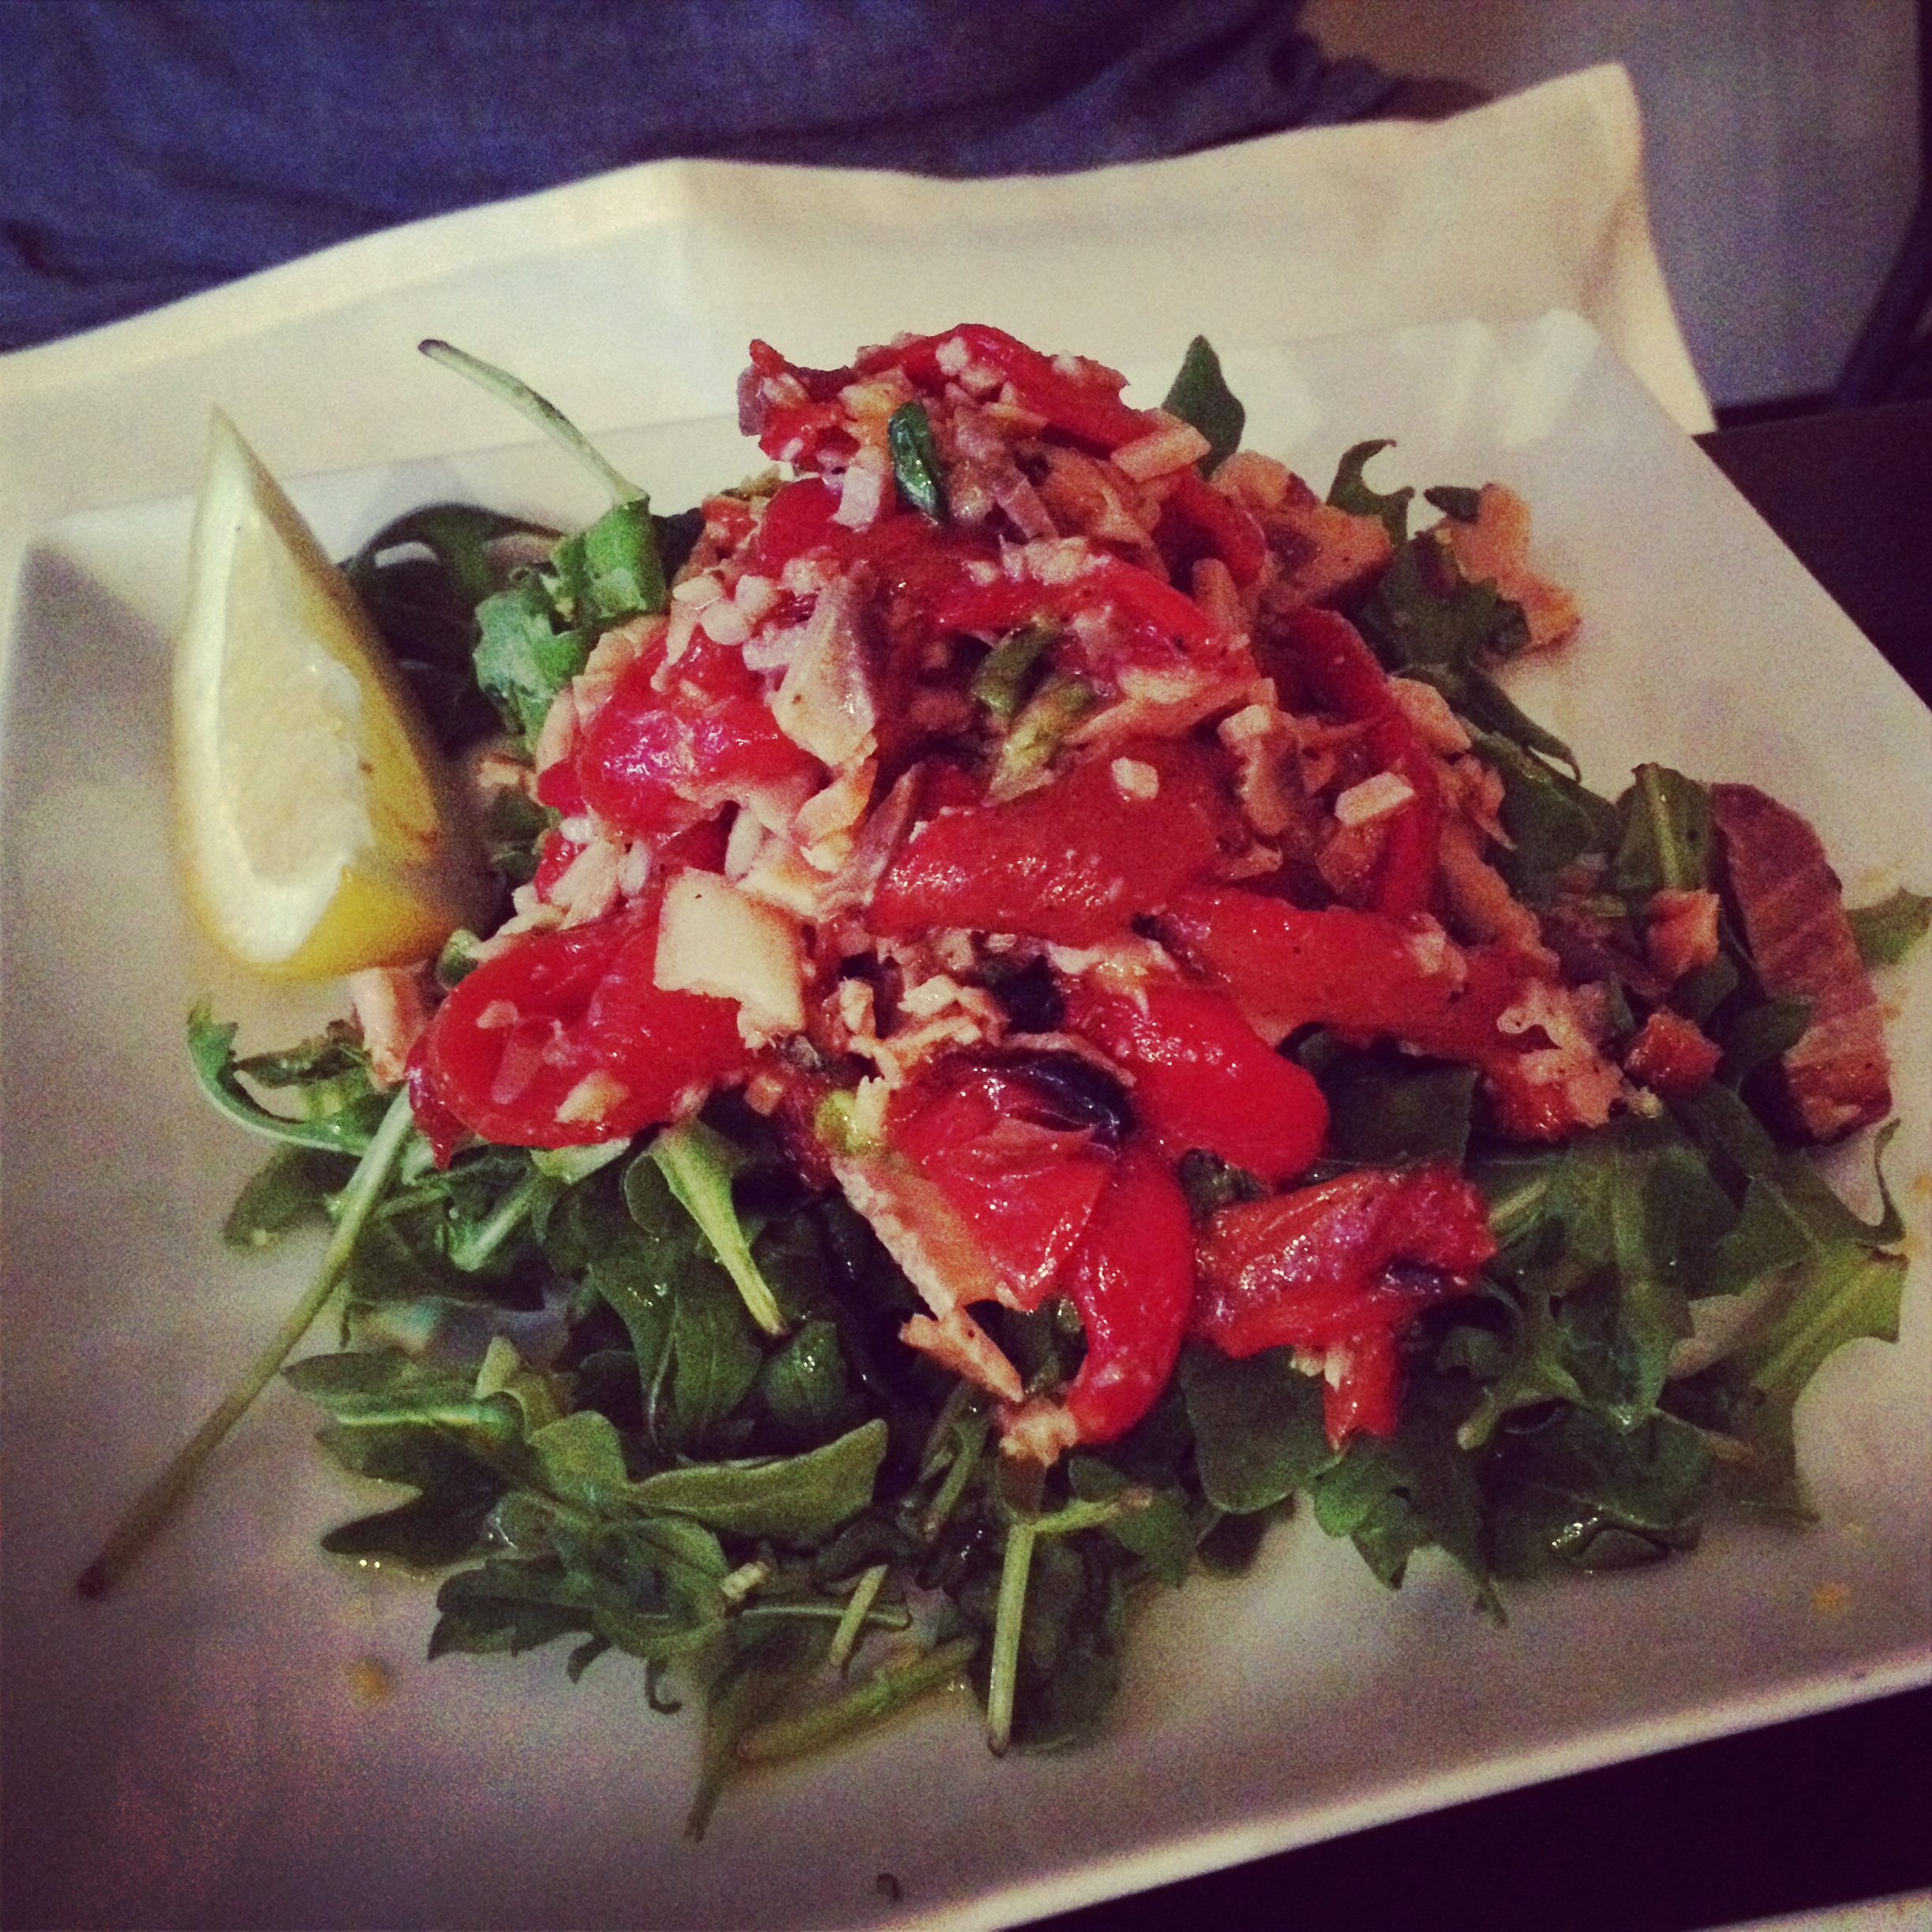
While pasta and pizza are the two dishes that will likely come to mind when you think of Italian cooking, there are SO many other amazing and unique recipes and preparation styles that grace us from that fantastic country. I don’t remember the first time that I had bruschetta, but I do remember the first time that I had my other half’s bruschetta. It was after one of our first road trips together, the sun was shining, we were in the honeymoon of early enamoration and the world was our oyster. Yep, I just made up a word variation for enamored! He “whipped” up his now famous bruschetta while I arranged some tapas on a plate then we grabbed a bottle of wine, our sunglasses, and headed up to the roof to eat alfresco. This is one of my favorite meals I’ve actually ever had because it combined so many of my all time favorite things: those I love, wine, tapas style eating, sunshine, eating outside and fresh foods.

IMG_3818This bruschetta has been requested MANY times and while he’s never used a recipe, it always has that taste of spending a summer day eating outside on the roof with someone you love. You’ll notice there are not measurements. In the true Italian form, this is a dish that is best mastered over multiple and personalized to the chef and guests tastes so you can experiment with the ratios on each of the ingredients and put your own spin on the taste and texture.

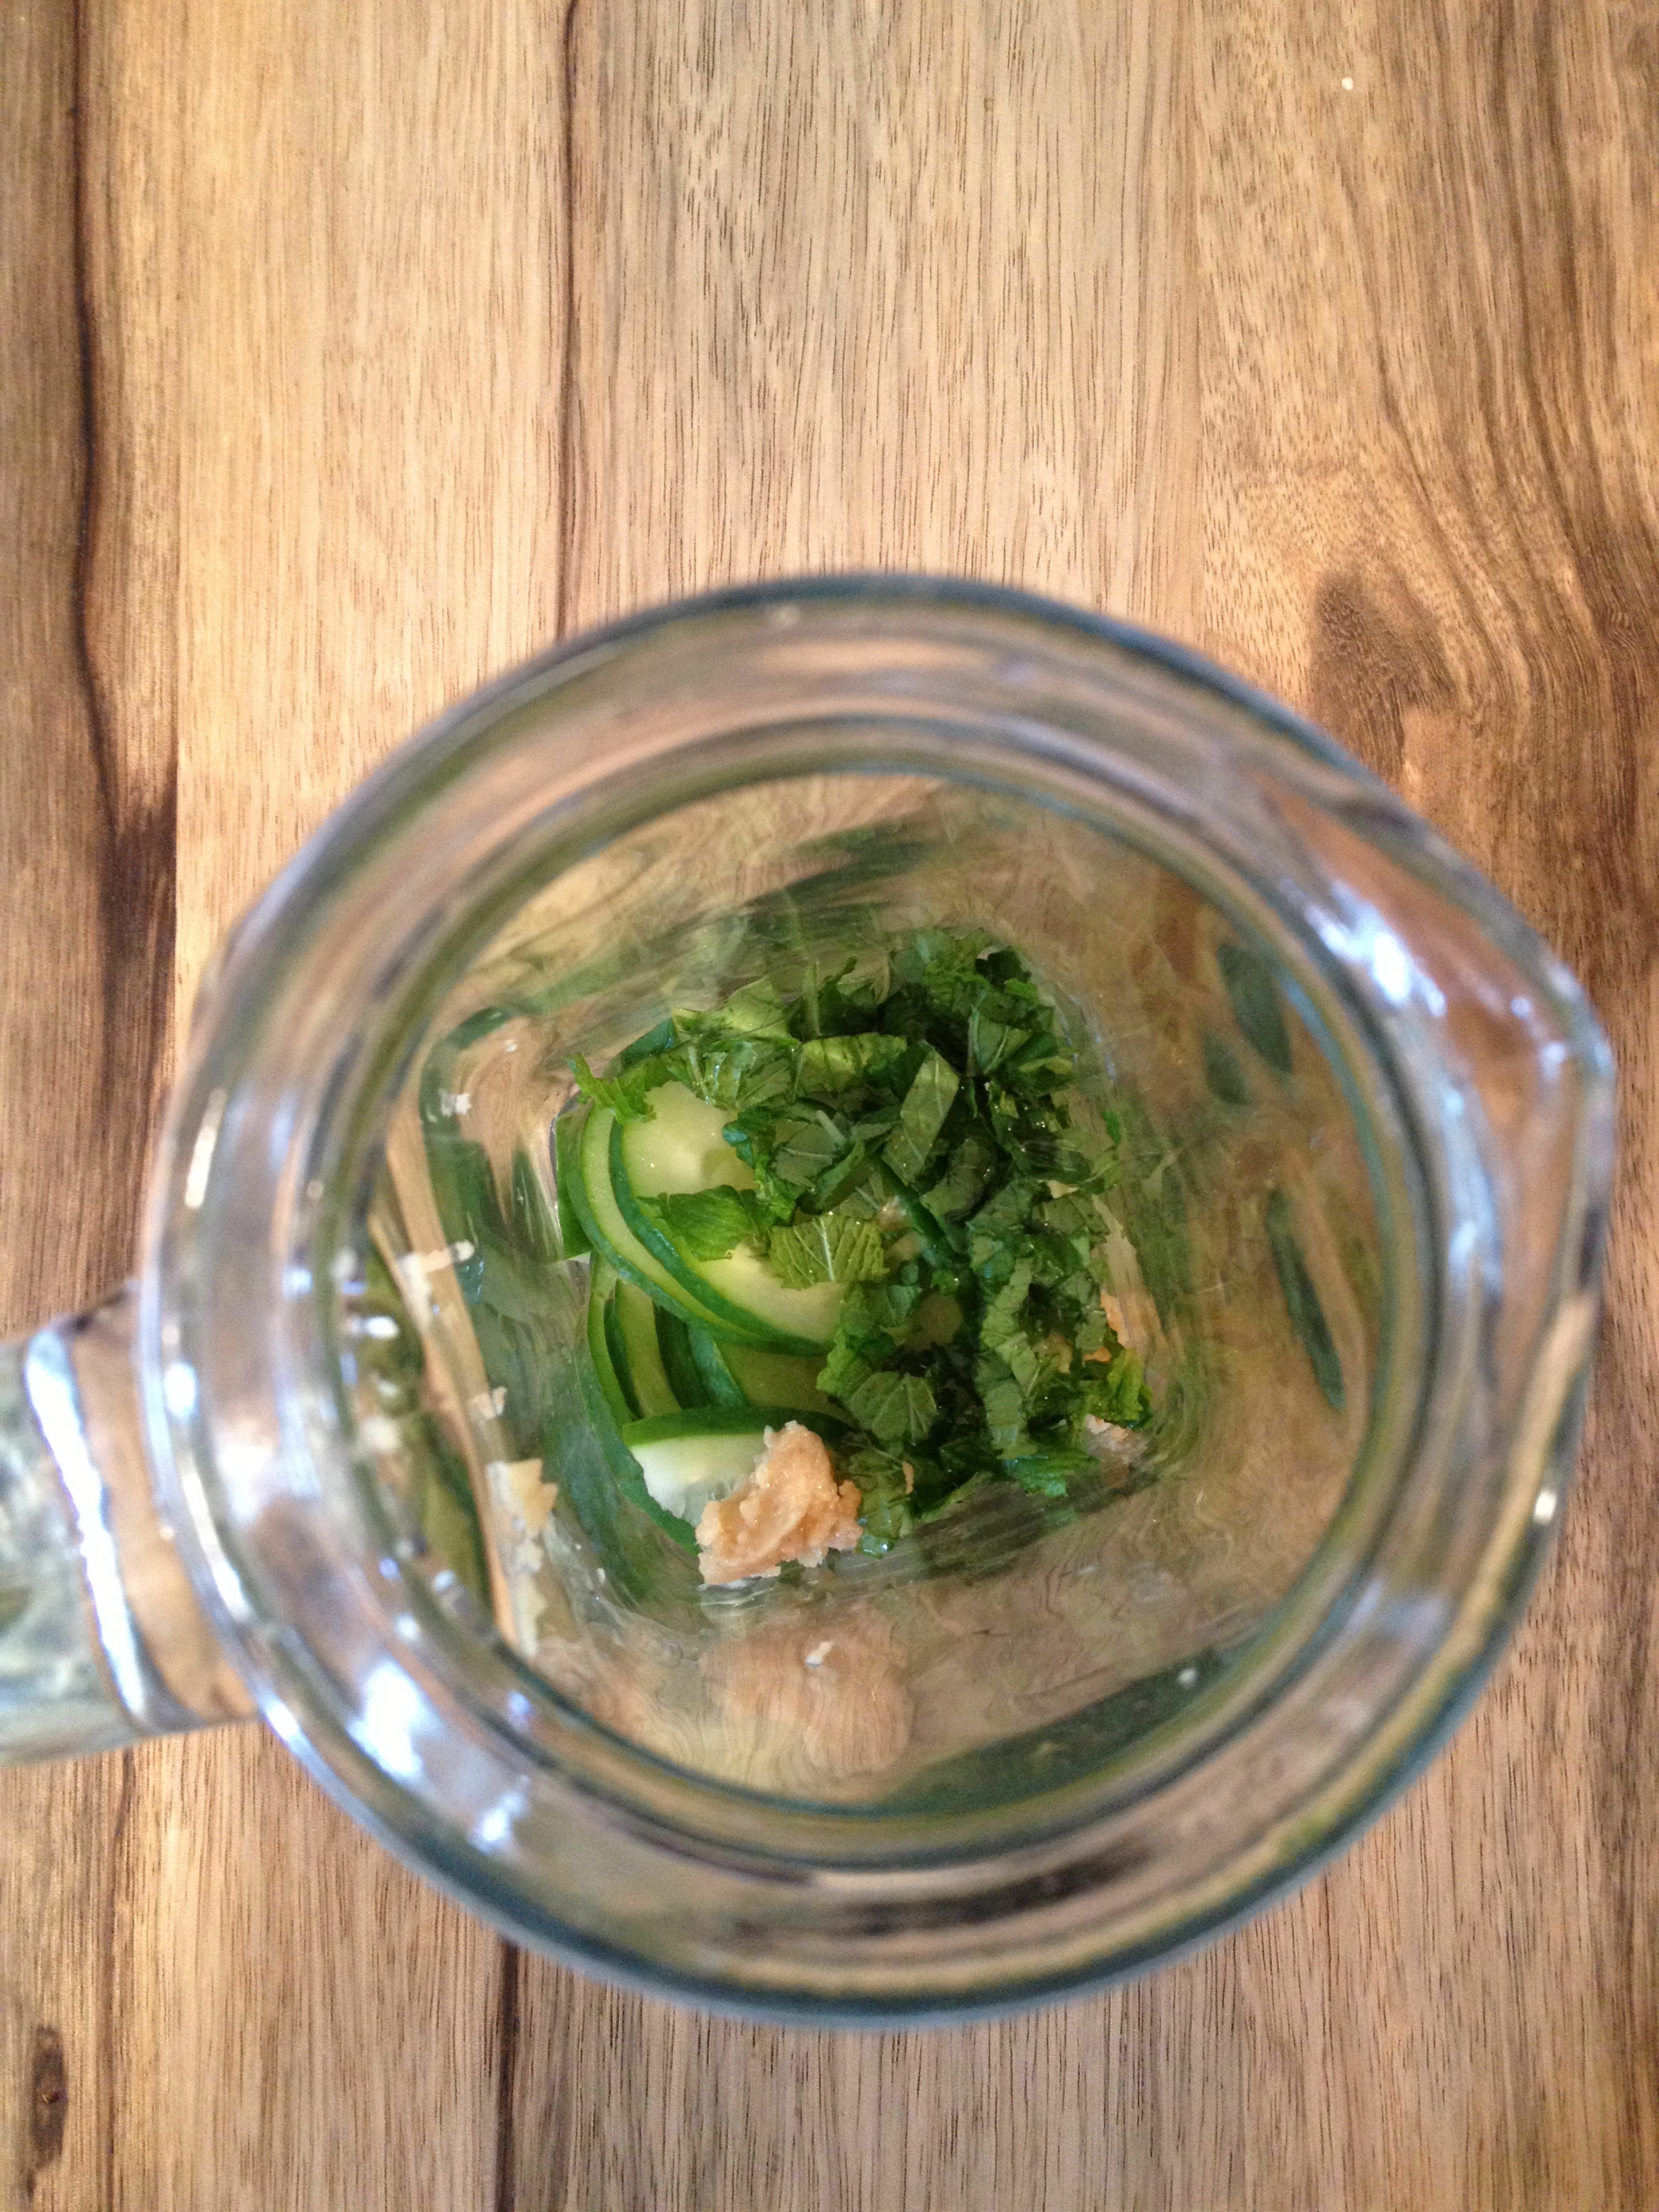
One thing I will note about this dish, is how little oil you need. Olive Oil is both delicious and good for you when used in moderation, but this spread needs very little olive oil which increases the flavor and allows you to focus on the texture of the herbs and tomatoes versus any exceeding amount of oil. The shallots, onion and garlic have their own natural oils and juices, and finding a balance between those natural oils and a minimal amount of EVOO to sauté in will be the key!

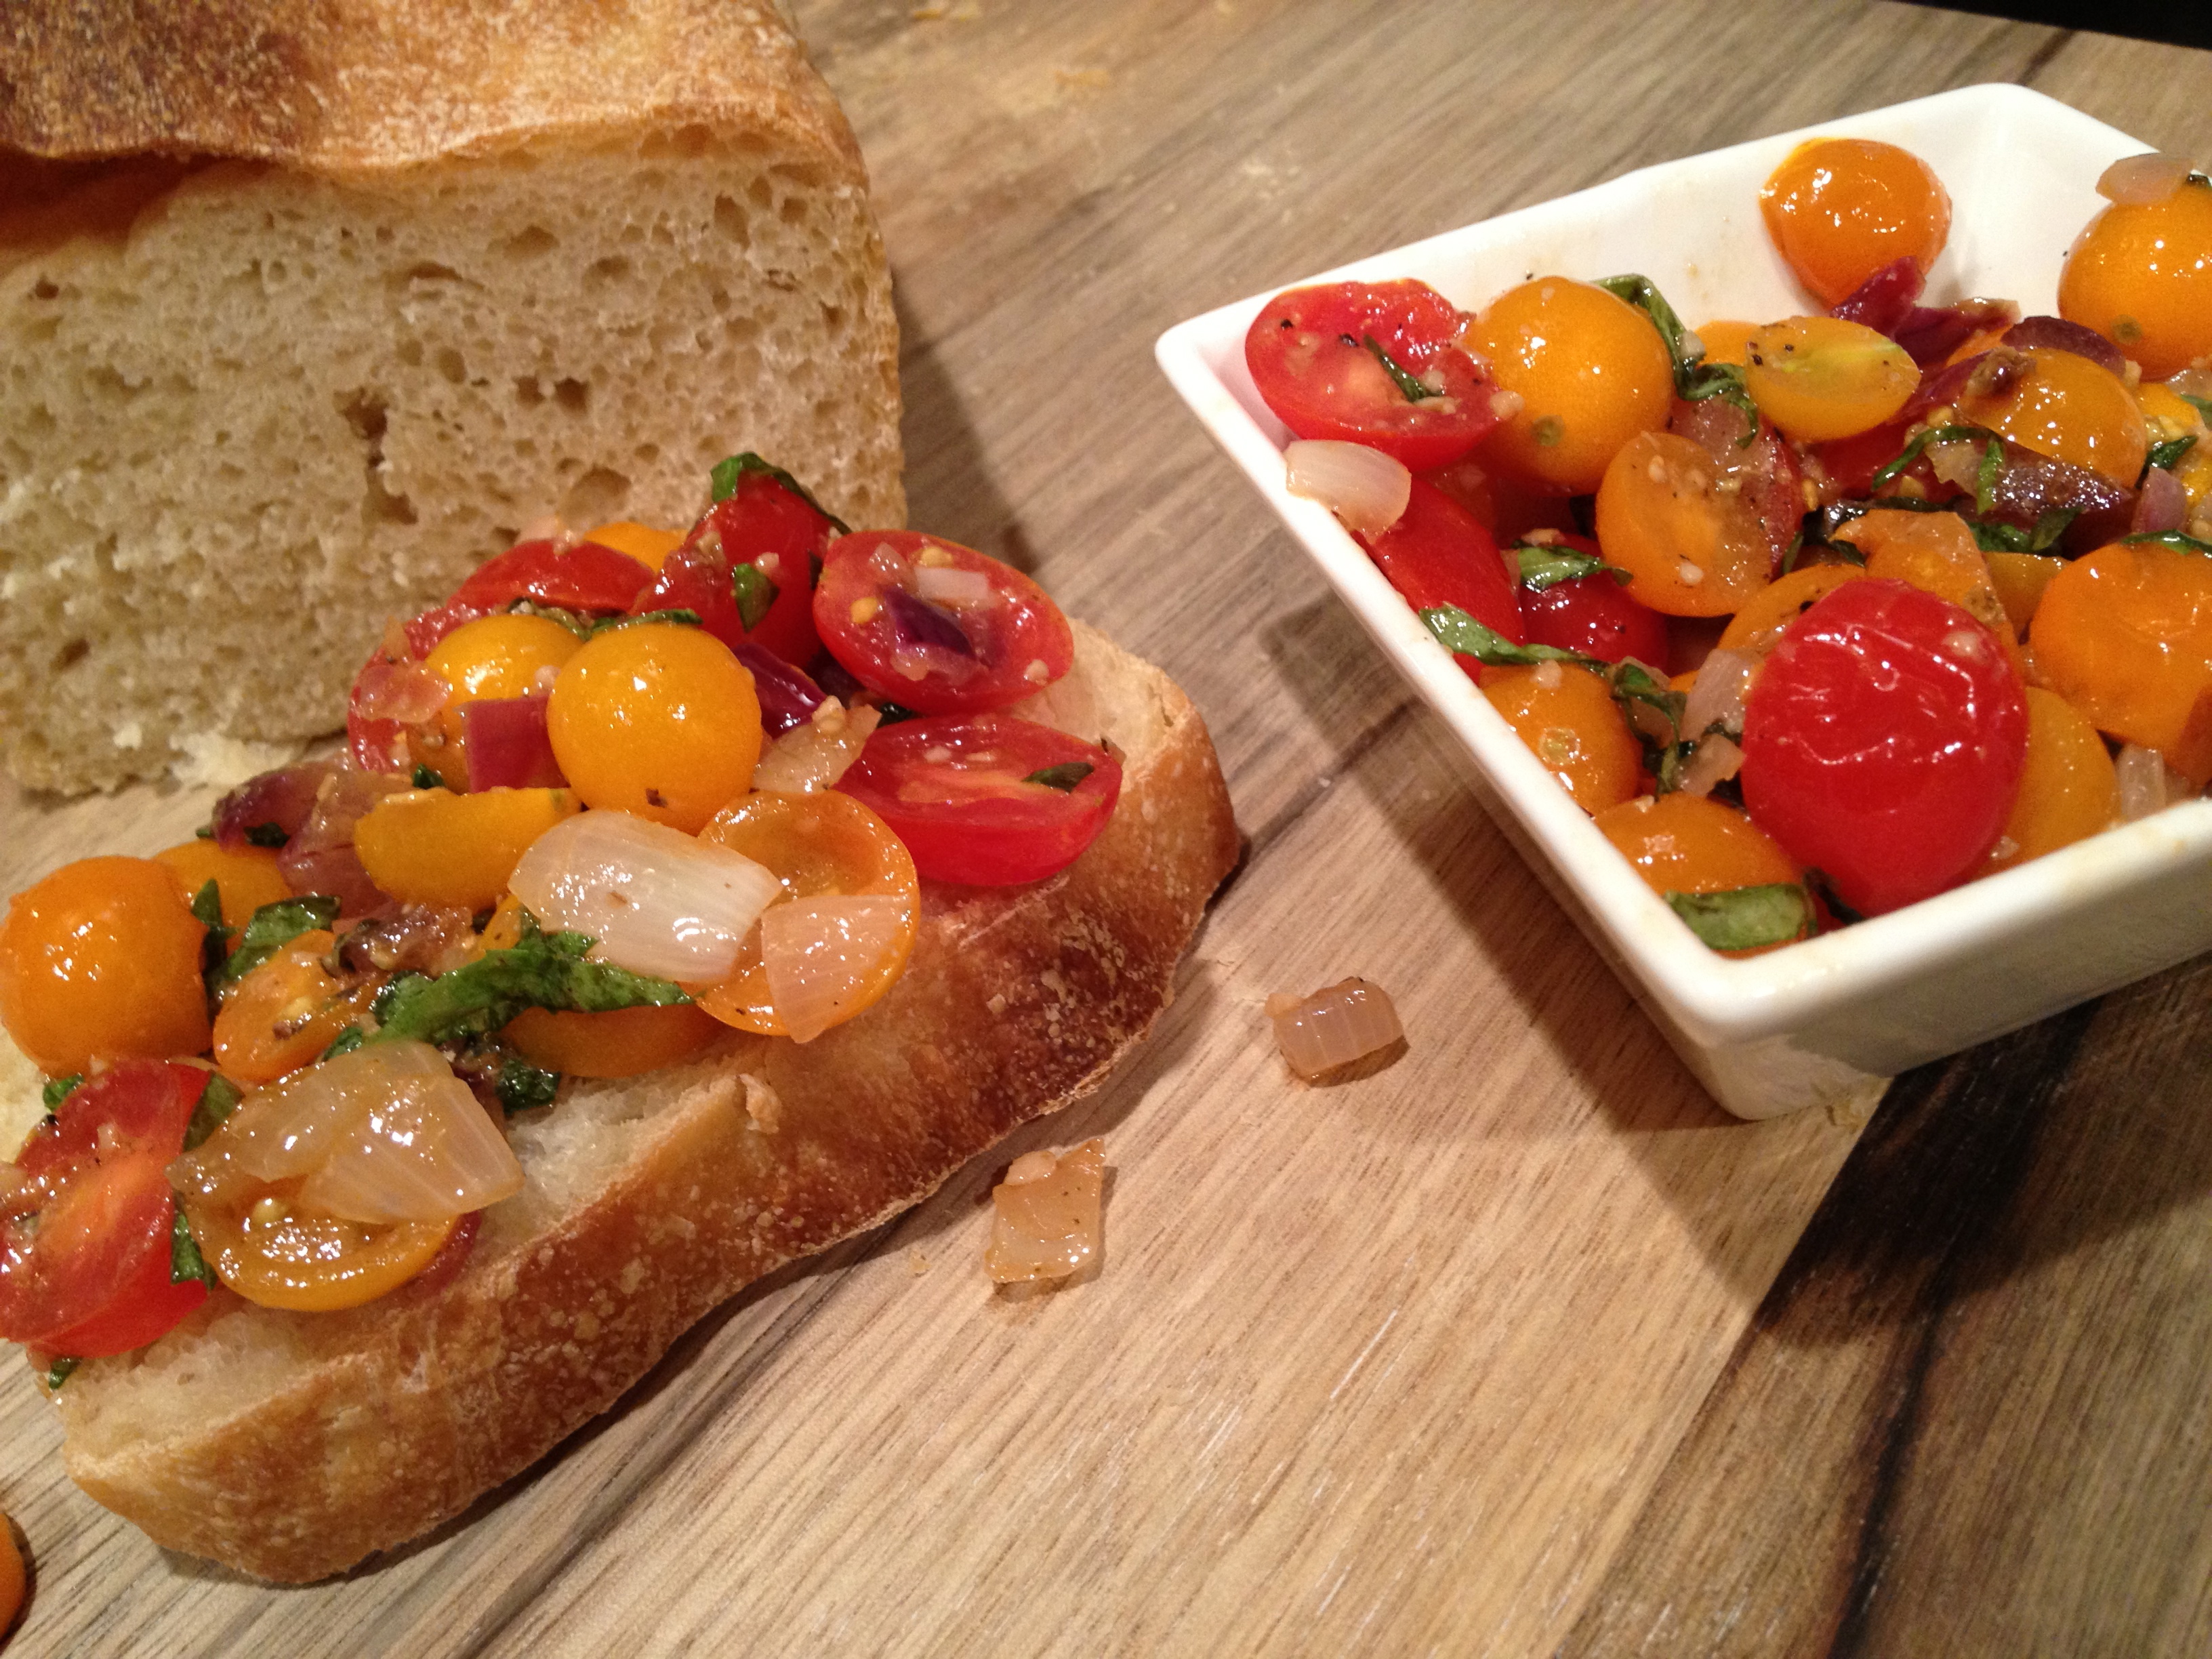
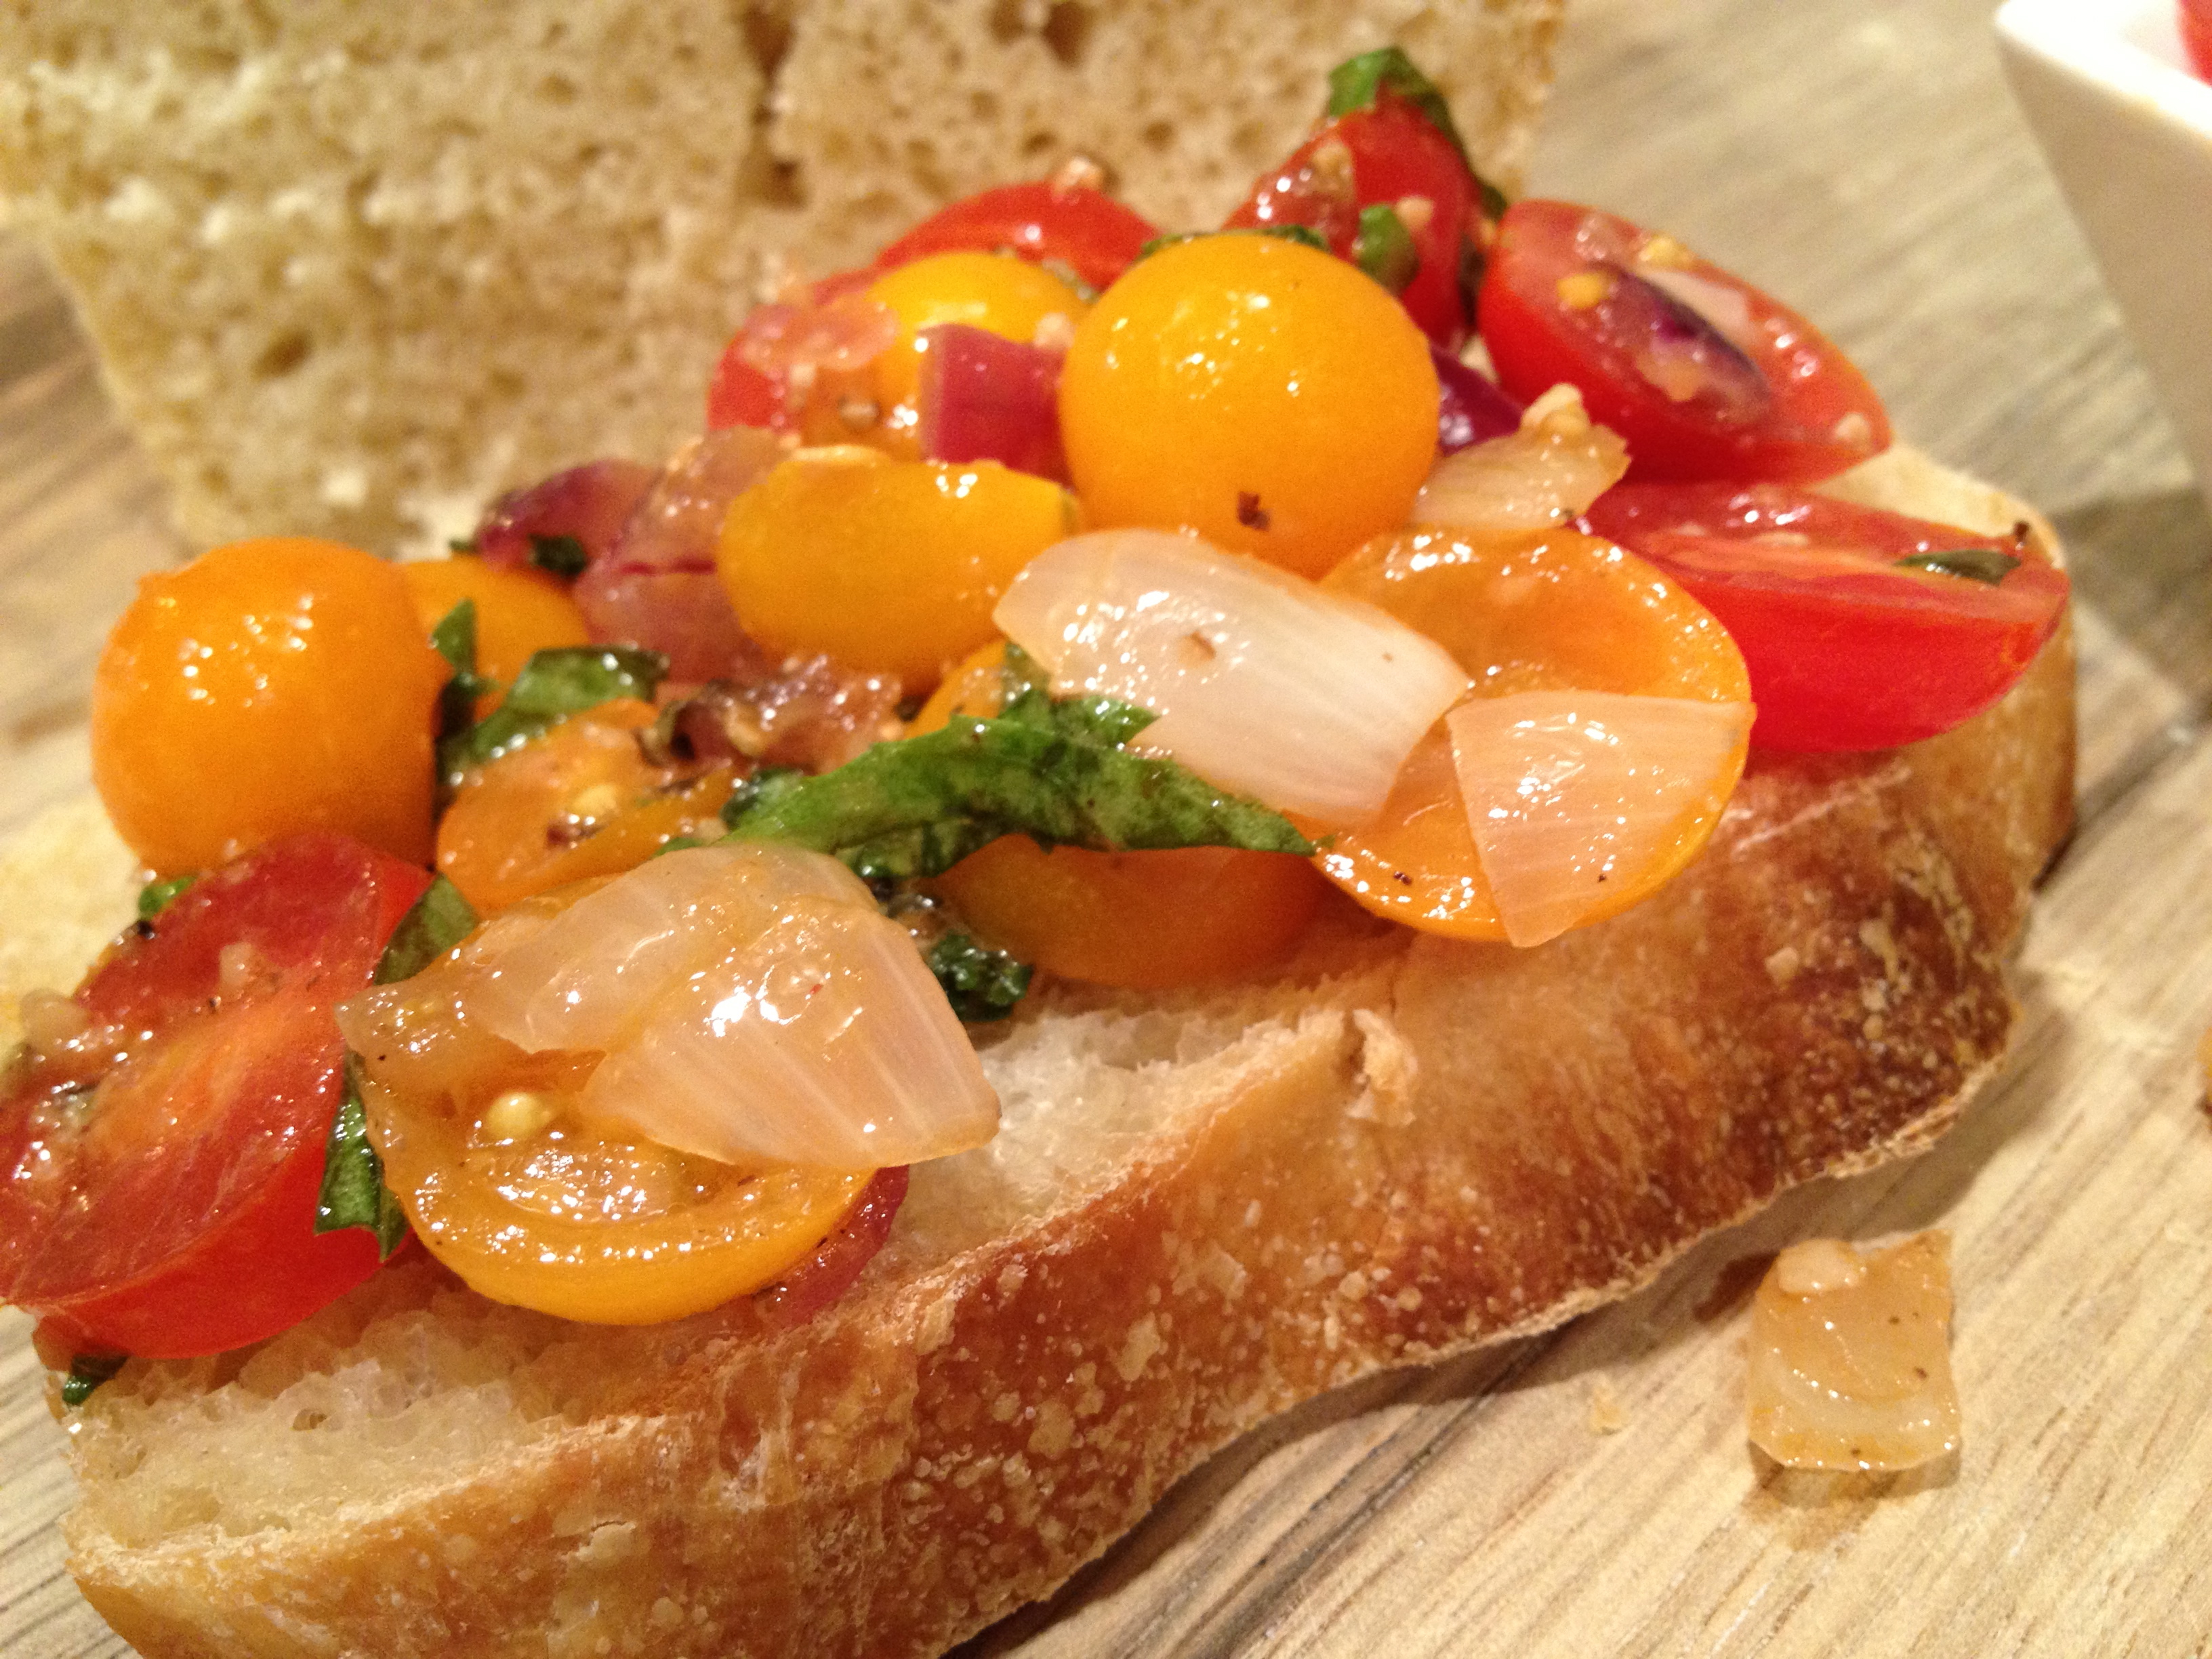
Fresh Garden Bruschetta

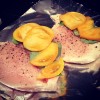
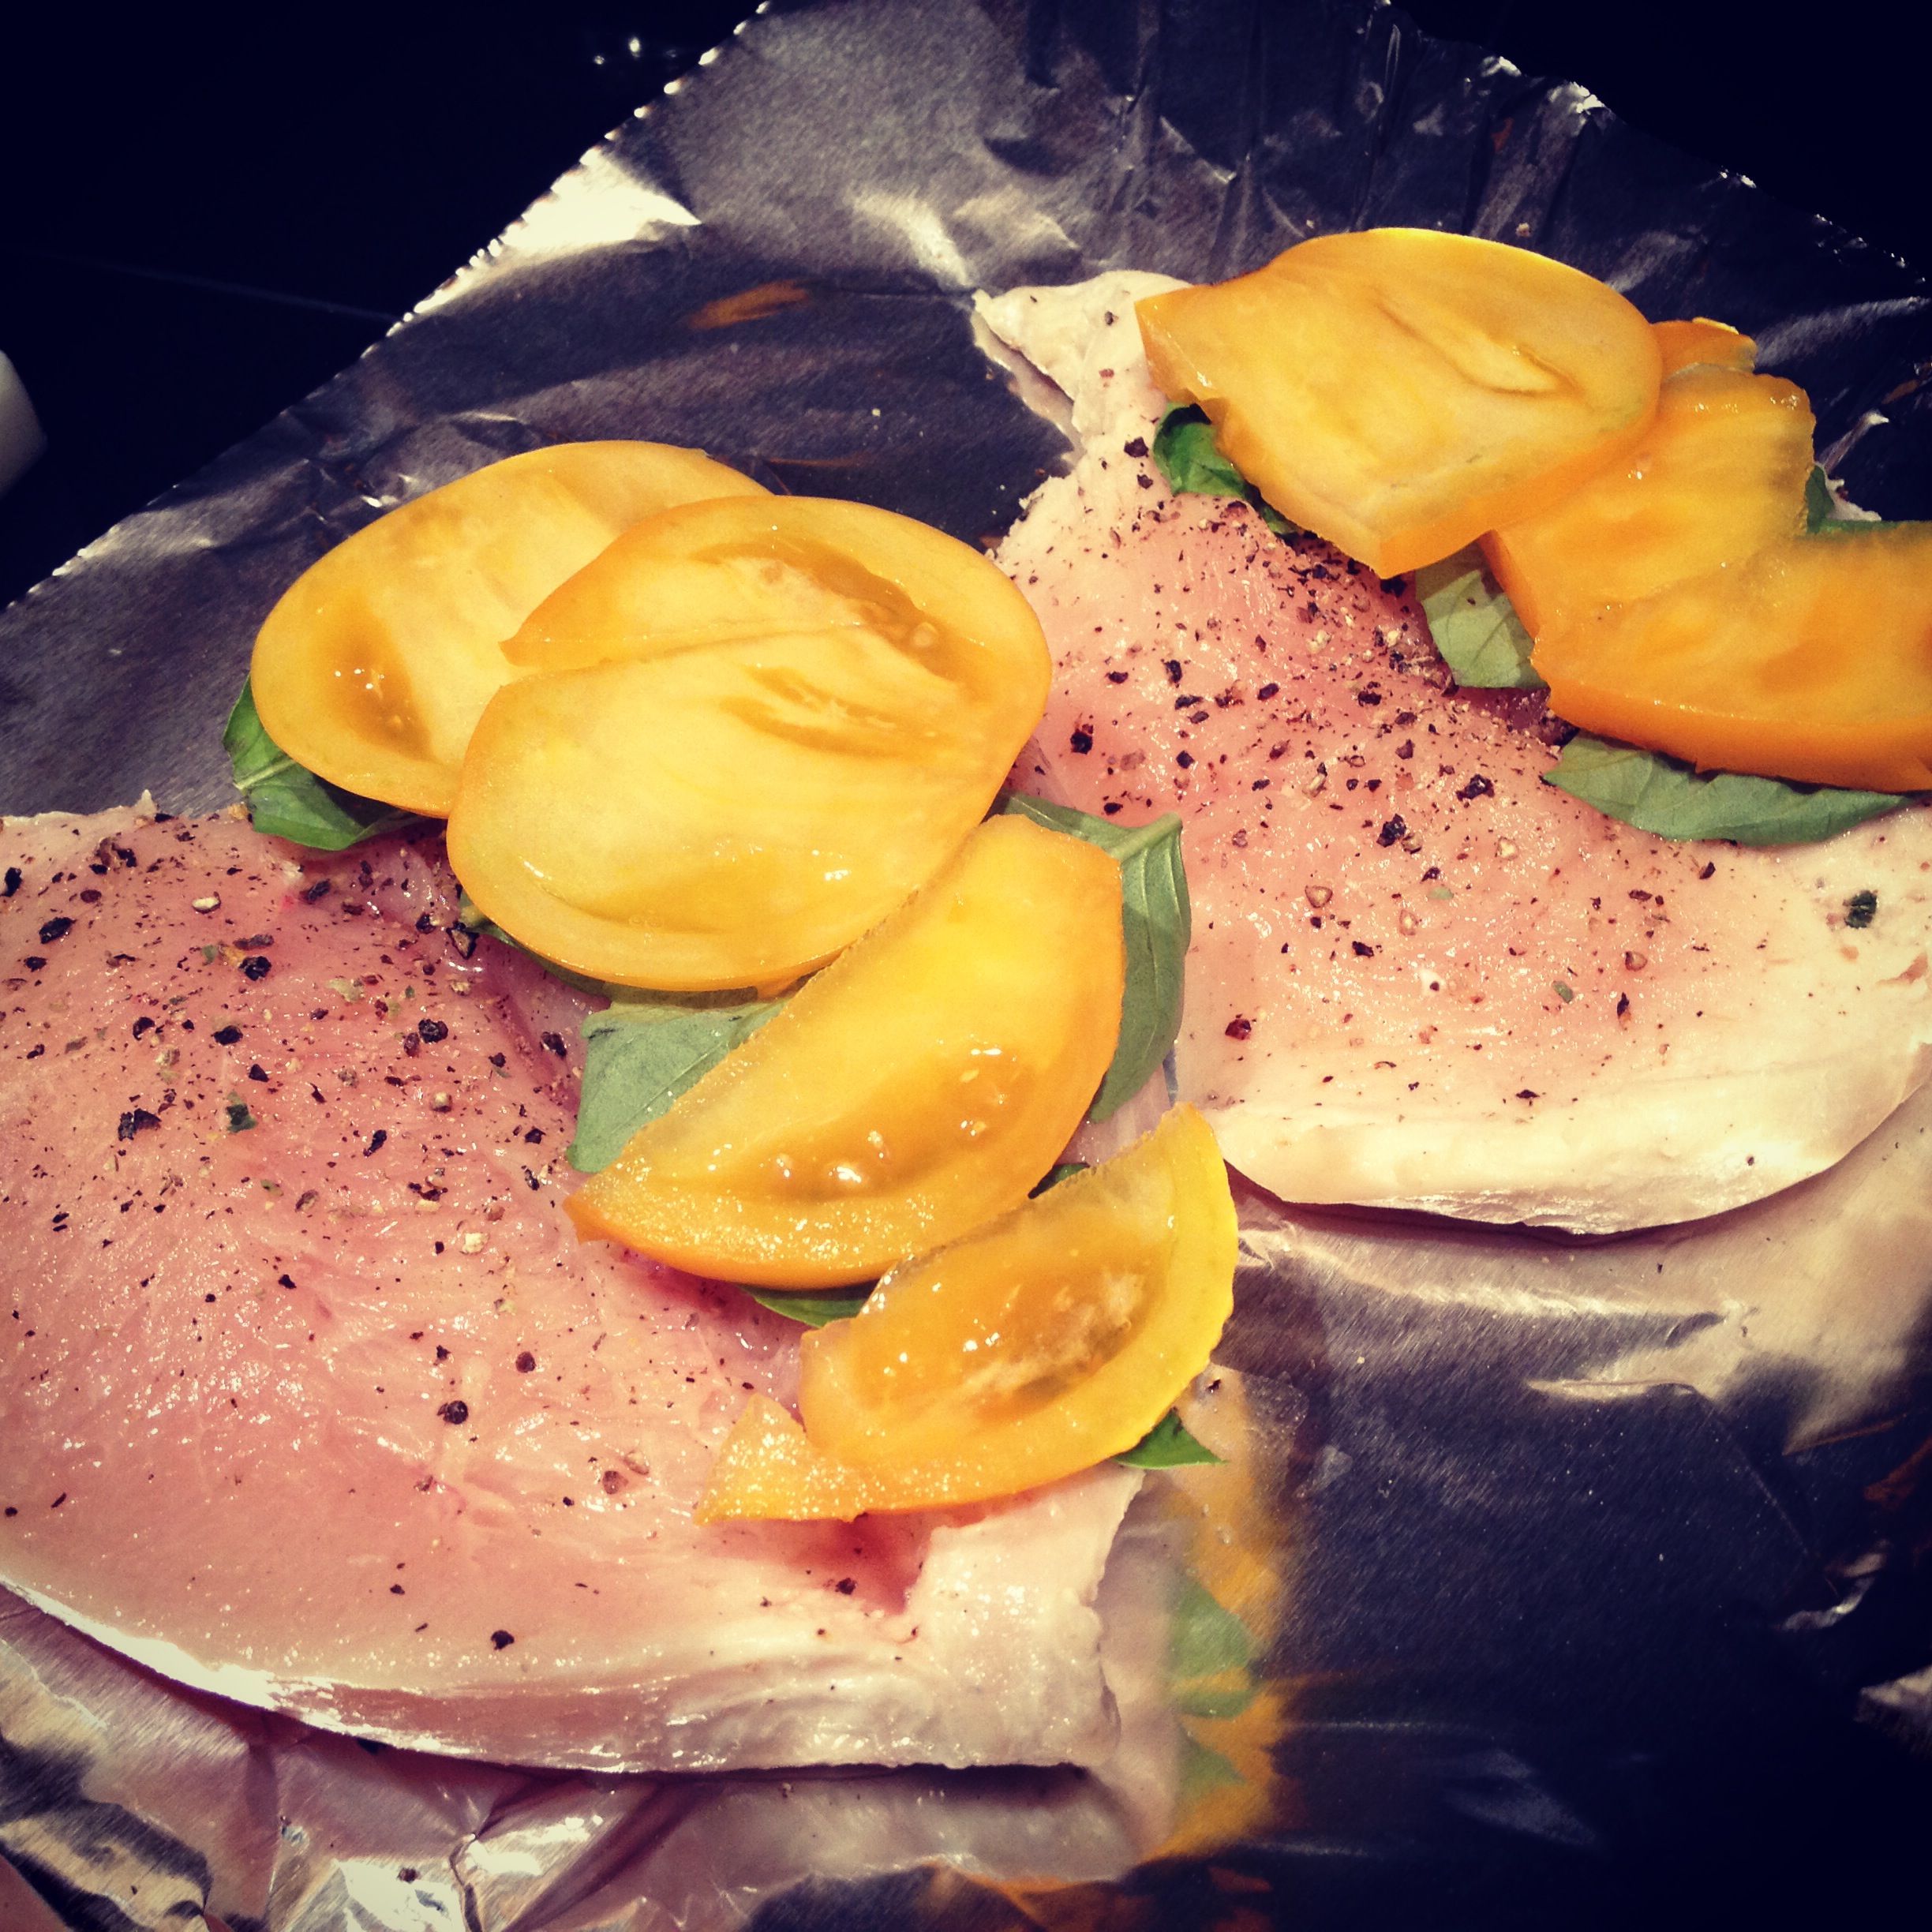
heirloom cherry tomatoes, washed and halved
basil, washed and chiffonaded
fresh cracked black pepper and sea salt, to taste
aged balsamic
EVOO, used sparingly
minced garlic
red onion, chopped
shallots, chopped
grated parmesan or mozzarella cheese
artisan bread slices

  1. Wash and prepared each of the veggies as directed and slice up the artisan bread
  2. In a medium bowl, mix the tomatoes, basil, cheese and a drizzle of balsamic, adding fresh cracked pepper and sea salt to taste
  3. Heat a pan over medium-high heat, using the EVOO sparingly
  4. Add onions and shallots and cook until they start to turn translucent
  5. Add the garlic to the pan and reduce to medium low, cooking just a few minutes longer to mix flavors 
  6. Pour the hot mixture into the bowl, and gingerly toss all ingredients together
  7. You can either serve this immediately or make it ahead of time, cover and refrigerate up to 3 hours

Potato Leek Soup (Vegan)

photo 2When the weather turns soggy, I start to practice my winter sport of “being in the kitchen”. From caramelizing and chopping to baking to broiling, when the weather turns to mush I turn to the kitchen. …and a glass of wine, but that’s a year round sport!

This year I’ve really tried to focus on cooking “in season” and challenging myself to prepare my “typical” foods in a different way. While leek’s are not something that we traditionally have on hand in our house, they made the headliner in today recipes. To be honest, the lack of consistent main stage placement in our cabinet is purely due to the fact that I only know two ways to cook them; sautéed or made into leek soup. While they are can be found year round, they are in season November to February and are more readily available.

The more I looked into the nutrition characteristics of leeks, the more I realized that I wasn’t the only one who usually passed up these shallot and garlic relatives in the grocery aisles; many people shy away from these cardio enriching veggies because they don’t know how to cook or prepare them. Leeks are high in folate, which is a key B complex vitamin for supporting and balancing our cardiovascular system (source) as well as being very high in potassium and very low in sodium, giving it naturally diuretic properties (source). Sharing the same family as garlic and onions, they boast immune, antioxidant, and heart-healthy benefits. 

Enjoyed in in salads with vinaigrette, in soups, sautés, risottos, sauces, pastas, frittatas, creamed, carmelized, Bruschettaed… there are SO many ways to prepare leeks it will blow your mind! Check out this Leek Pinterest Board for more inspiration!

When shopping for leeks, look for ones that are  firm and straight, with dark leaves and white bodies. Quality leeks should not be yellowing, wilting or cracking. To store, keep them unwashed and untrimmed,wrapped in a paper towel inside a plastic bag in the fridge up to a week. Cooked leaks should be kept for no more than two days, but you can freeze them up to three months once they’re blanched for three minutes and stored in an airtight bag.

I have to warn you, you’ll need a spoon readily accessible once this soup is cooked, is so good you’ll be eating it out of the pot!

photo 1Vegan Potato Leek Soup
Adapted from recipe posted on Care2.com Serves 4 – 6
Ingredients:

1 tbsp EVOO (extra virgin olive oil)
3 large leeks, whites and greens, washed and sliced
2 medium yellow onions, chopped
½ tsp fresh cracked sea salt
3 cloves garlic, or 1 ½ tsp minced garlic
2 large white potatoes, washed and cubed
5 cups chicken stock (use vegetable stock if you’re making entirely vegan)
½ tsp crushed rosemary

  1. Wash all veggies
  2. Heat EVOO in stock pan with the chopped leeks, onion, garlic and sea salt, sauté  stirring often until the onions begins to turn translucent
  3. Add the potatoes and vegetable stock and bring to a boil. Cover, reduce heat and simmer 20 minutes
  4. Meanwhile, get your blender out and prepared to blend up the soup
  5. Once cooked, remove the soup from the heat and ladle  into your blender, 1 cup at a time (if you have an immersion/stick blender you can blend the soup right in the pot)
  6. Blend the soup  until smooth and free of chunks
  7. Pour smooth soup into a heat-proof bowl and continue until all of the soup has been blended
  8. Transfer the blended soup back to the original soup pot and warm over low heat until heated through
  9. Serve hot

Baked Chicken with Tomatos and Basil

IMG_3795Everyone needs a few of those dishes that can be thrown together and are sure to please. For me, that’s baked chicken. It’s so easy to take a few chicken breasts, spastically cover them in dried herbs and spices, wrap them in aluminum foil and throw it in a pre-heated oven until they reach an internal temperature of 165 degrees. This recipe takes it one step further with a little trick, searing. When you sear the chicken, it locks in the flavor, keeps the chicken most, and  creates a delicious crispy and pretty coating!

Apologies to all of you for not having a better picture of the final product, I got hungry and broke my OWN rule of taking a picture first! I’ll update the post next time I make this dish and have a better “finished product” picture for you!

Baked Chicken with Tomatoes and Basil
Ingredients

  • One chicken breast per guest
  • Heirloom tomatoes (Or Roma tomatoes will work)
  • Optional-one slice of cheese per guest (Fontina or Mozzarella)
  • Fresh Basil
  • Minced Garlic
  • Cracked Pepper and salt
  • Parchment Paper and Baking sheet
  • Frying pan and oil to sear chicken

Directions

1. Wash and dry the basil. Wash the tomatoes and thinly slice them. Pre-heat the oven to 450 degrees. Cut individual sized pieces of parchment paper or aluminum foil to bake the chicken on. Since the chicken has natural juices, you’ll need to think about how you’re cooking the chicken. If you’re cooking it alone (no other veggies on the pan in the oven) a parchment paper is just fine. But, if you’re making other veggies at the same time as I often do, I find it easier to use aluminum foil so I can curl up the sides and contain the chicken juices so that it doesn’t touch the other veggies.

2. Wash the chicken breasts off, and pat them dry. Lay out chicken on a cutting board and “butterfly” it- which means slicing the chicken lengthwise, but don’t cut it enough to separate the two sides. Pre-heat a pan on the stove and cover with cooking spray or some EVOO (Extra Virgin Olive Oil).

3. Crack fresh pepper over the surface of the chicken. On one side of the chicken, that will be the bottom side, lay the washed basil down, followed by the tomato. (If you want to get really fancy, you can sauté some spinach and garlic and include it in this step). If you’re using cheese, lay it in between the basil and the tomato. Close the top side of the chicken over the bottom side, making sure that the tomato and basil don’t pop out. You can secure them with a tooth pick if needed.

4. Carefully transfer the closed chicken breasts to the pre-heated pan and sear each side until golden brown. I use a wide spatula for this and you have to be careful when turning the chicken breast over so that none of the tomato or basil fall out. When they are seared on both sides, transfer the chicken to the individual pieces of parchment or aluminum foil and secure the openings with a toothpick if they’re still trying to let the tomatoes and basil fall out.

5. Place the chicken on the baking sheet and bake for  for 25-35 minutes or until meat thermometer reads 165 degrees for internal temperature. 

6. Remove the chicken from the oven and serve! I usually like to serve with some toasted quinoa, blasted broccoli, or yam fries.


IFBC: International Food Bloggers Conference this weekend!

Screen Shot 2013-09-17 at 10.12.50 AMDo you know what’s start tomorrow and goes through the weekend in Seattle? None other than the 5th Annual International Food Bloggers Conference (IFBC). IFBC is organized by Foodista.com and Zephyr Adventures, and was the first conference created specifically FOR food bloggers! IFBC focuses on three themes: Food, Writing, and Technology and gives opportunities for networking, live blogging, and educational classes!

They have a few activities this evening, but the fun officially starts on tomorrow, when we get to enjoy Gluten Free Carnitas & Tofu Sofritas Bowls provided by Chipotle Mexican Grill. Then we jump into a keynote delivered by the amazing Dorie Greenspan followed by Live Food Blogging with Amazon.com Grocery. Saturday night is a surprise “Dine-Around Dinner” sponsored by Urbanspoon where there are various dinners scheduled at secret locations  around Seattle and I can’t WAIT to see where they take us!

What I’m REALLY looking forward to the working session that they have lined up for us over the weekend! With experts from All Recipes, King 5 Broadcasting,  Andrew Scrivani, Chateau Ste. Michelle Culinary Director John Sarich and MANY others it’s going to be so hard to choose which sessions to attend since they’re offered at the same times.

Oh, did I mention that they have a Wordpress Happiness bar where I can get one-on-one help from a WordPress  Engineers? That’s worth the price of admission right there!  Between the networking, food sampling, educational courses, secret dinners and WordPress happiness bar this promises to be an amazing conference!! This year they also rolled out an IFBC app! It includes a conference schedule with locations, AND social media included right in the app! I can’t wait to give that a try for my live Tweeting this weekend!

Needless to say, I’m getting pretty excite about my first IFBC  and can’t wait to meet the other local bloggers and those traveling for this conference! I’ll be live tweeting from the conference  so be sure to follow on Twitter HERE and will be posting a conference wrap up so check back next week!


Oven Baked Yam Fries

Oven Baked Yam Fries

Believe it or not, I was a “garbage guts” when I was younger. My mother did a wonderful job of trying to get me to eat my veggies and not letting me leave the table until I’d consumed all my broccoli. But, if I had my wish I would have lived on chicken strips, fries dipped in BBQ or ranch, and any type of candy I could get my hands on. Oh, and a milkshake with LOTS of sprinkles. But no syrup drenched cherry, I did apparently have SOME culinary inclinations as a child. I think we can all agree that those are just gross!

My adult self shudders when I think of that “menu” and makes me want immediately consume a kale smoothie just in an attempt to balance out the years of chicken strip consumption! Even as adults we need a little comfort food. Pie, mashed potatoes, ice cream, onion rings, and, of course, french fries! Traditional french fries get a bad wrap for being…well…basically deep fried in oil which, let’s just call a “spud” a spud and admit that they’re is little to NO nutritional value of the potato left at that point. What if I told you that there was an alternative to “healify” fries and they were still delicious! So delicious, in fact, that I don’t even DIP MINE or miss my trusty BBQ or ranch.

Yes, my fry friends, it’s true! While you can do this with white potatoes, and add a little rosemary and garlic while you cook them, I prefer to do yam fries because I just simply like yams more. These are my go-to side dish when entertaining or just needing to add a carb to the meal. They’re delicious and super simple to make! You can also get “fancy” and experiment with different spices. Post in the comments what you’re favorite spices are!

Yam Fries

2 long skinny yams
EVOO
Smoked Paprika
Fresh Cracked Pepper

  1. Preheat oven to 400 °F (200 °C). Depending on your oven, and how crispy you liked them, you can experiment with 450°F or even 500°F. Cover a baking sheet with non-stick foil and pre-heat the baking sheet (this helps to achieve crispier fries)
  2. Wash and dry the yams, then cut them once lengthwise. Using a very sharp knife makes this easier. Place the halved yams face down on the cutting board, and cut in half again lengthwise and then slice the yams length wise in little strips to create the “fry” form.
  3. Put the cut  fries in a large bowl, drizzle with olive oil, smoked paprika and cracked pepper and toss them until all the fries are covered. You can also brush the olive oil on the fries if you prefer, using a basting brush.
  4. Lay the fries out in a single layer a baking sheet lined with non-stick foil and cook forThe SimplyRecipes.com recipe had a helpful note I’ll try next time, one of their readers recommended laying them on a wire cooling rack on top of a baking sheet, so that the oven air circulates around the sweet potato pieces and you don’t have to flip them over .
  5. Bake for 15- 20 minutes until lightly browned on one side, then flip and bake for an additional 15-20 minutes until they reach the desired browned crispness you desire. 

Restaurant Review: Bellini Italian Bistro (Seattle)

Photo courtesy of Bellini


Belltown finally has a fantastic Italian Bistro! We have walked past this little spot many times as they “coming soon” sign was up and wondered what exactly this location would be. When an Bellini opened as an Italian Bistro, we were delighted! The interior decor, music playing, hospitable service and the delicious smells wafting from the open kitchen style all grab ahold of your sense and entice you in!

IMG_2932

We started with a glass of wine and a beer on tap, and took a look at the appetizer salads. Truthfully, the healthy portions of amazingly delicious mixed salad with fresh ingredients like salmon, salami, marinated grilled veggies, mozzarella cheese… these delightful salads would have been enough to satisfy us when paired with the amazing warm crusty bread with olive oil they serve. Let me pause here for a moment. You might not agree but I totally judge a restaurant by the type of bread they serve and let me tell you Bellini’s bread alone earns them a gold star in my book! This bread is perfectly crusty on the outside, light and fluffy on the inside and a hint of sweetness that just makes me want to curl up with a basket of it and cuddle. It gets even better; they use the same recipe for the bread that they use for their pizza dough. It’s baked fresh daily, then cut into fresh hot little bites of goodness and served with a delicious olive oil and balsamic dipping sauce. If the BREAD is that good, you know the meal is going to be amazing.The salads we ordered to start were amazing and could have possibly settled for sharing an entree but after that teaser of our amazing starters we had to proceed with our entree orders. He ordered the Cimarosa salad with smoked salmon, arugula, and roasted peppers tossed in EVOO and lemon juice and chose the Fettuccini all’Ortolana which featured fresh homemade fettuccini with fresh spinach, peppers, artichokes (substituted sun-dried tomatoes instead of these) and roasted eggplants.

Verdi Salad
Verdi Salad
Cimarosa Salad
Cimarosa Salad


It was hard to decide what to eat, because I literally wanted a bite of EVERYTHING! After taking my sweet time reading the menu over and over to try to narrow down my plethora of choices, I opted for the Verdi with romaine hearts, sun-dried tomatoes, roasted eggplants, artichoke hearts, roasted peppers and substituted the feta for mozzarella. For my entrée, I ordered the Parmigiana de Melenzane off the “antipasti” part of the menu, which featured layers of eggplant in marinara sauce with fresh mozzarella and Parmesan cheese.

Every bite was AMAZING! The salads were perfectly portioned and tossed with just the right amount of olive oil and lemon juice. The entrees were delicious and were healthy portions, just like the appetizers were! His pasta was deliciously fresh, both the sauce and the pasta itself. My “appetizer” wound up being a perfect size for a meal, and I’m not sure where I found the room to finish that heaping plate of expertly cooked eggplant, sauce and cheese but I leave no bites behind on an incredibly food adventure like that! I found the room and finished every last bite, it was too good to have the good sense to stop eating when I was full. The happy whistle and singing of the chef sweetly echoed  through the restaurant, and only added to the wonderful ambiance! I just wanted to sit there and soak it up! To top it off, the chef brought us out a bowl of complimentary fresh cut honey dew melon! It was the perfect ending to an amazingly filling meal!

Fettuccini all’Ortolana
Parmigiana de Melenzane


The service was first class, the ambiance was inviting, chill and approachable. They have a fantastic little place here and they are the sweetest most humble people! When we tried to give the chef a tip at the end, he refused to accept it and said to please let the tip be our spreading the word about Bellini. Ladies and gents, this place is LEGIT and a new favorite! 

I can’t wait to go back and try their pizza and hit them up for lunch! I’m still have happy visions of how amazing that dinner was!

Bellini Seattle Face Book

Kale Smoothies

Photo from MyWholeFood Life.com
Kale and Mixed Berry Smoothie from MyWholeFoodLife.com {Photo from MyWholeFood Life.com}

Okay, let’s pause for just a moment because some of you are already wrinkling up your noses and saying, “KALE!? SMOOTHIES!? Alright that’s just GROSS!” I too though that would be a combo that I would only ever “choke down” because I mentally knew it was good for me but would never actually enjoy. I’ve never been more happy to report that I was wrong!

I’m not sure what started the kale kick, maybe I was just drawn to how fully and richly colored the kale has been at the farmers markets this year. Or, maybe it was a particularly delicious kale salad I had earlier this summer, or the fact that mentally I know it’s good for me. Perhaps it was the sudden realization that it’s SEPTEMBER and I better get started on those new years resolutions! Whatever the reason, two massive bunches of fresh kale decided to come home with me from the farmers market last weekend. The past few weeks I’ve tried to start mixing up what we make at home. I get into a comfort rut where I buy the same veggies and prepare them the exact same way and because I apparently need more of a mental challenge in life (careful what you ask for!) I decided to try using the same veggies we always buy but cooked or prepared in a different way.

Enter the kale smoothie! Now, I consider it a feat that not only do BOTH of us consume these smoothies but we actually ENJOY them! I think the mister has actually had more of them than I have! “I you PLEASE make me one of your amazing smoothies” is not a joke, he really says it! Today one of my girlfriends asked me for my kale recipe when she saw the gorgeous massive bunch of kale peering out proudly form the top of my market bag and I started to tell her about the kale smoothies. She asked for the recipe and I figured, maybe someone else would want to experiment with kale smoothies so I’m putting it out there in the bloggosphere and hoping that someone else will also be able to enjoy kale in liquid form! I’ve started reading up on kale, and there are many different opinions on whether it’s healthier to cook it or eat it raw and I think that a healthy balance of both is important.

Warning, this smoothie will not LOOK pretty. It will however, taste delicious! Here are a few nutrition fun facts about this smoothie. The blueberries and kale do not make for a lovely look, but the nutrition is out of this world! Blueberries are a super food packed with antioxidants which can prevent heart disease can help with memory. In addition to fiber and vitamin c, they also have Manganese which helps with building healthy bones and metabolizing proteins, carbohydrates and fats. Kale contains both protein and fiber, which help you feel full, and also contain cholesterol-lowering traits. It also contains Vitamin K which is vital for blood clotting, Vitamin A which helps with vision and Vitamin C which helps with healing wounds. It also contains many minerals which are helpful for healthy body functions and health. Bananas are a good source of potassium, fiber, manganese and vitamins B6 and C. Oranges are high in Vitamin C and fiber. Apples not only help with sweetening the smoothie, but they contain phytonutrients that are excellent for helping regulate blood sugar and contain fiber which also helps to keep you full. (Nutrition info from WebMD)

Kale Smoothie

1/2 apple
1-2 cups chopped kale, ribs removed
1/2 c blueberries
1 Orange or Oj, to your liking for consistency  (water or almond milk also works)
1/2 banana (I like to freeze bananas to make the consistency a little thicker

Wash all ingredients and place in blender and mix until you reach the consistency that you desire. If it’s too thin, you can freeze the fruit or add ice cubes.

Here are a few more recipes for using Kale in smoothies that you can try! Post in the comments what your favorite kale smoothie recipes are, I’d LOVE to hear them!

And here is a great compilation of Kale smoothie recipes:

Taco Thursday: Carne Asada Steak + Padron Peppers + Cabbage Slaw

IMG_3764Sometimes you just need a taco. Or a glass of wine. Or…both.

Thursday was a “both” day. Whether it be in celebration or on consolation, there’s something about a good taco that calms and comforts like a chat with a good friend or a glass of wine. You can also make them out of pretty much anything in the cabinet! Anyone can find a way to eat a taco whether you be vegan, vegetarian, or carnivore. The preparation is also a variable whether basking in simplicity or it’s own braised beauty!

Tonight was a much needed “comfort” night, including some home cooking which always has a way of reminding myself that there is something worthwhile that I can do, and do quite well. In addition to home cooking, include a challenge to overcome and a hearty pour of wine. For my challenge I chose the chopping jalapeños without staining my fingers in the fire juice and promptly wiping my eye which seems to be a habit of mine. For the home cooking, Carne Asada Steak Tacos, oven roasted Padron Peppers and some good old  Grilled Cabbage Slaw. For the wine, honestly whatever was open on the counter would do but at this point. I looked for Rioja to make the complete “spanish” experience but settled for a glass from the bottle of open Chianti that always has a home on my counter.

The result, a masterpiece that both soothed my mind and filled my belly. You can’t go wrong with a taco!

Do you have “taco + wine” days?


Padron Peppers

IMG_3763We fell in love with these tasty little treats on our trip to Spain last spring. Known to the locals as Pimientons de Padron, they originated in the Galicia region of Spain but can be found throughout the country and are served a part of the national tapas tradition.

These guys aren’t necessarily spicy hot, only one in ten usually pack heat, but they have a mild kick which meshes with the smokey grilled flavor and the cracked salt. Preparation is quite simple: rub with olive oil and fresh cracked sea salt then oven grilled in a cast-iron skillet. You can usually find them fresh in season from may through late september.

Padron Peppers
Prep  5 min| Cook 25 min

Ingredients:
2 tsp. Avocado or Safflower oil (these are best for high-heat cooking)
1/2 lb. pimentons de padron
Fresh cracked Sea Salt
Cast Iron Skillet & Aluminum Foil

Preparation:
Pre-heat the oven to 350. Wash and pat the peppers with a paper towel to dry them. Toss them in the oil and crack some fresh sea salt on top then place in a cast iron skillet that is covered with aluminum foil. Once the oven is pre-heated, place the skillet with the oil coated peppers and cook for 20-30 minutes, turning once or twice to make sure all the surfaces are charred. Crack more fresh sea salt over the peppers and serve!

Pair well with some delicious Sangria and tapas!

Healthy Water


IMG_3244Let’s all agree on something, shall we? Water can be boring. Okay, now that we all agree, we can also agree that it cam be a challenge to achieve your daily recommended intake of water. Water just get’s so…bland! In the summer heat it’s important to stay hydrated but it can be such a chore when you just feel like your drowning in bland liquid and all you want is an iced tea, or a sangria or… SOMETHING other than straight water! I’ve tried both cucumber AND lemon water, and they just get “old”. One of my girlfriends passed along this recipe for “healthy water”. It’s simple to make, tastes refreshing, and helps combat the “boring” aspects of straight water. The mint and ginger also help with digestion! Double score!  


IMG_3243Healthy Water:

1 large pitcher
filtered water
1 medium cucumber peeled and sliced
1 lemon washed and sliced
1 tsp minced ginger
1 branch of mint leaves (in produce section)

Place all ingredients in the pitcher and muddle together a bit. You can drink right away or let it marinate overnight in refrigerator. The ginger and mint will calm your intestinal track, which reduces bloating and results in a flatter stomach!