 When I first thought about making my own Kombucha at home I was a little wary. What if I do it wrong it turns out horrible and make myself sick! For those of you that are like me, all you really know about Kombucha is that is some healthy drink that you see littering the aisles of health stores and somehow helps you be healthy and has something to do with mushrooms.
The Kombucha starter, often called a “mother” or a scoby, stands for symbiotic colony of bacteria & yeast. The reference to mushrooms comes with the disc like form that the scoby grows into, which can sometimes look like a Portobello mushroom or to be more specific, a very slimy slightly yeasty smelling version of a mushroom. So, there you have it, there are no mushrooms involved in the making of Kombucha! There are a bunch of SCOBYs out there, Amazon has a bunch of options and the only recommendation I’d make is to ensure that you get one that is hydrated – the dehydrated ones are a pain!
This drink is made from a process called fermentation, which simply means that bacteria or yeast is used to chemically break down a substance. While the sounds a little gross, I’ll admit, it’s quite good for you! It contains healthy bacteria called probiotics which support intestinal health and help with digestion and elimination as well as encouraging detoxification. For an extended list of possible health benefits, please visit Kombucha Kamp.
The process of making Kombucha is actually much easier that I thought it would be! I LOVE this picture below from a the Eat Life Whole post on Kombucha.
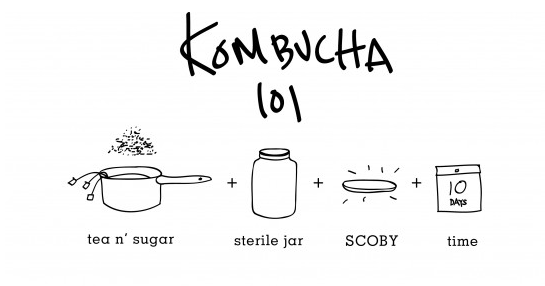
See it’s simple! First, you’ll need to purchase a scoby from a reputable source. Unless you have a friend that has a baby scoby to share, you can purchase the same on that I did from Yemoos or Cultures for Health. Next, you brew some tea with sugar, which feeds the bacteria, let it cool COMPLETELY to room temperature, then pour it into the jar with the scoby and let it hang out for 5-10 days and viola, you have Kombucha! I have to lead this post with a shout out to one of my dearest friends who’s pioneering into the world of Kombucha (and responsiveness to my contestant Kombucha support line texts of “DOES THIS LOOK NORMAL!?”) really helped me in making my first few batches. If you’re lucky enough to have someone that’s also making Kombucha you can trade stories and pictures of your ever growing SCOBYS (yes, you’ll want to take pictures as gross as that might seem) but if you DON’T have someone making it at the same time as you, please consider this your Kombucha support forum! Post pictures of your scoby, ask questions, let us know your favorite flavors that you’re brewing, and anything else Kombucha that comes to mind.
One of the most important things you have to remember when making Kombucha, and most other fermentations, is that metal utensils/containers and plastic containers are not a good idea. The metal and plastic can actually harm the fermentation so it’s best to brew using plastic utensils and a glass jar, which are easily sanitized.
If possible, try to prepare your first batch of Kombucha the day your scoby arrives. You can store the scoby in a cool cabinet until you’re ready to brew your first batch. I have to tell you, I put mine in the fridge because I thought it needed to be kept cold, and THEN decided to read the direction and freaked out thinking I had already killed my little scoby. It was in there over night and I contacted the team at Yemoos right away who quickly settled my worry and said that it would likely be just fine having spent the night in the fridge. Phew, guess I should read the directions FIRST next time hey? The nice thing about this process is that the scoby is pretty resilient so you don’t have to worry too much about “messing it up”.
As far as drinking this good stuff, most people are fine starting off with a full glass but for a few people it can be a little shock for the body since it’s packed with probiotics that encourage, well, elimination and promote intestinal balance. If you find that you DO have a little tummy rumbling response to the Kombucha, back off to a half glass and work up your consumption level daily.
So, are you ready to make some Kombucha!? I got my ball gallon glass jar and sling top bottle at Cost Plus. The quart glass jar came with the yemoos Sourdough kit I ordered at the same time as the Kombucha SCOBY starter, but you can get a great gallon jar HERE on Amazon.com them or find jars of various sizes at Cost Plus.
 Homemade Kombucha: A Step-by-Step Guide
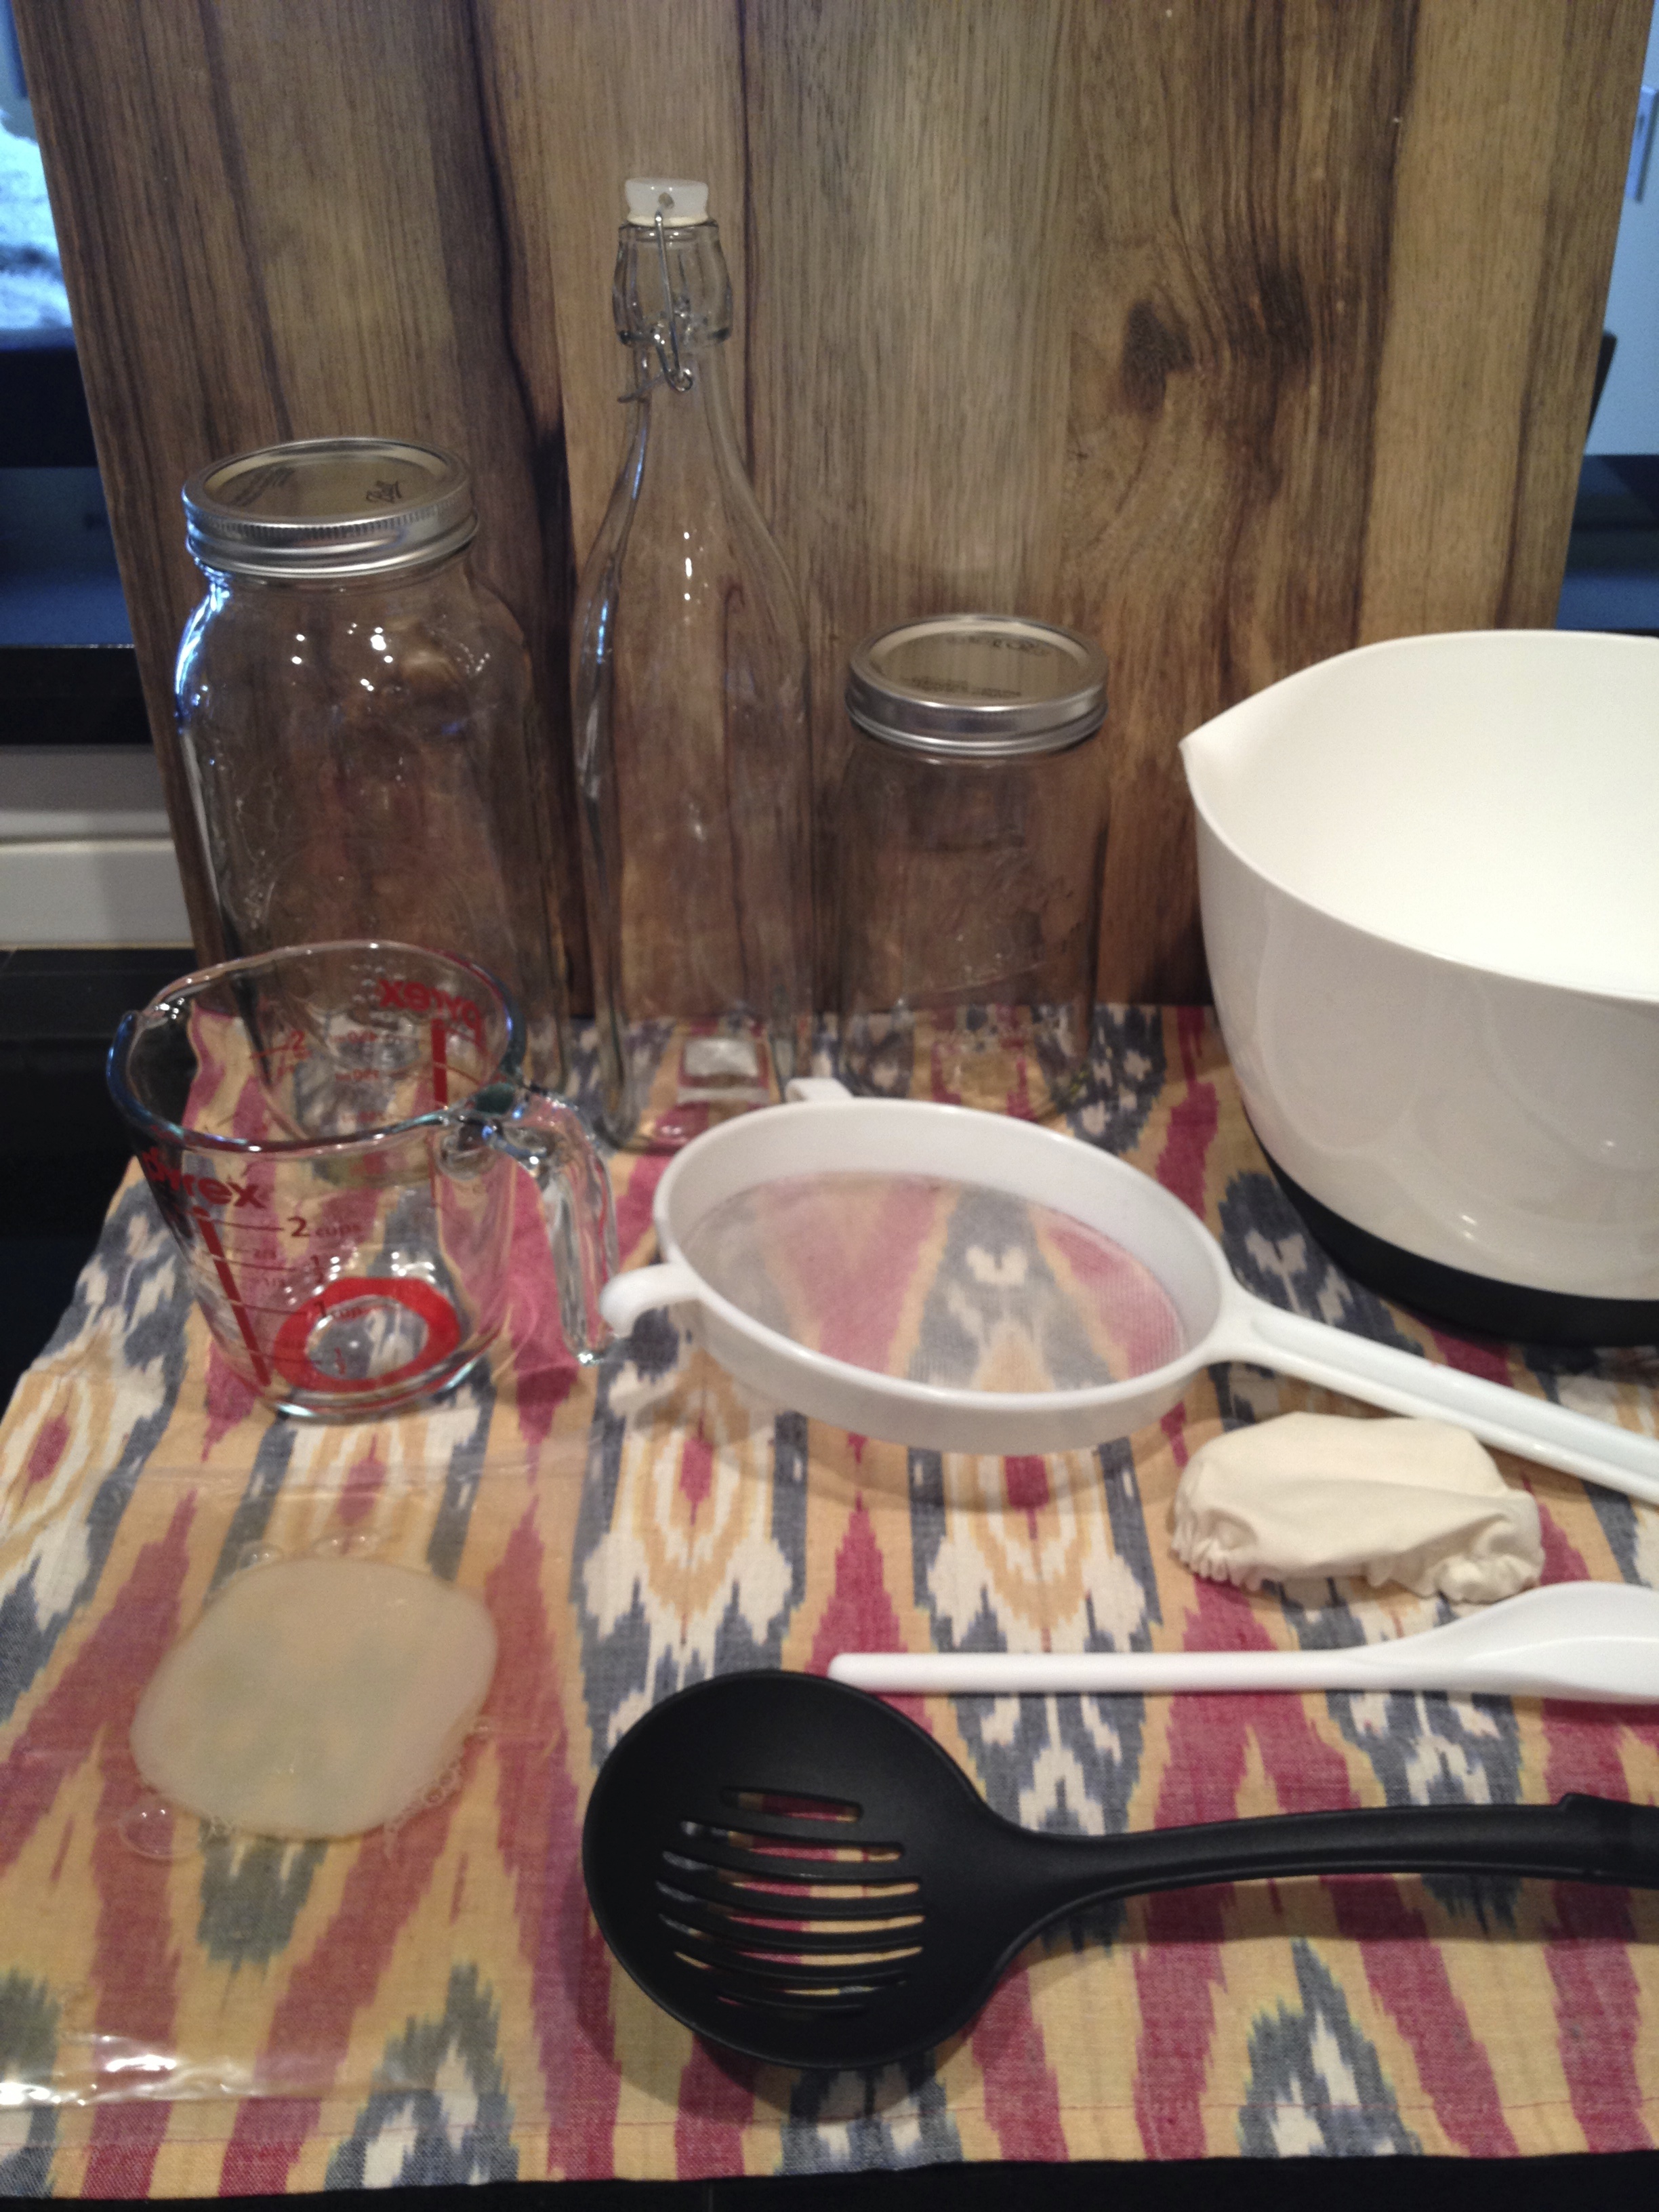
Tools:
1 gallon glass jar
Plastic spoon or spatula
Pyrex glass measuring cup (for measuring the water)
1 Plastic bowl for steeping and cooling the tea (one with a pour spout is easiest)
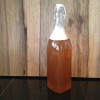
3 Sling top glass bottle to store finished Kombucha
Funnel that fits in the top your sling top bottle
(Optional) Strainer, used to strain out the little strands of Kombucha if bother you
Cover for the Kombucha- cloth or paper towel secured with a rubber band works
Ingredients:
1 Scoby (called the “Mother) & Starter Tea liquid it arrived in
8 tea bags or 3 tbsp loose leaf tea in a tea bag
14 cups filtered water
1 cup organic white sugar
- Get your large bowl and get your tea bags out, tying the strings together. Add in one cup of organic sugar.
- Boil your filtered water then add it to the bowl with the tea and sugar, stirring with your plastic spoon while you pour so the sugar dissolves.
- Let the tea steep and cool COMPLETELY to room temperature, if you pour it in with the scoby when it’s too hot it can harm the scoby cultures.
- While the tea is cooling, wash your hands and carefully open the scoby packet, which should also contain the starter tea. Gently pour the tea and the scoby into your sanitized jar that you will be brewing your kombucha in.
- Once the tea and sugar mixture is cooled, tilt your brewing jar to the side and carefully pour the cooled tea mixture into the jar trying to get the tea under the scoby. Cover the jar with a cloth or paper towel, something breathable, and secure with a rubber band. Place your Kombucha out of direct sunlight and let it brew for 7-10 days undisturbed.
- You can taste your Kombucha around day 5 if you’d like by dipping a straw into the Kombucha, covering the exposed end with your finger, then removing the straw so you don’t contaminate the rest of the batch. The sugar is what feeds the scoby, so if the tea still states sweet, it needs to brew longer. When you taste it, it should be a little acidic or tart first, then have a little touch of a sweet finish.
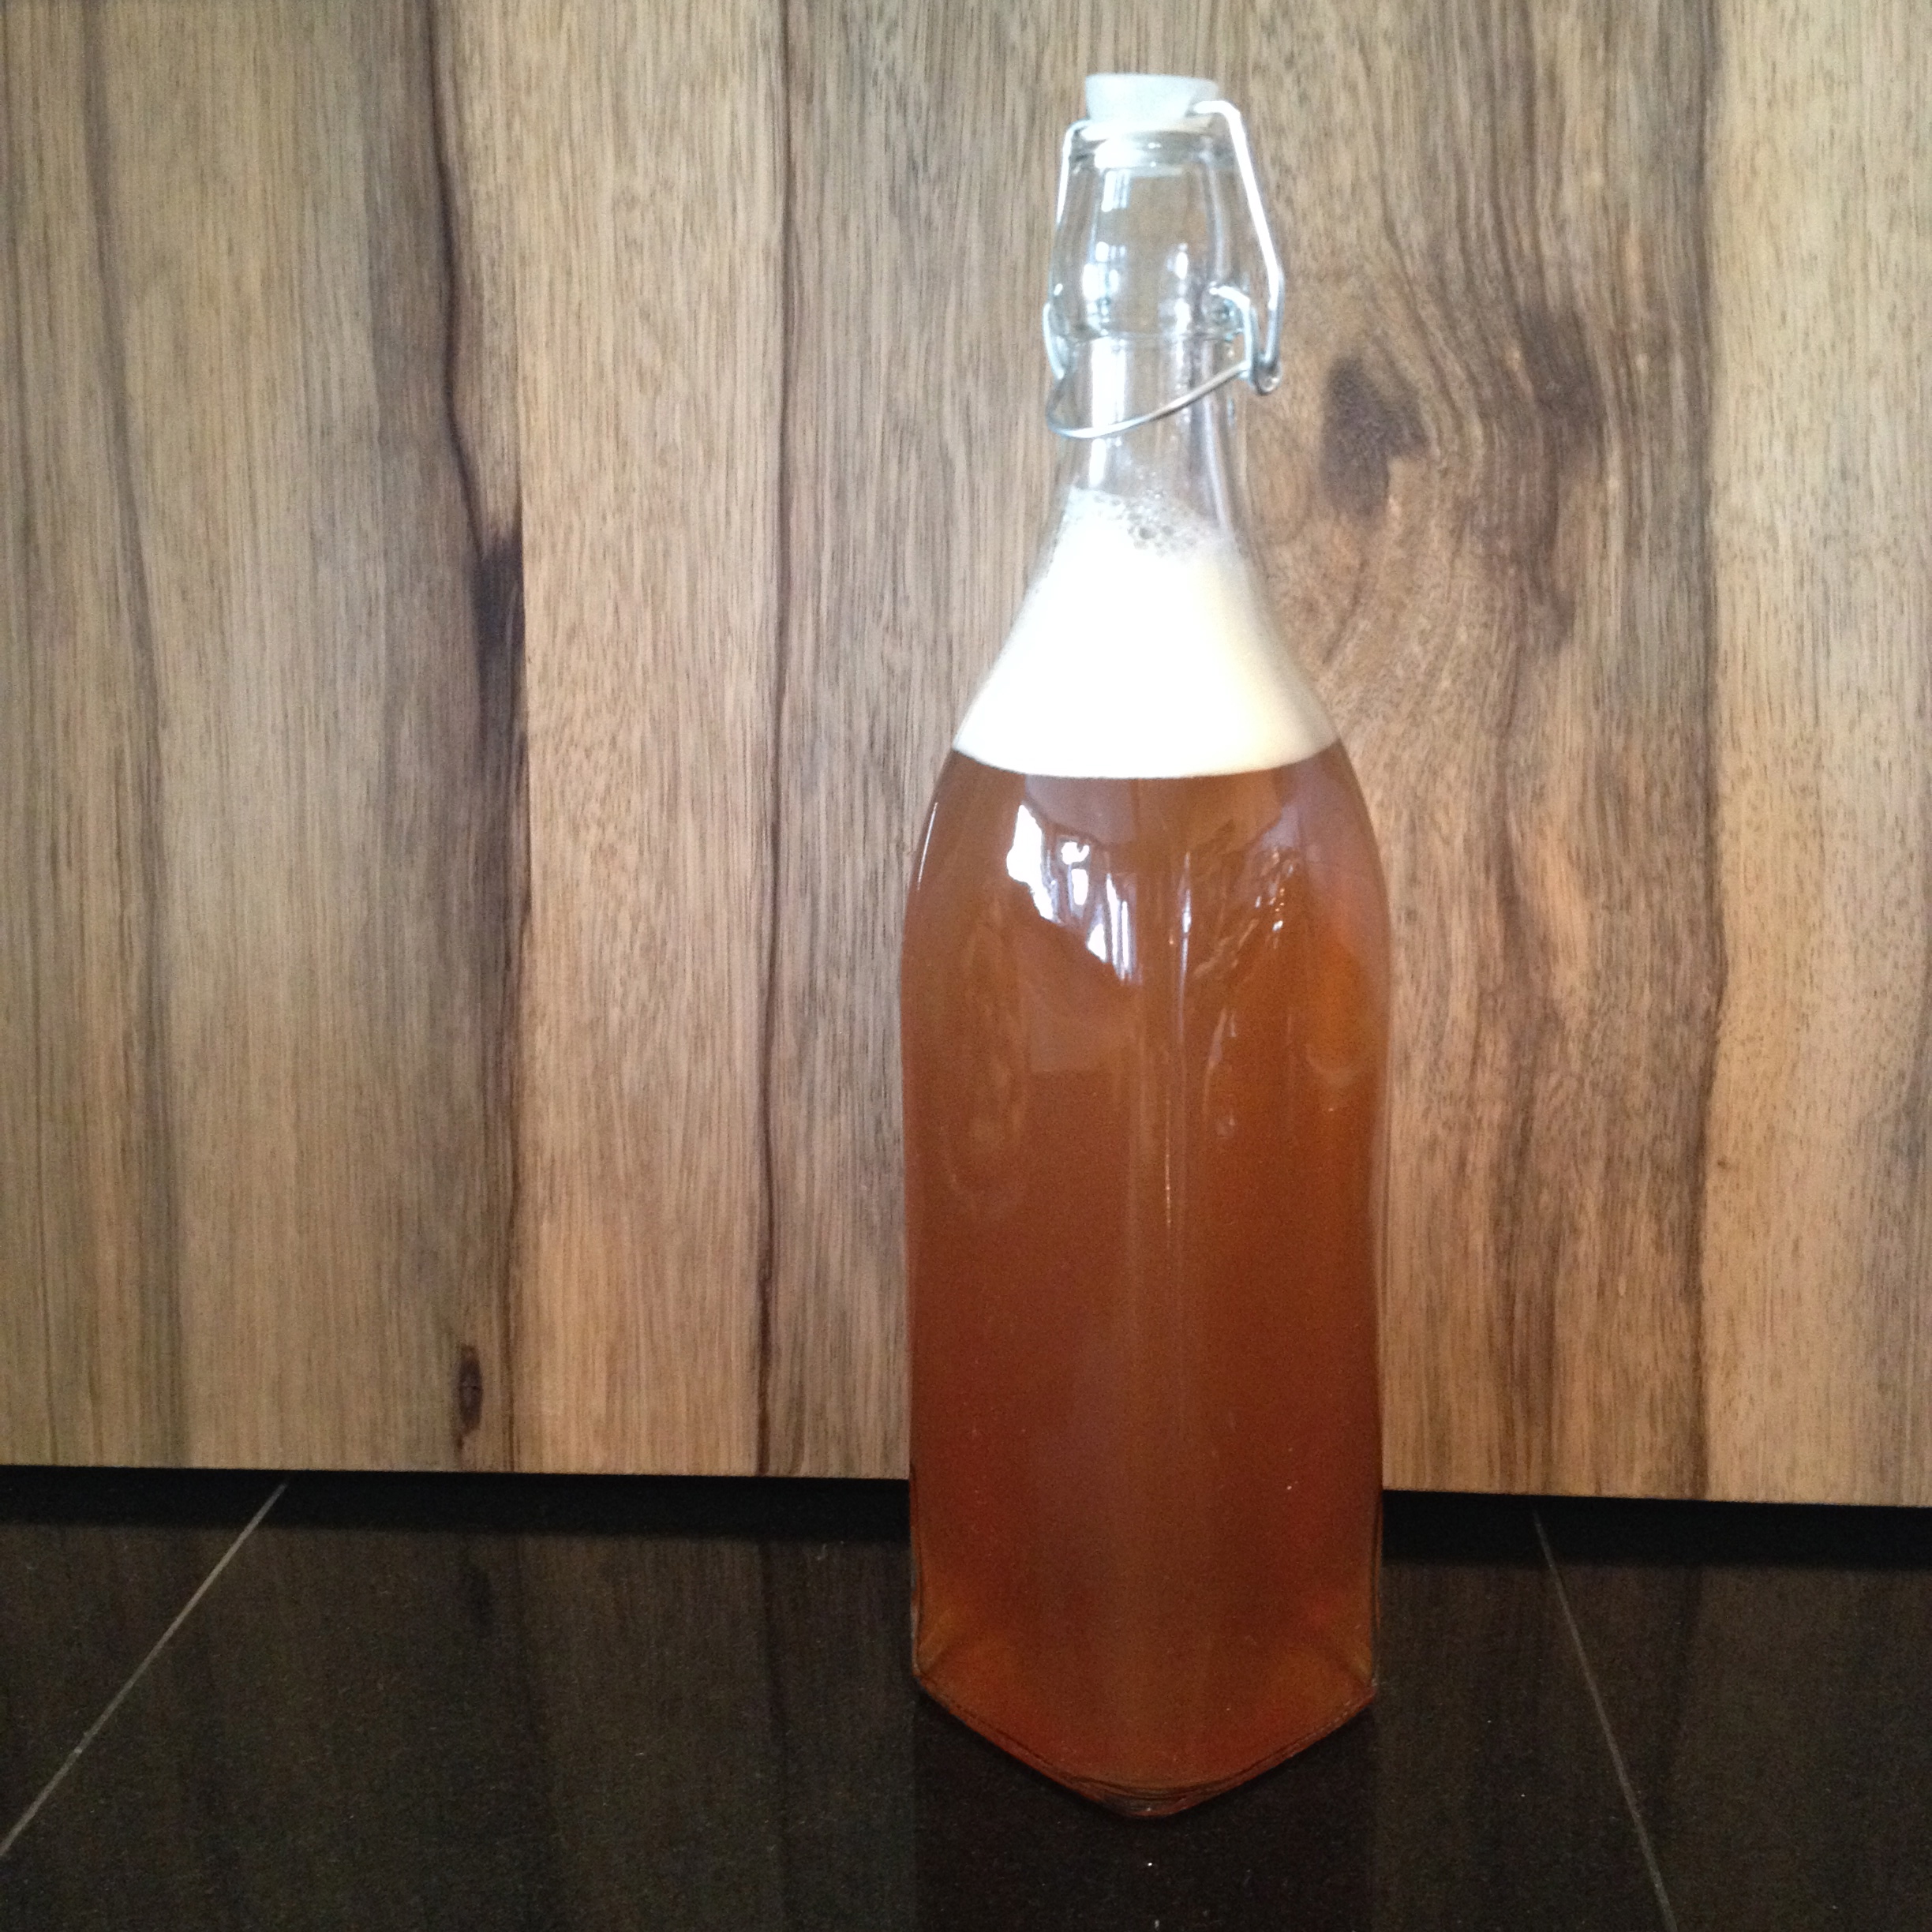
- When you have reached your desired taste, you’re ready to bottle! Get your sanitized swing top bottle, a strainer, and a funnel. I didn’t actually use the strainer. This is an optional step where you can strain out the dead yeas cultures that you will see floating in the brewed tea- they’re just little pieces of dead yeast and are perfectly fine to consume. They don’t bother me but if you’d prefer to strain them out while you bottle it, you can. Place the funnel in the top of the swing top bottle and carefully pour the finished Kombucha into the bottle. Reserve about a cup of the liquid for the next batch of Kombucha and repeat the steps!
- Keep your finished tea in the fridge to slow down the fermenting that can slowly continued even after you’ve removed it from the scoby jar.
 A Few Notes:
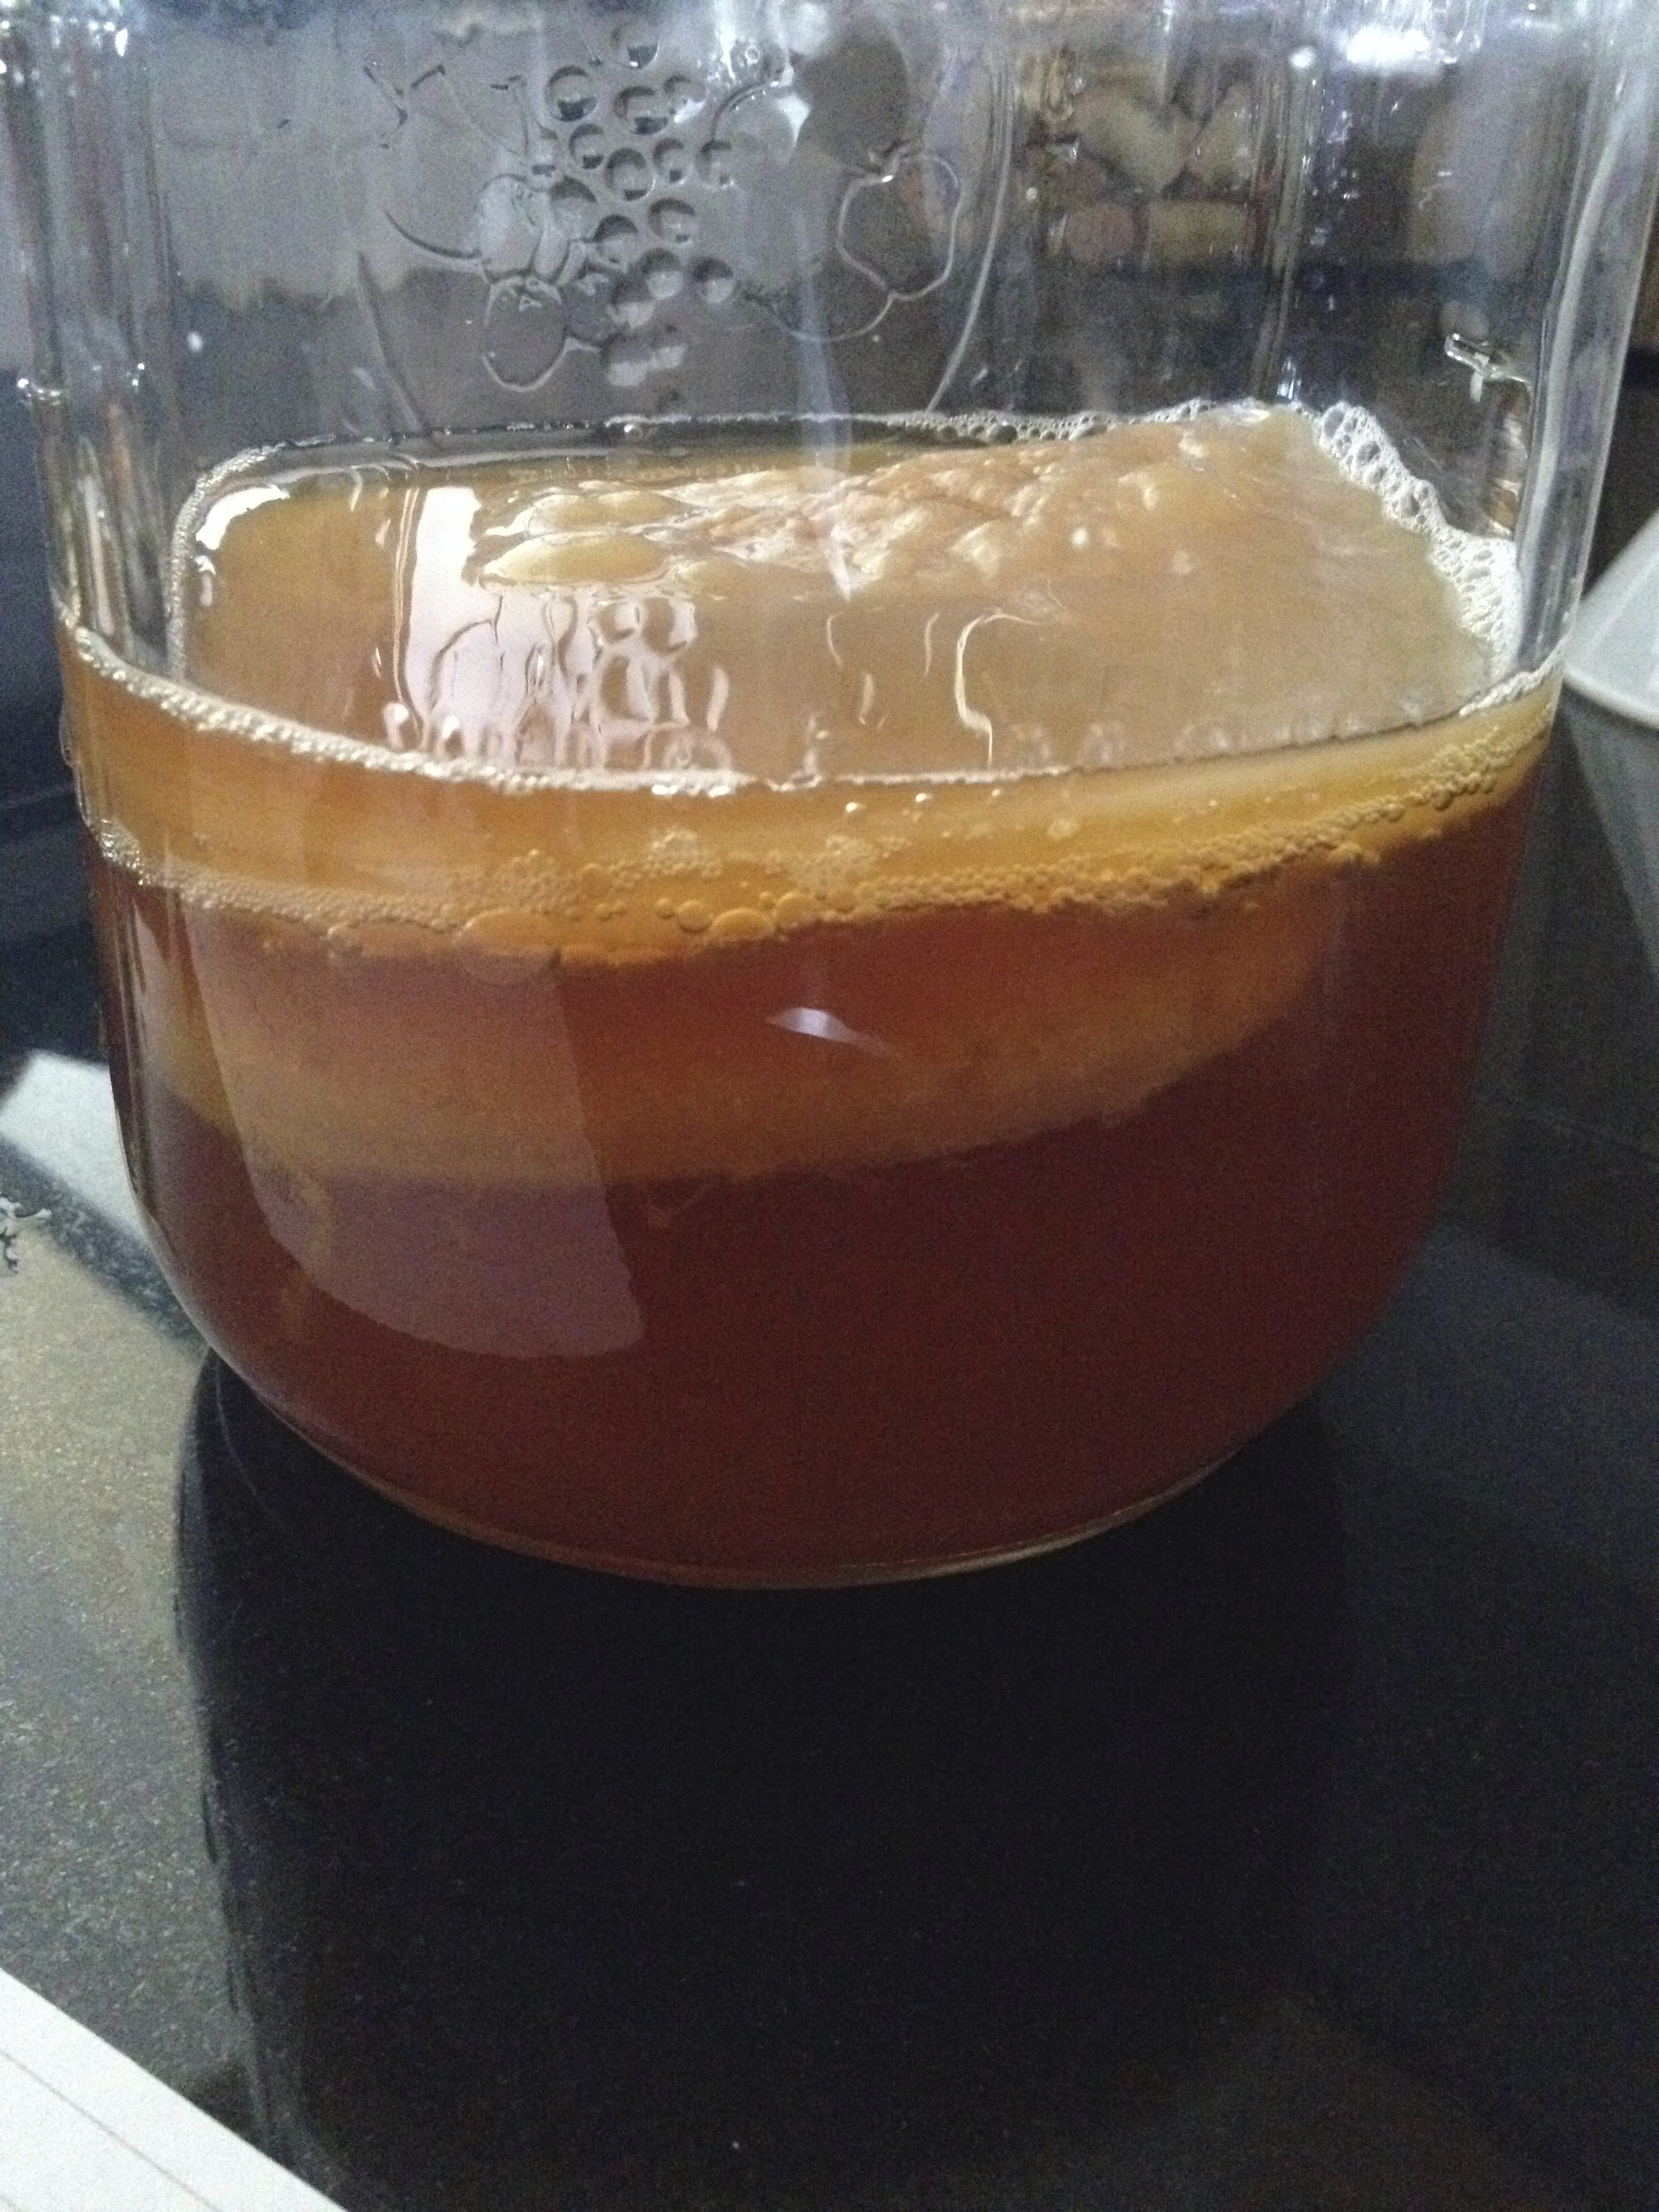
- As the Kombucha brews, you’ll see another layer growing on top of the Kombucha. While it might resemble mold, it’s simply the start of a “baby scoby”. This is perfectly normal and actually what you will be using to keep brewing Kombucha at home. As long as the baby scoby isn’t thick, you can brew both the scobys together for your second batch. After the second brewing, you’ll want to carefully separate the bottom scoby, which is the mother, and continue to brew using only the baby scoby. You can either discard the mother scoby, or give it to someone else so they can home-brew Kombucha!
- The scoby can sometimes sink a little, and it’s completely fine if it does. Just make sure it doesn’t completely sink to the bottom.
- If you’re worried about the sugar, remember that this is what the scoby metabolizes, along with a good portion of the caffeine in the tea so there will be very little of either left in the final product. While it won’t completely remove the caffeine it will greatly reduce it.
- You can use the same jar for your second batch, but make sure to separate the mother and baby scoby after the second brewing.
- If you prefer your Kombucha fizzy, I suggest using a bottle with a sling back top so any pressure that accumulates can release itself. Simply pour the Kombucha almost to the top of the sling back bottle and set it on the counter for 2-5 days. You can also manually “burp” the Kombucha if you start to notice pressure on the lid.
You can also make flavored kombucha soda on a second ferment!