 There is one part of Thanksgiving that I love, stuffing. I’m usually a hard core protein and veggies first gal but there is ONE day of the year that whole lifestyle gets turned upside down. This year is my lucky year, we get on both Thanksgiving and Christmas! But, there’s a little variation this year, we’re testing out gluten-free stuffing. We took my mum’s classic stuffing recipe and substituted the Mrs. Cubbison’s Corn Bread Stuffing for homemade gluten-free croutons.
I’d been baking through some of the gluten-free mixes that Krusteaz sent me as part of the Krusteaz Blogger Bake-Off and we had a half pan of the gluten-free corn bread and decided to adapt moms amazing classic stuffing recipe to be gluten-free.
Gluten-Free Stuffing
prep time: 45 min | cook time: 1 hr 30-45 min
Gluten- Free Honey Cornbread and Muffin Mix
1 Cup almond milk
1/3 Cup olive Oil + some for crisping the crumbs
1 Egg
Poultry seasoning
1 lb. roll of gluten-free sausage
1 medium yellow onion, chopped
1/2 bunch finely chopped celery
1/2 stick of butter
1 sour green apple, finely chopped
1/2 c golden raisins
1/4 c brandy
2 3/4 gluten-free chicken broth
Steps 1- 5 you can make up to three days ahead of time and store in an airtight container in the fridge. For day-of assembly, start at step 6.
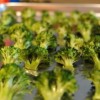
- Pre-heat oven to 450 degrees. To make the cornbread croutons, take the corn bread and cut into small chunks. Toss lightly with extra virgin olive oil and dust with poultry seasoning. Bake corn bread in pre-heated oven until crispy, 30-40 minutes.
- Soak the 1/2 c golden raisins soaked in the 1/4 c brandy plus the 3/4 c. of the chicken broth. (Save the other 2 cups of chicken broth for later in the recipe).
- Sauté onion in 1/2 stick of butter. Throw in celery and sauté until translucent. Throw in the chopped apple and let sauté for just a bit longer. Scoop the mixture onto a plate.
- In the same pan, add the sausage and cook until crispy. Drain off any fat, there might not be any but you can soak it up with a paper towel.
- Drain the raisins, saving the liquid, and add to the sausage in the pan. Add the onion celery mixture and simmer about 5 minutes. Then add the brandy and chicken broth from the raisins and an additional 2 cups of chicken broth.
- Pre-heat the oven to 350.
- In a large bowl add the sausage and veggie mixture and a box of the stuffing crumbs and fold until moist. Don’t over mix or crush the bread piece.
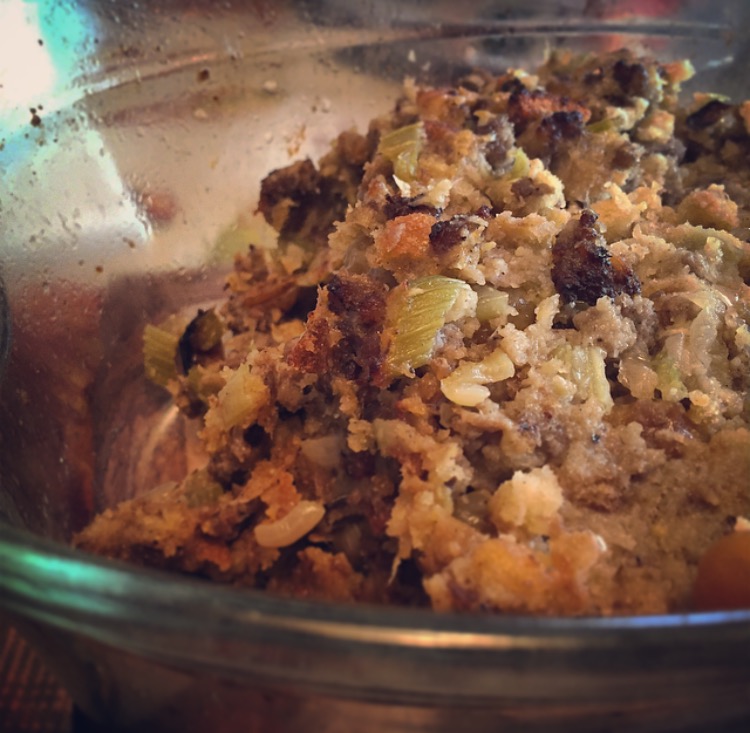
- Butter either a two quart or three quart glass baking dish and add the mixture. Add a few pieces of very thinly sliced butter to the top of the dish. Cook 45 minutes covered in pre-heated oven.
- Turn heat up to 415, remove lid and cook for an additional 15 minutes. The top will look a little burned but don’t worry, that’s the BEST part and it tastes AMAZING!