Pumpkin Pie

DSC_0787

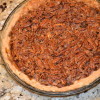
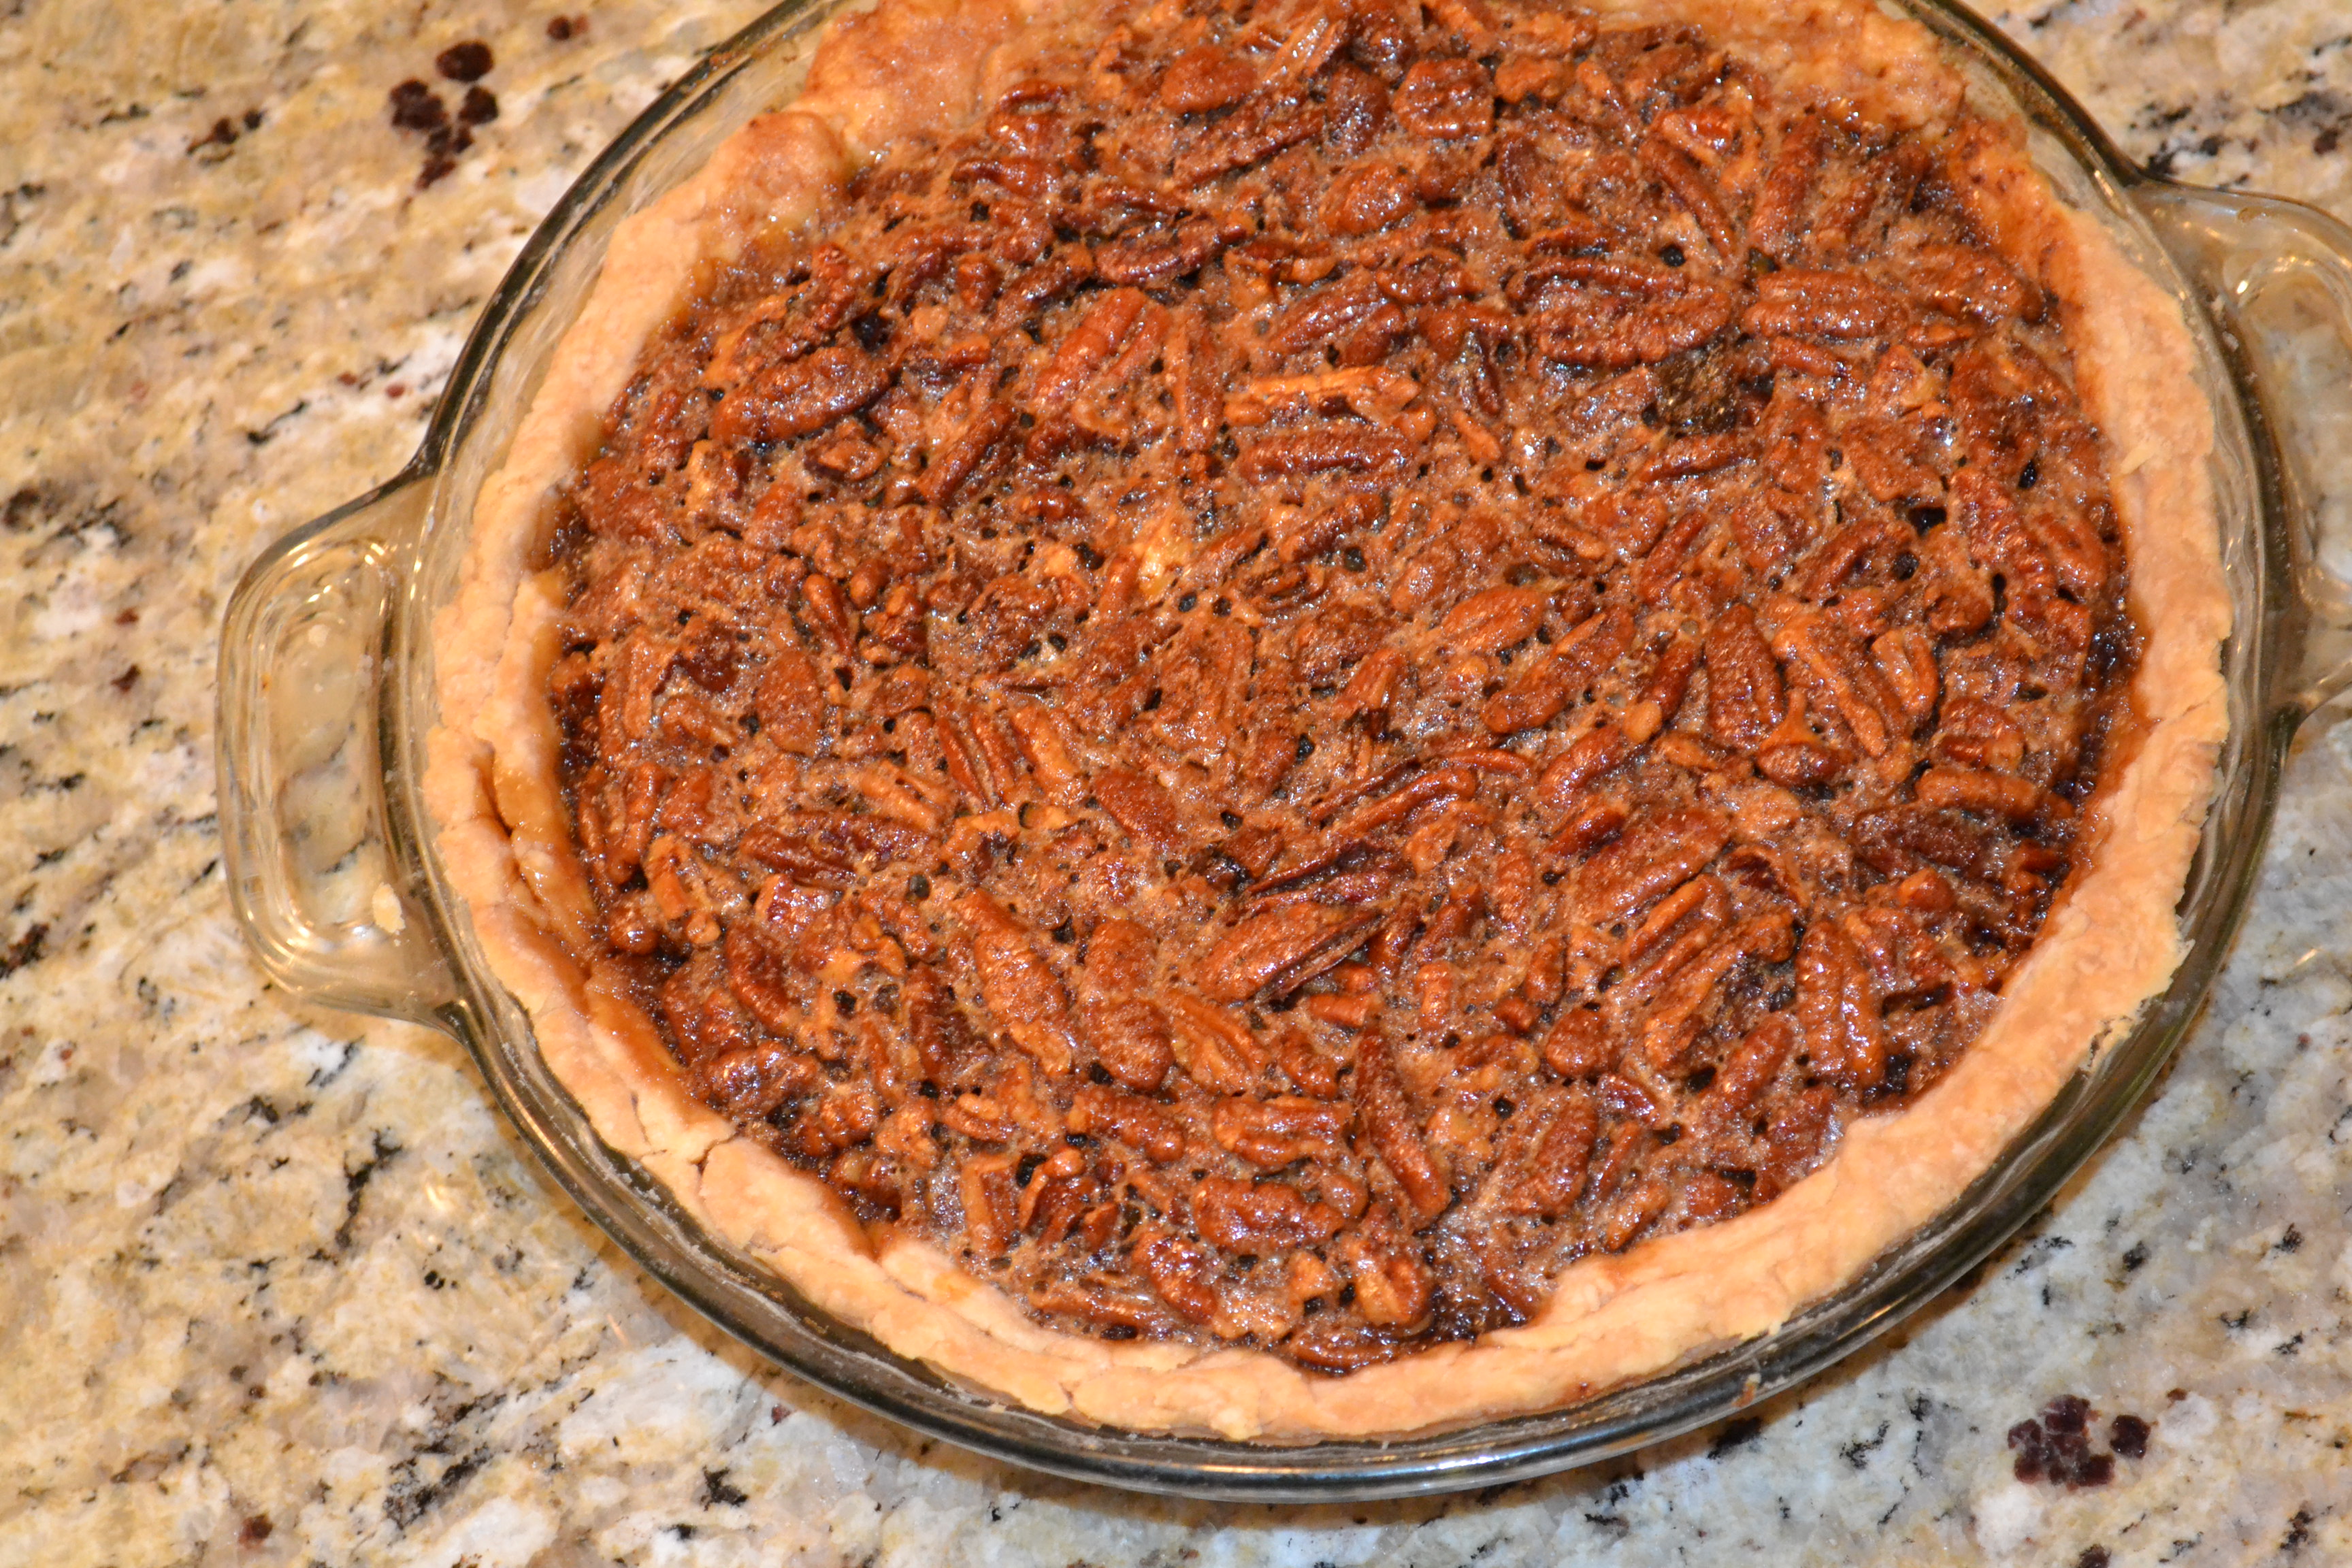
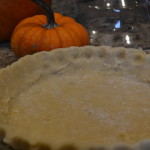
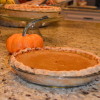
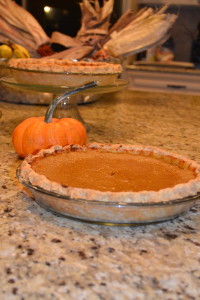
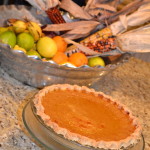
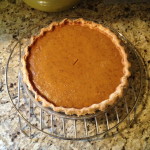
There is a special feeling of accomplishment and “arrival”reserved for the moment when you look at your LOVELY freshly baked pumpkin pie cooling on the rack,  knowing that you both roasted the pumpkins used in the pie AND made the crust from scratch. You “can” use the canned stuff, but roasting your own pumpkins just puts this already delicious recipe over the edge of deliciousness! Roasting pumpkins isn’t as hard as you may think and it truly is worth the time for some AMAZING tasting pumpkin pie! You can find my simple recipe HERE.

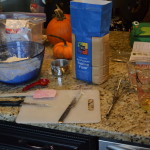
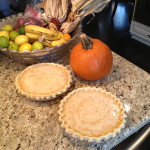
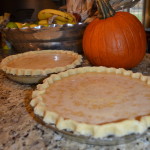
I like to use organic local pumpkins whenever available. The nice thing about doing pumpkin pie, is that you can roast extra pumpkin and use it later in the week! I usually roast a pumpkin to make puree for the pie, and roast a pumpkin to roast in chunks to use with toasted quinoa and roasted chickpeas for dinner, or tossed in a salad.

Pumpkin Pie

Prep:15 mins |Cooking: 55 mins

Ingredients

3/4 cup granulated sugar
1 teaspoon ground cinnamon
1/2 teaspoon salt
1/2 teaspoon ground ginger
1/4 teaspoon ground cloves
2 large eggs
1  15 oz. canned Pumpkin or 1 3/4 cups pumpkin puree
1 12 fl. oz. can Evaporated Milk
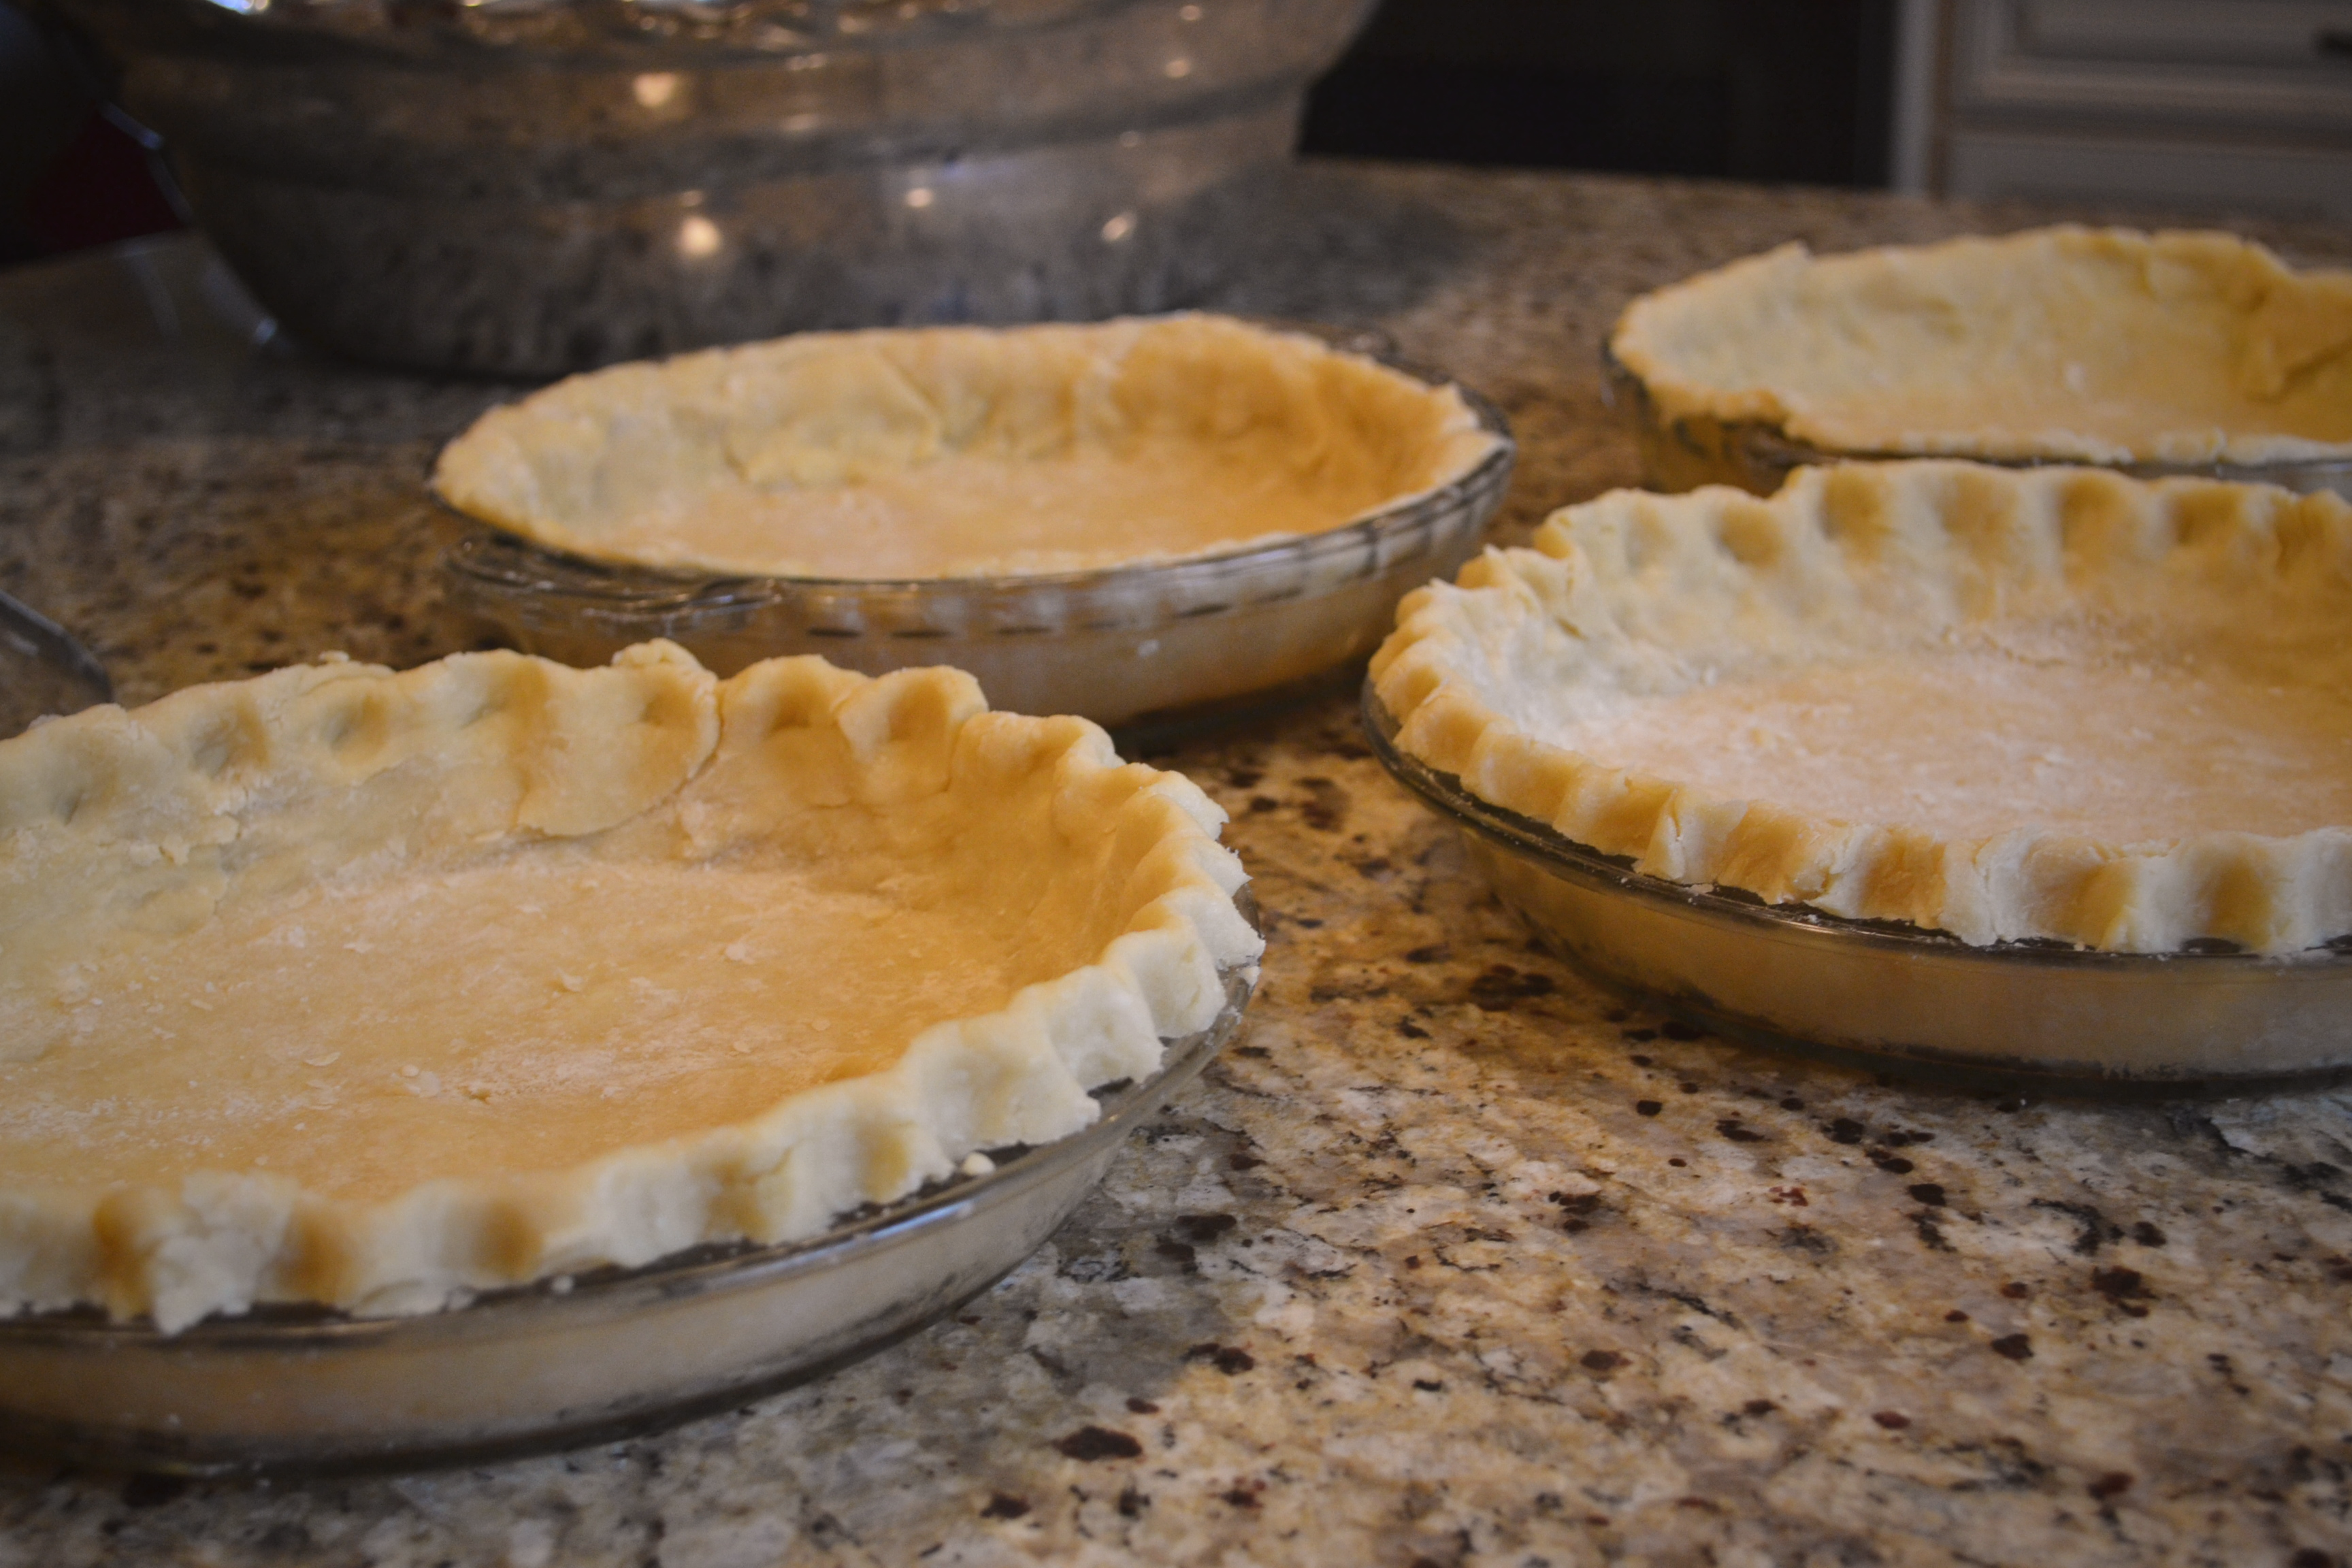
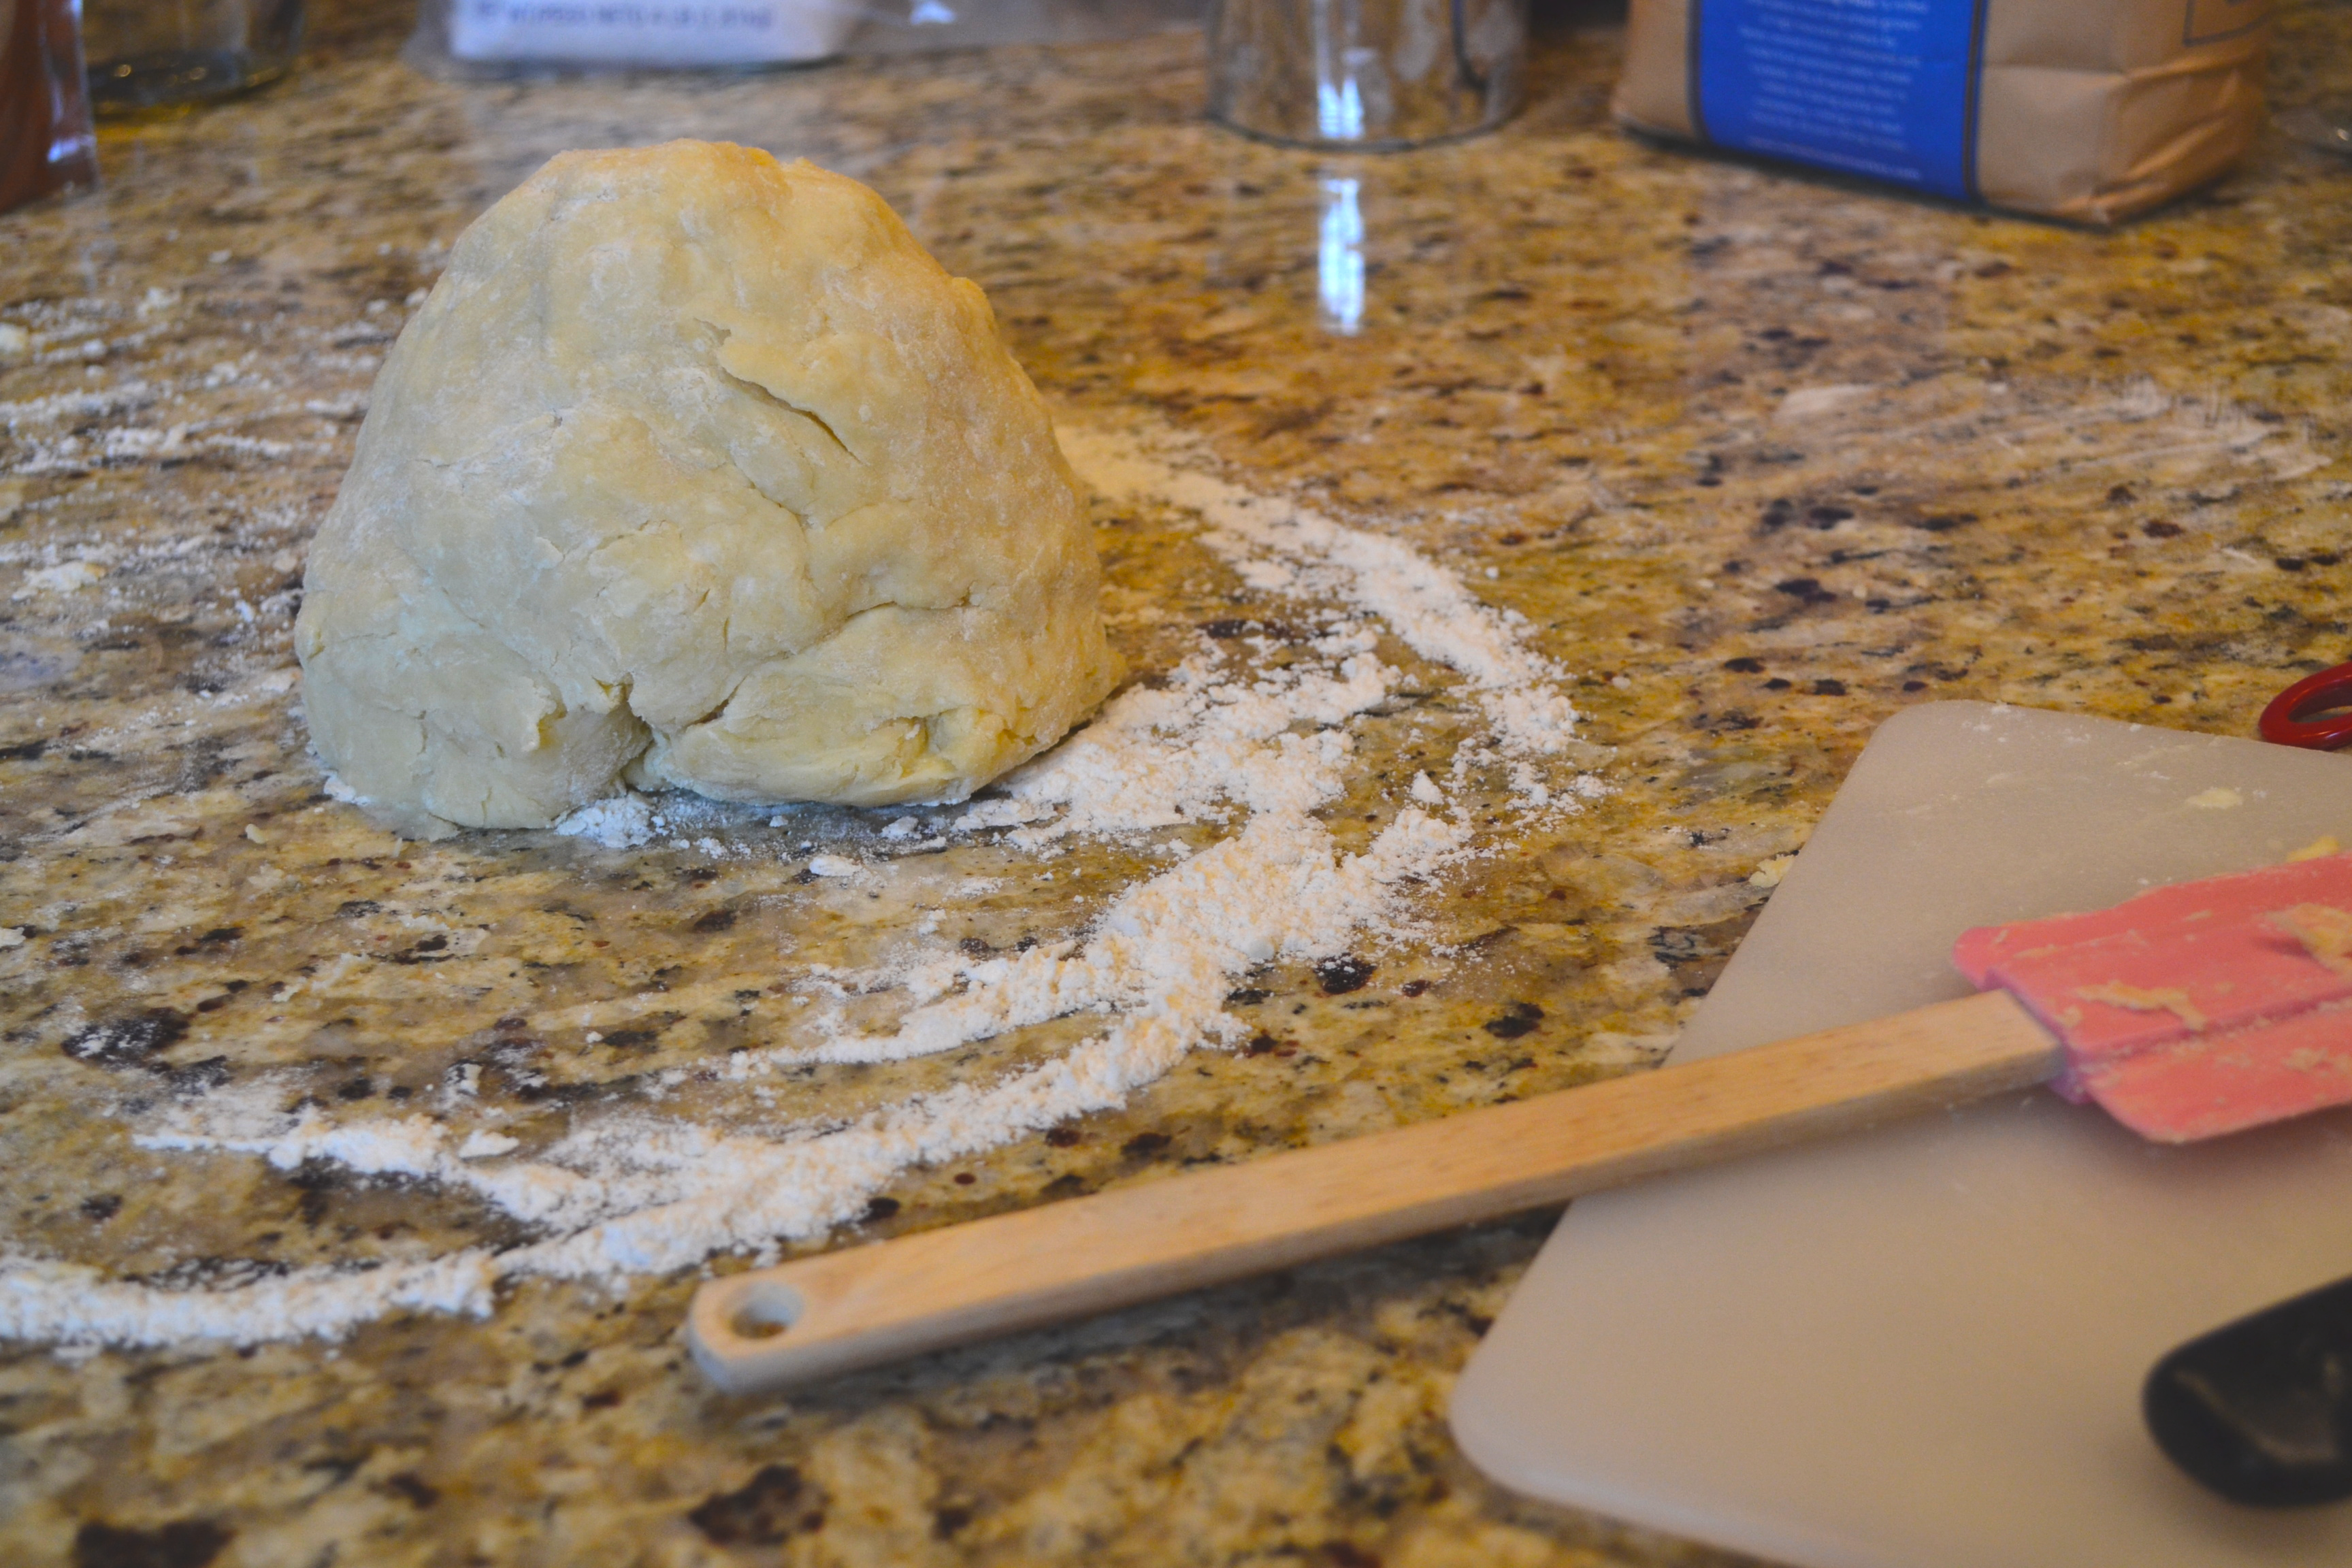
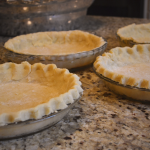
1 unbaked 9-inch deep-dish pie shell (homemade recipe HERE)
Whipped cream (optional)

Directions

Mix sugar, cinnamon, salt, ginger and cloves in small bowl. Beat eggs in large bowl. Stir in pumpkin and sugar-spice mixture. Gradually stir in evaporated milk.
POUR into unbaked pie shell.
BAKE in preheated 425° F oven for 15 minutes.
Reduce temperature to 350° F; bake for 40 to 50 minutes or until knife inserted near center comes out clean.
Cool on wire rack for 2 hours.


RECIPE TIPS
Pie is done when center reaches 200°F. Tap center surface of pie lightly – it should spring back when done. For easy clean up, spray pie pan with cooking spray before placing pie crust in pan. If pie crust is over browning, cover edges with foil.
To use prepared frozen pie crust: Place cookie sheet in oven and pre-heat oven as directed. Pour filling into frozen crust and bake on preheated cookie sheet.
High Altitude Adjustments: Reduce sugar to 2/3 cup and increase butter to 3 tablespoons. Reduce oven temperature to 325°F.

Best Pecan Pie…EVER

DSC_0762I’m not sure there’s much I need to say past the title. Once you make this pie, the taste speaks for itself! I started making this pie a few years back when I traveled with the mister and wanted to impress his family during Thanksgiving. Thankfully, this little wonder earned a spot in both their hearts and their stomachs and I was welcomed with open arms and second helpings into the family. If you need a “recipe to impress”, I suggest giving this little ditty a try but the clincher is to make your own homemade pie crust as well! You can find my homemade pie crust recipe HERE. If possible, give it a try at home before you’re under the pressure to cook and impress!

Pecan Pie

Makes filling for one pie
Prep:15 mins |Cooking: 60-70 mins

  • 1 cup Karo® Light
  • 3 eggs
  • 1 cup sugar
  • 2 tablespoons butter, melted
  • 1 teaspoon Vanilla Extract
  • 1-1/2 cups (6 ounces) pecans
  • 1 (9-inch) pie crust (homemade recipe HERE)

Preheat oven to 350°F.
Mix corn syrup, eggs, sugar, butter and vanilla using a spoon. Stir in pecans. Pour filling into pie crust.
Bake on center rack of oven for 60 to 70 minutes (see tips for doneness, below). Cool for 2 hours on wire rack before serving.

RECIPE TIPS

Pie is done when center reaches 200°F. Tap center surface of pie lightly , if it’s done the center should spring back when pressed.

If pie crust is over browning, cover edges with foil.


Classic Pie Crust

flare-iphoto-export-405809485The holidays are my favorite time of the year! Families come together, everyone is (mostly) joyful, houses and trees are decorated, ovens are pre-heated and baking can be considered a seasonal sport. Well, maybe not to some, but in our home baking is my winter sport. One of the most versatile and impressive things that you can learn to make is a pie crust. Whether it’s for a main dish or a desert, a homemade pie crust is SURE to impress. The original recipe calls for a food processor, but I don’t own a food processor so think that making this recipe by hand mixing counts as “adapting” the recipe. There is something so satisfying about hand making a pie crust and then watching it bake and hearing the chorus of “mmmmm’s” with that first bite of fresh-baked pie. Even if you only do it once and check it of your kitchen bucket list, I would recommend making this pie crust by hand at least once.

This recipe is good for two bottom crusts, or one pie that require a lattice or curst on top. It’s a very versatile crust as well since it’s not too sweet and holds up to liquid when baking. You can use this crust in my Home roasted Pumpkin or Pecan Pie recipes.  Or, you could easily use it in apple or other fruit pies and tarts. Check out the Real Simple 26 Holiday Pie and Tart Recipes for some inspiration. You can also use this as the base for a homemade chicken pot pie, simple Quiche to use Thanksgiving  leftovers or prepare a simple christmas brunch.

flare-iphoto-export-405809571


Basic Pie Dough
Adapted from Everyday Food, November 2006
Yield Makes two 9-inch crusts

Ingredients

  • 2 1/2 cups all-purpose flour, (spooned and leveled)
  • 1 teaspoon salt
  • 1 teaspoon sugar
  • 16 tablespoons cold (2 sticks) unsalted butter, cut into pieces
  • 1/4 to 1/2 cup ice water

Directions without food processor

  1. Combine flour, salt, and sugar in a medium-sized bowl and whisk to combine ingredients. Grab two knives or a pastry cutter and cut the butter until the mixture resembles a coarse meal with just a few small pieces of the butter left over.
  2. Sprinkle with 1/4 cup ice water. Mix until dough is crumbly but holds together when squeezed with fingers (if necessary, add up to 1/4 cup more water, 1 tablespoon at a time). To help ensure a flaky crust, do not over mix!
  3. Transfer half of dough (still crumbly) onto a piece of plastic wrap. Form dough into a disk 3/4 inch thick; wrap tightly in plastic. Refrigerate until firm, at least 1 hour (and up to 3 days). Repeat with remaining dough. (Disks can be frozen, tightly wrapped, up to 3 months. Thaw before using.) Makes 2 disks.

Directions with food processor

  1. Combine flour, salt, and sugar; pulse to combine. Add butter; pulse until mixture resembles a coarse meal with just a few small pieces of the butter left over.
  2. Sprinkle with 1/4 cup ice water. Pulse until dough is crumbly but holds together when squeezed with fingers (if necessary, add up to 1/4 cup more water, 1 tablespoon at a time). To help ensure a flaky crust, do not over process.
  3. Transfer half of dough (still crumbly) onto a piece of plastic wrap. Form dough into a disk 3/4 inch thick; wrap tightly in plastic. Refrigerate until firm, at least 1 hour (and up to 3 days). Repeat with remaining dough. (Disks can be frozen, tightly wrapped, up to 3 months. Thaw before using.) Makes 2 disks.