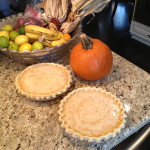
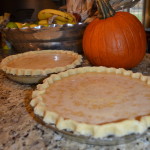
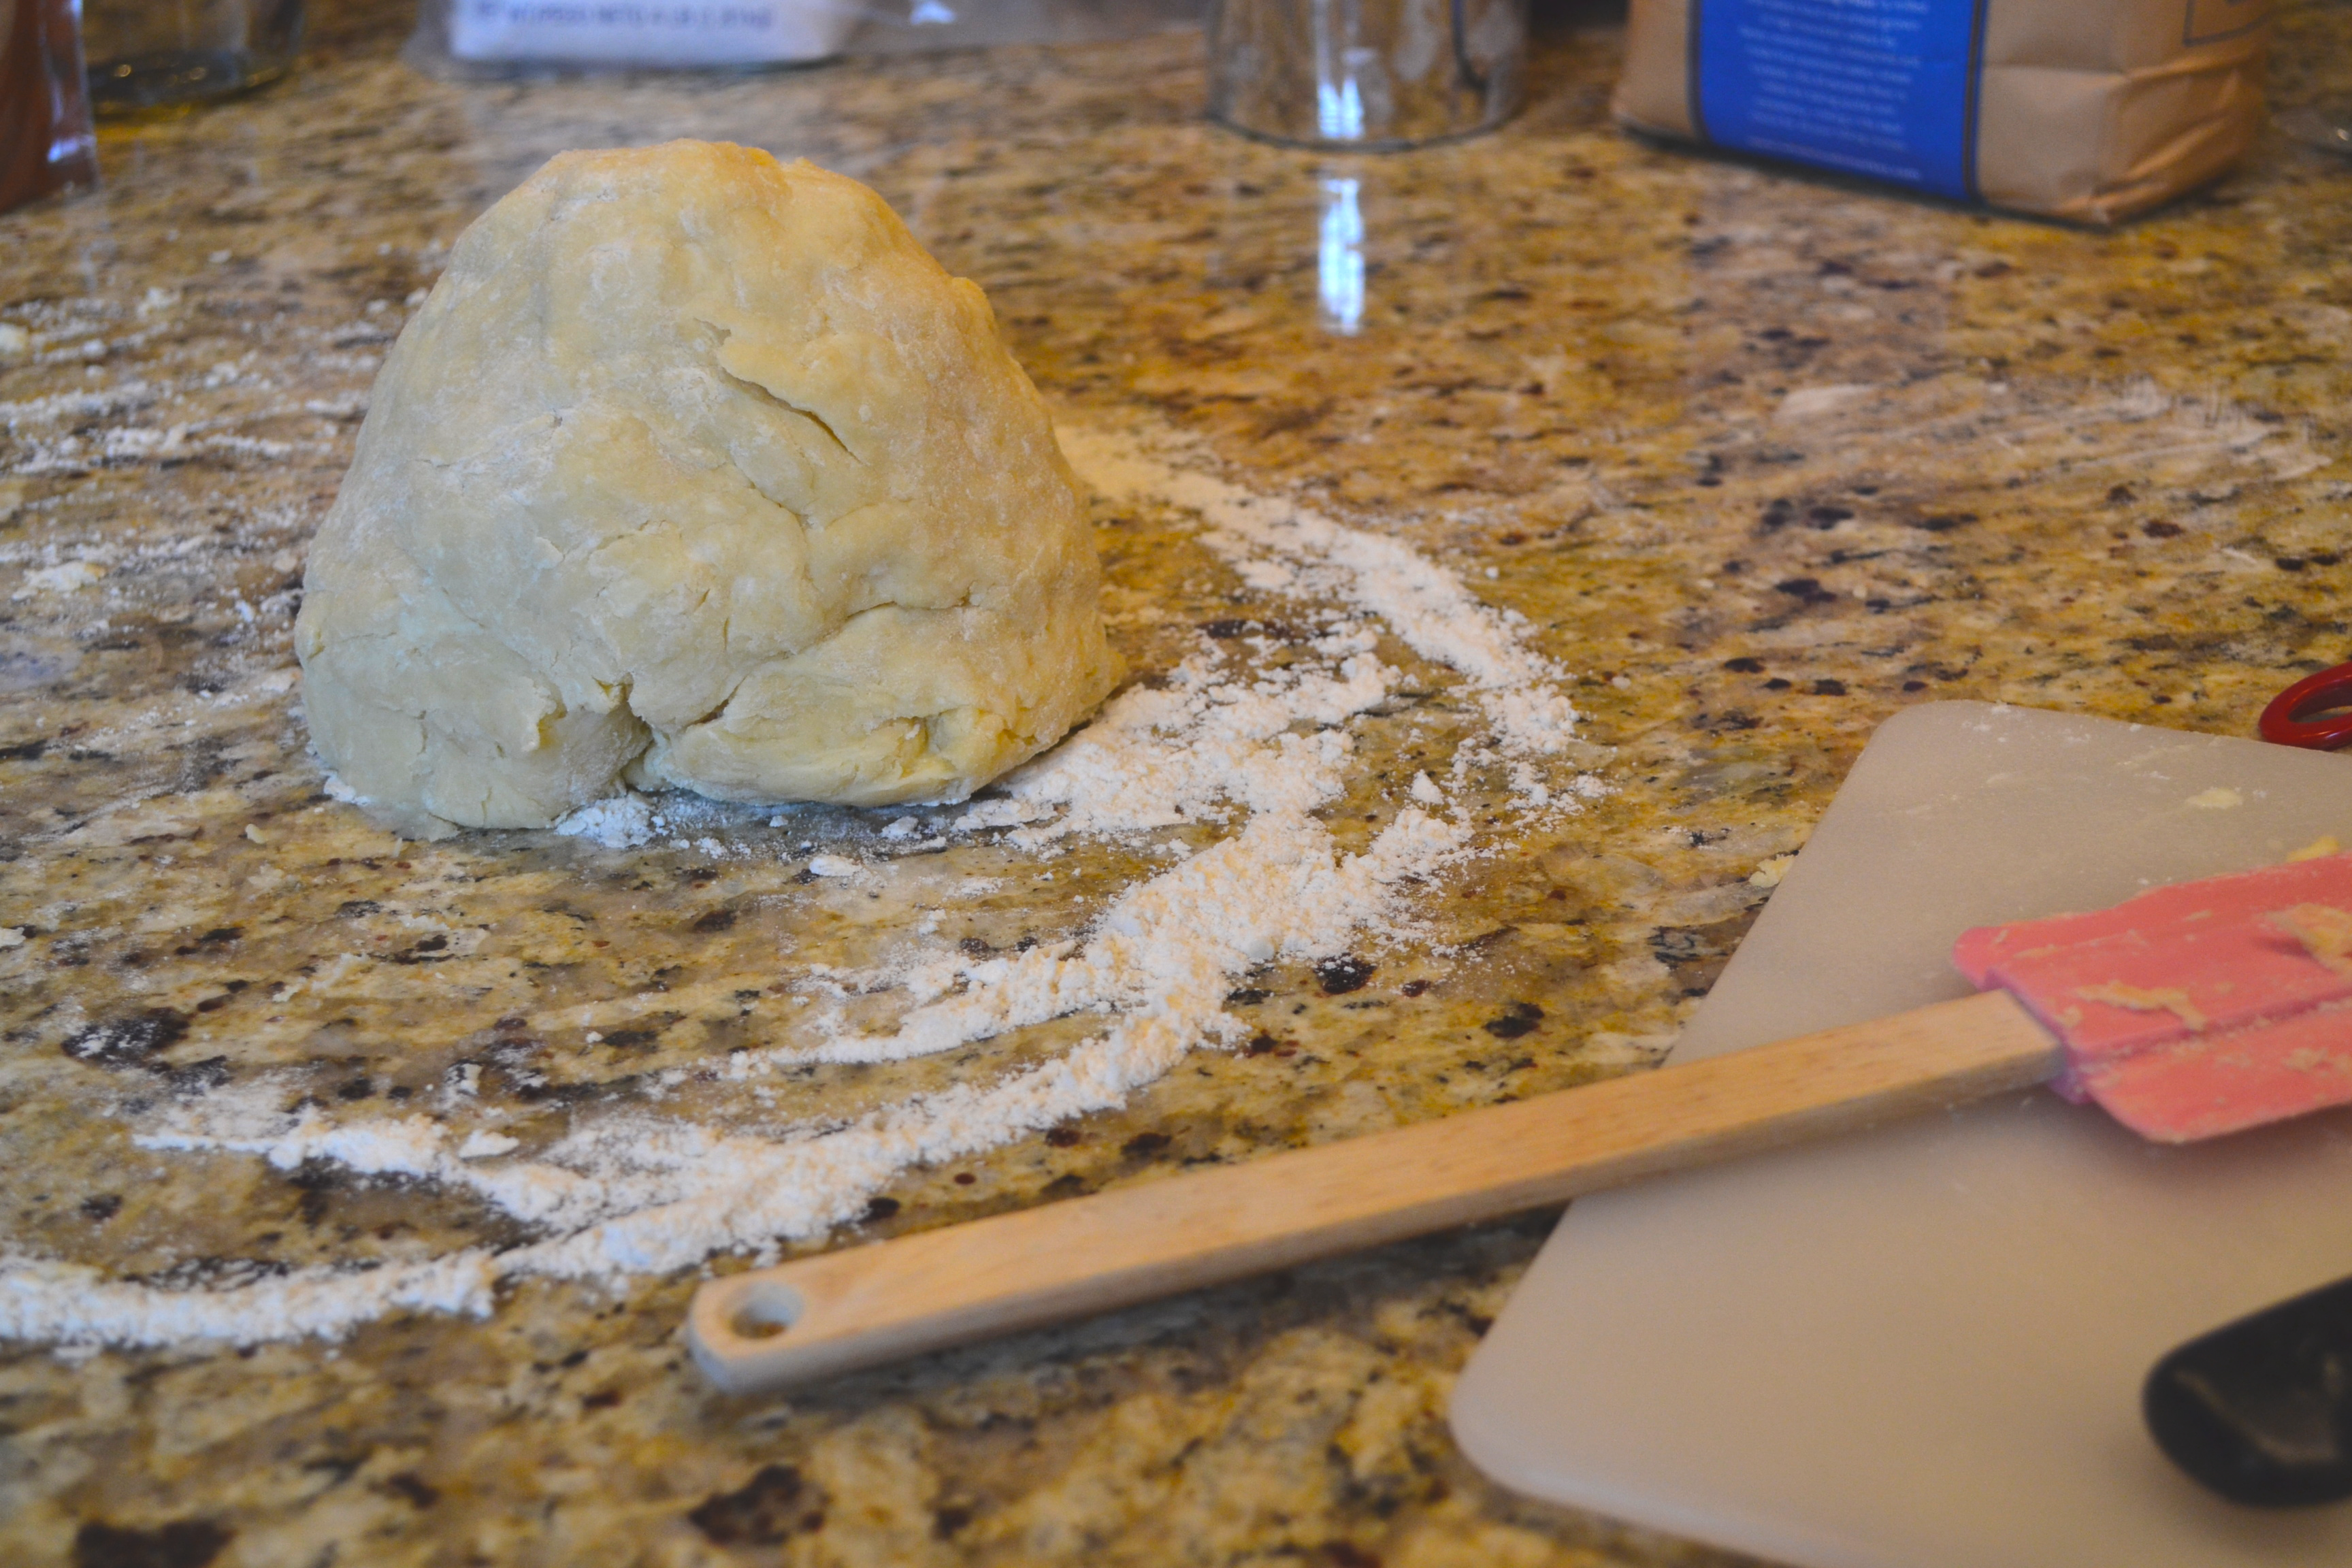
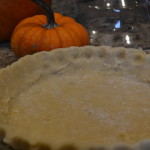
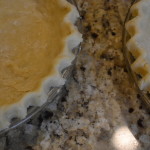
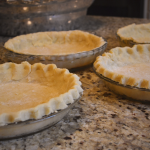
Dear friends! As you can tell, I’ve been on a bit of a writing hiatus the past few… months! Works been busy, personal life has been busy, there’s been travel and apparently it’s important to sleep every now and then?! What a cramp on a busy gals schedule hey? But i’ve dearly miss and you and even though I haven’t been posting, I have still been cooking up a storm and gathering new recipes to share! We had the weekly staples- batches of kombucha,and almond butter.We traveled to visit our family and threw in a few beer soaked grilled bratwurst, paleo chocolate chip banana bread and Pecan Pies with fresh homemade crust (of course!). I can’t visit without baking a few pies! One of my favorite parts about visiting family is playing the role of both ‘imported resident chef’ and ‘kitchen instructor’. I have So much fun teaching the niece and nephews to cook! We had a ball in the kitchen and they do great!
 But, as I was saying. This entire summer has been booked SOLID with both work and play. And just when I thought things would calm down in the fall, our landlord decided to sell the condo after four years of renting so we had to find a new place. Luckily, we found a place that we just LOVE and we move this weekend. THIS WEEKEND! A matter of hours away! I’m so excited I can barely handle it! I can’t wait to unpack and organize the new kitchen! With the fast pace of the last 3 months, cooking as been more of a chore than it usually is. I’ve really leaned on simple recipes, the local pho restaurant, and cereal for dinner. But with a new kitchen comes new recipes and excitement to cook! Which brings me to my fall and winter sports.
I HATE to, and won’t, drive in snow and/or ice… so my fall/winter sports consist of cooking, baking, menu planning from the ridiculous amount of time I spend on Pinterest (A Byte of Life boards here), testing out my wine cellar, catching up on all the shows that everyones been raving about and listening to the rain falling outside. Oh, and pumpkins! I LOVE PUMPKIN! I’ll eat slow roasted pumpkin right off the baking sheet! And Gingerbread. I LOVE gingerbread! But back to the point- my winter sports are gingerbread and/or pumpkin flavored, with a side of wine, and a good show in the background.
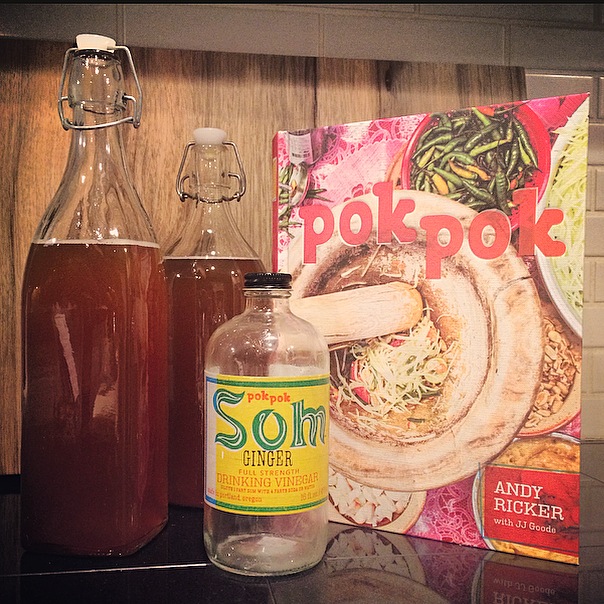
This year, I have a new hobby to add to the list. Pok Pok. If you’ve NEVER been to Pok Pok, you HAVE to go to either Portland or New York and experience their wings and one of their drinks with their drinking vinegar called som. Som is a drinking vinegar that has been an age old practice in many cultures around the world for it’s health benefits. Pok Pok has been serving their drinking vinegars since 2005, both as a cocktail mixer and diluted with soda as a soft drink. They use organic cane sugar for sweetener and let me tell you, while I’m not a soft drink person in the slightest, this stuff is downright addicting! You can purchase the Pok Pok Som online form both Pok Pok and ChefShop.com. A girlfriend and I just took an amazing cooking class at ChefShop.com so you can expect future blog post about them too!
Well, their chicken wings are known nation wide, and their cocktails are red-eye flight worthy. This, coming from a confirmed wine and anti-chicken wing girl. Let’s just keep this short and say that Pok Pok changed my life, as evidenced by the fact that after the first bite I waived down the waiter and asked if I could PLEASE purchase their cookbook but only if the amazing chicken wings were included. He handed me a copy to review. Each page coated in plastic which was an amazing idea because I was pouring over it as I was elbow deep in eating amazing chicken wings,The Pok Pok cookbook holds a special spot on my shelf , I personally confirmed that the chicken wing recipe is included, and it has been added to the list of fall and winter hobbies.
Tune in for more amazing thai inspired recipes from the Pok Pok cookbook, updates from this years International Food Bloggers conference (last years post) and to see how the Som Kombucha turns out! I had a bit of Som leftover and had a batch of kombucha ready tonight so I figured I’d do a little variation on my blueberry ginger kombucha and try some ginger som kombucha. I’ll let you know how it goes!