Torrija: Churro French Toast

DSC_0390Think of the best dessert you’ve ever tasted. Sit with that taste for a moment, thinking of the texture, flavor, temperature and atmosphere where you first consumed said dish. Now, double that goodness. That is what it’s like to eat a churro in Spain. Before we took our trip to Spain (you can read my recap of our two week long adventure here)

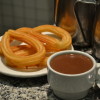
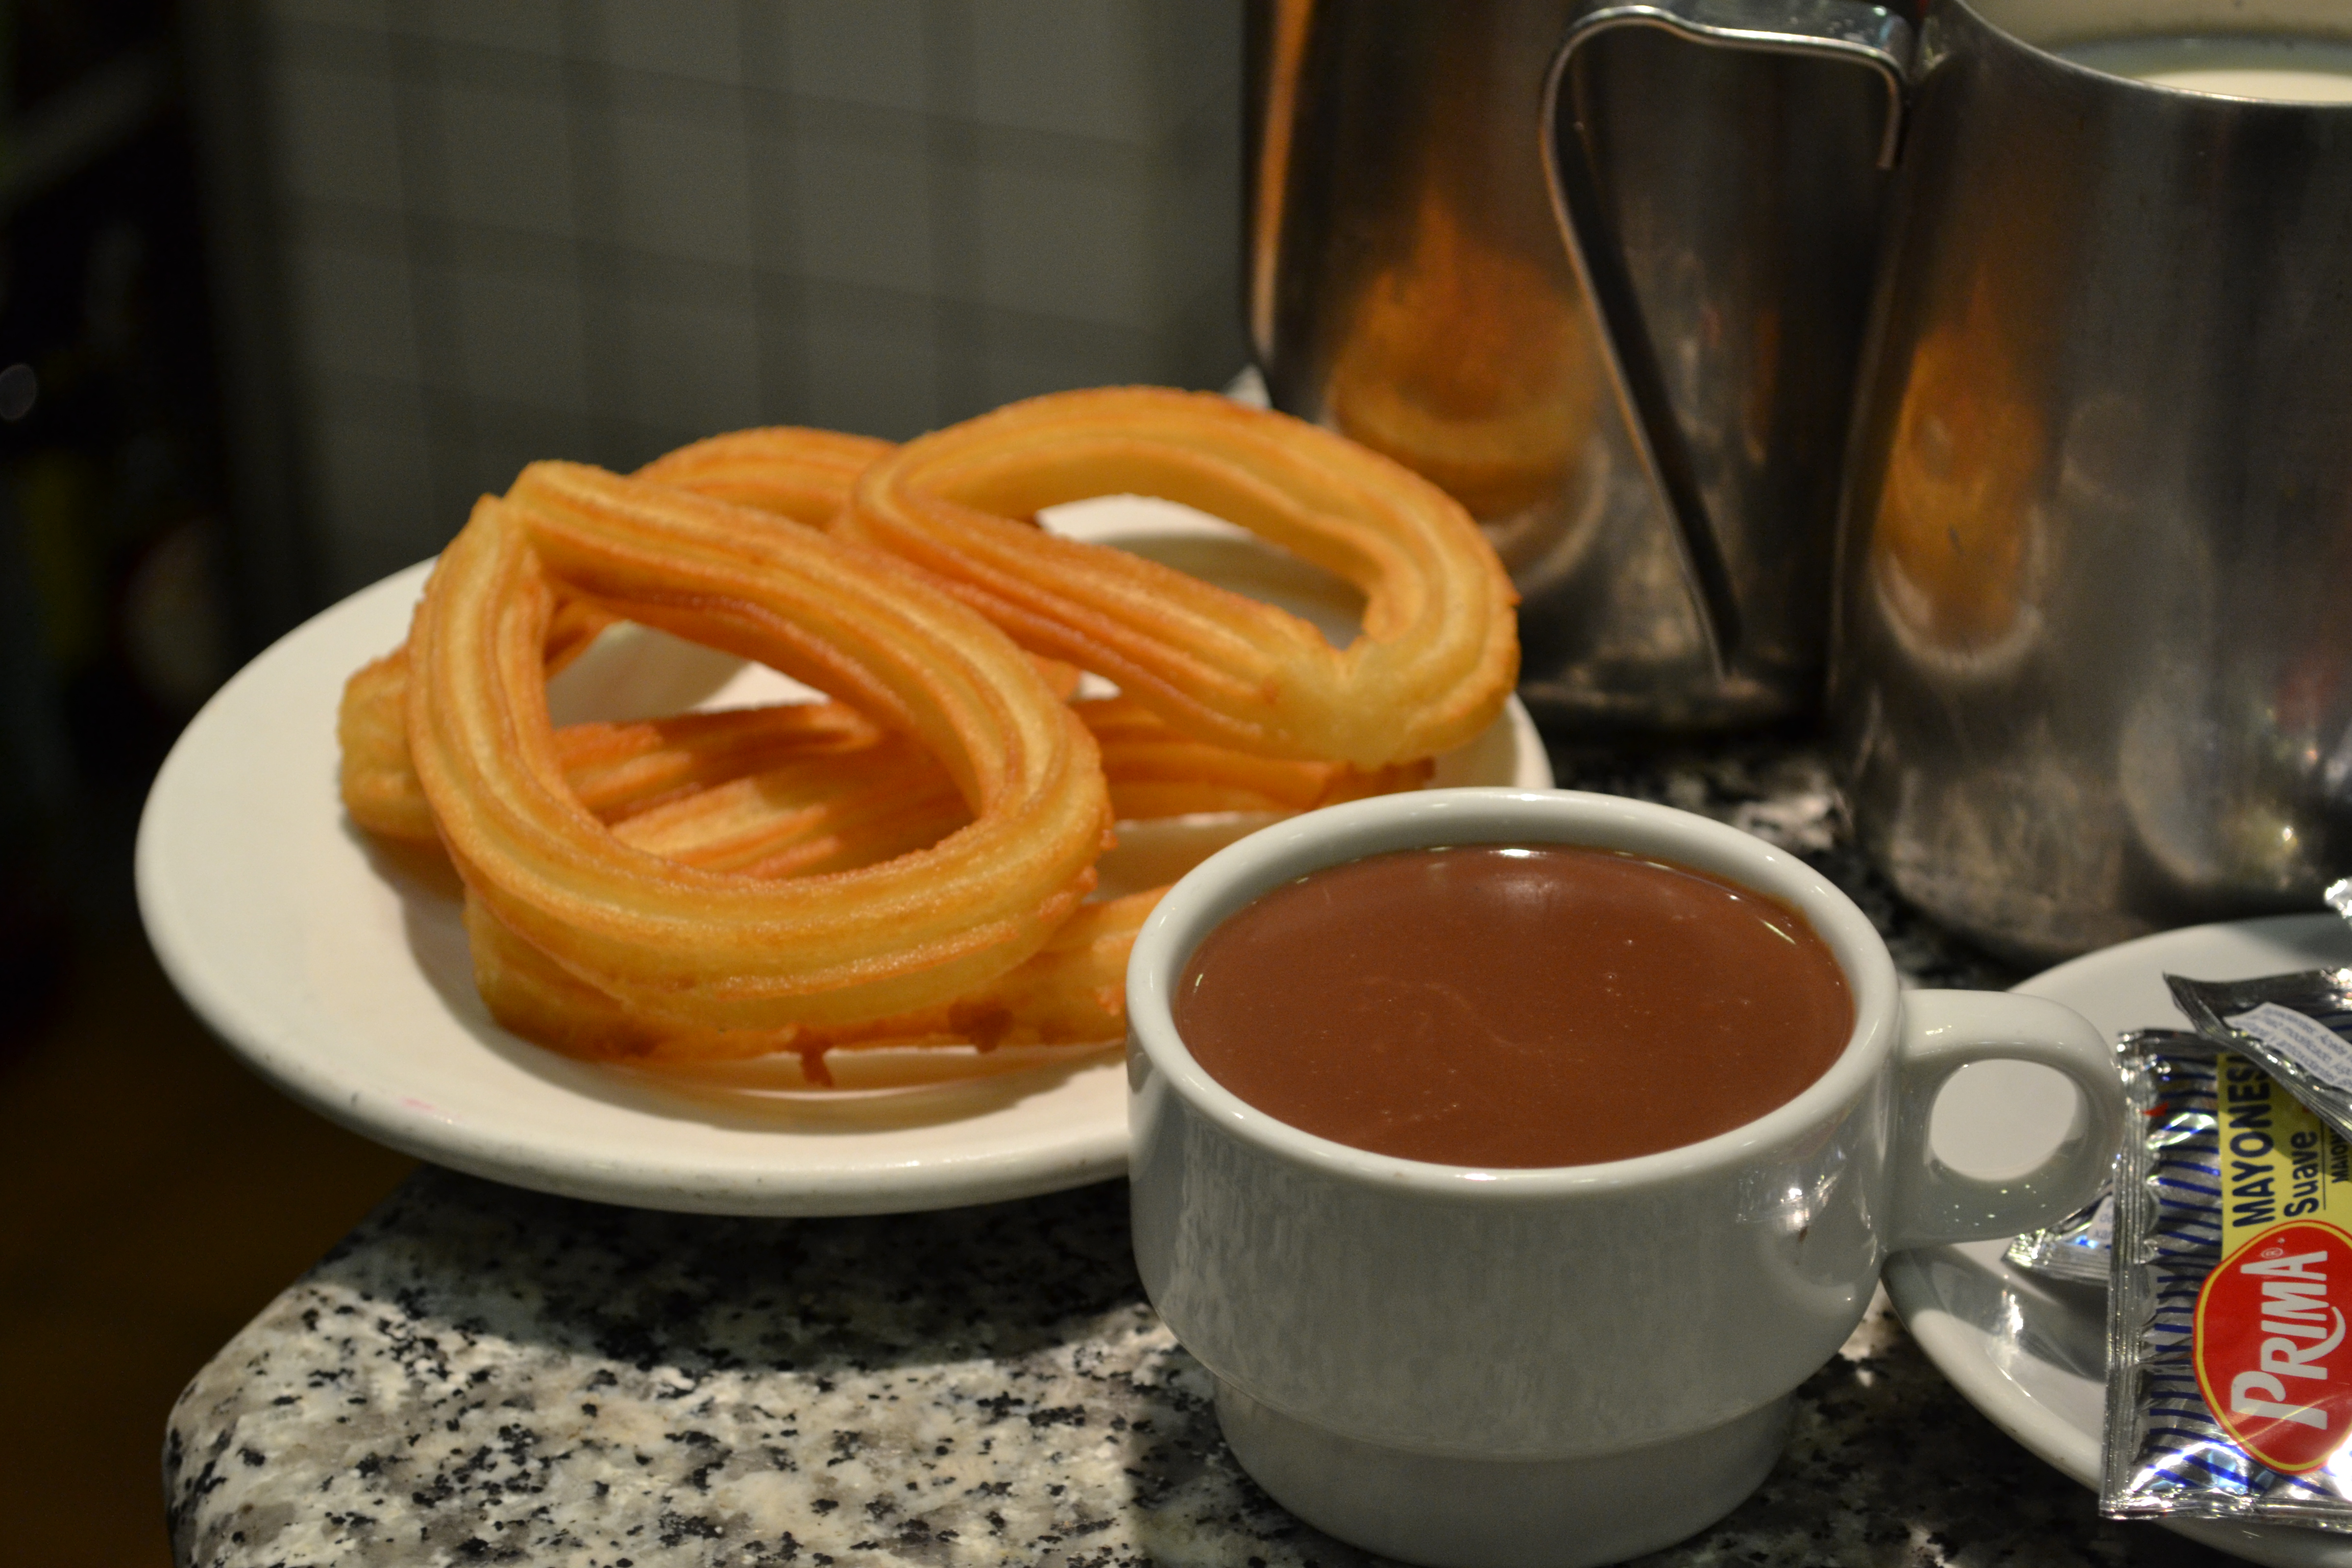
It was in Madrid that we discovered the famous Churros con Chocolate at Chocolateria San Gines. This place served one thing churros and dipping chocolate. I am not one with a sweet tooth, I’d much rather have a cheese plate and another glass of wine to finish off a night, but even I had to admit that they were delicious freaking churros!

Churros are traditionally served with cup of very thick but not too sweet chocolate to dip the churros in. As there is usually more chocolate the churro, the locals would all drink the remaining chocolate in the mug. While we stood in the long line, waiting for our chance at our own order of this delicious crispy and chocolate heaven, we observed how the locals were “doing it” and were a little grossed out when we saw them drink the chocolate. But, their chocolate isn’t like American chocolate. It wasn’t obsessively  sweet or rich in a sugary way. It was a much more european take on traditional chocolate that was actually quite delightful even to a chocolate averse gal such as myself.

Screen Shot 2014-11-08 at 6.43.23 PM
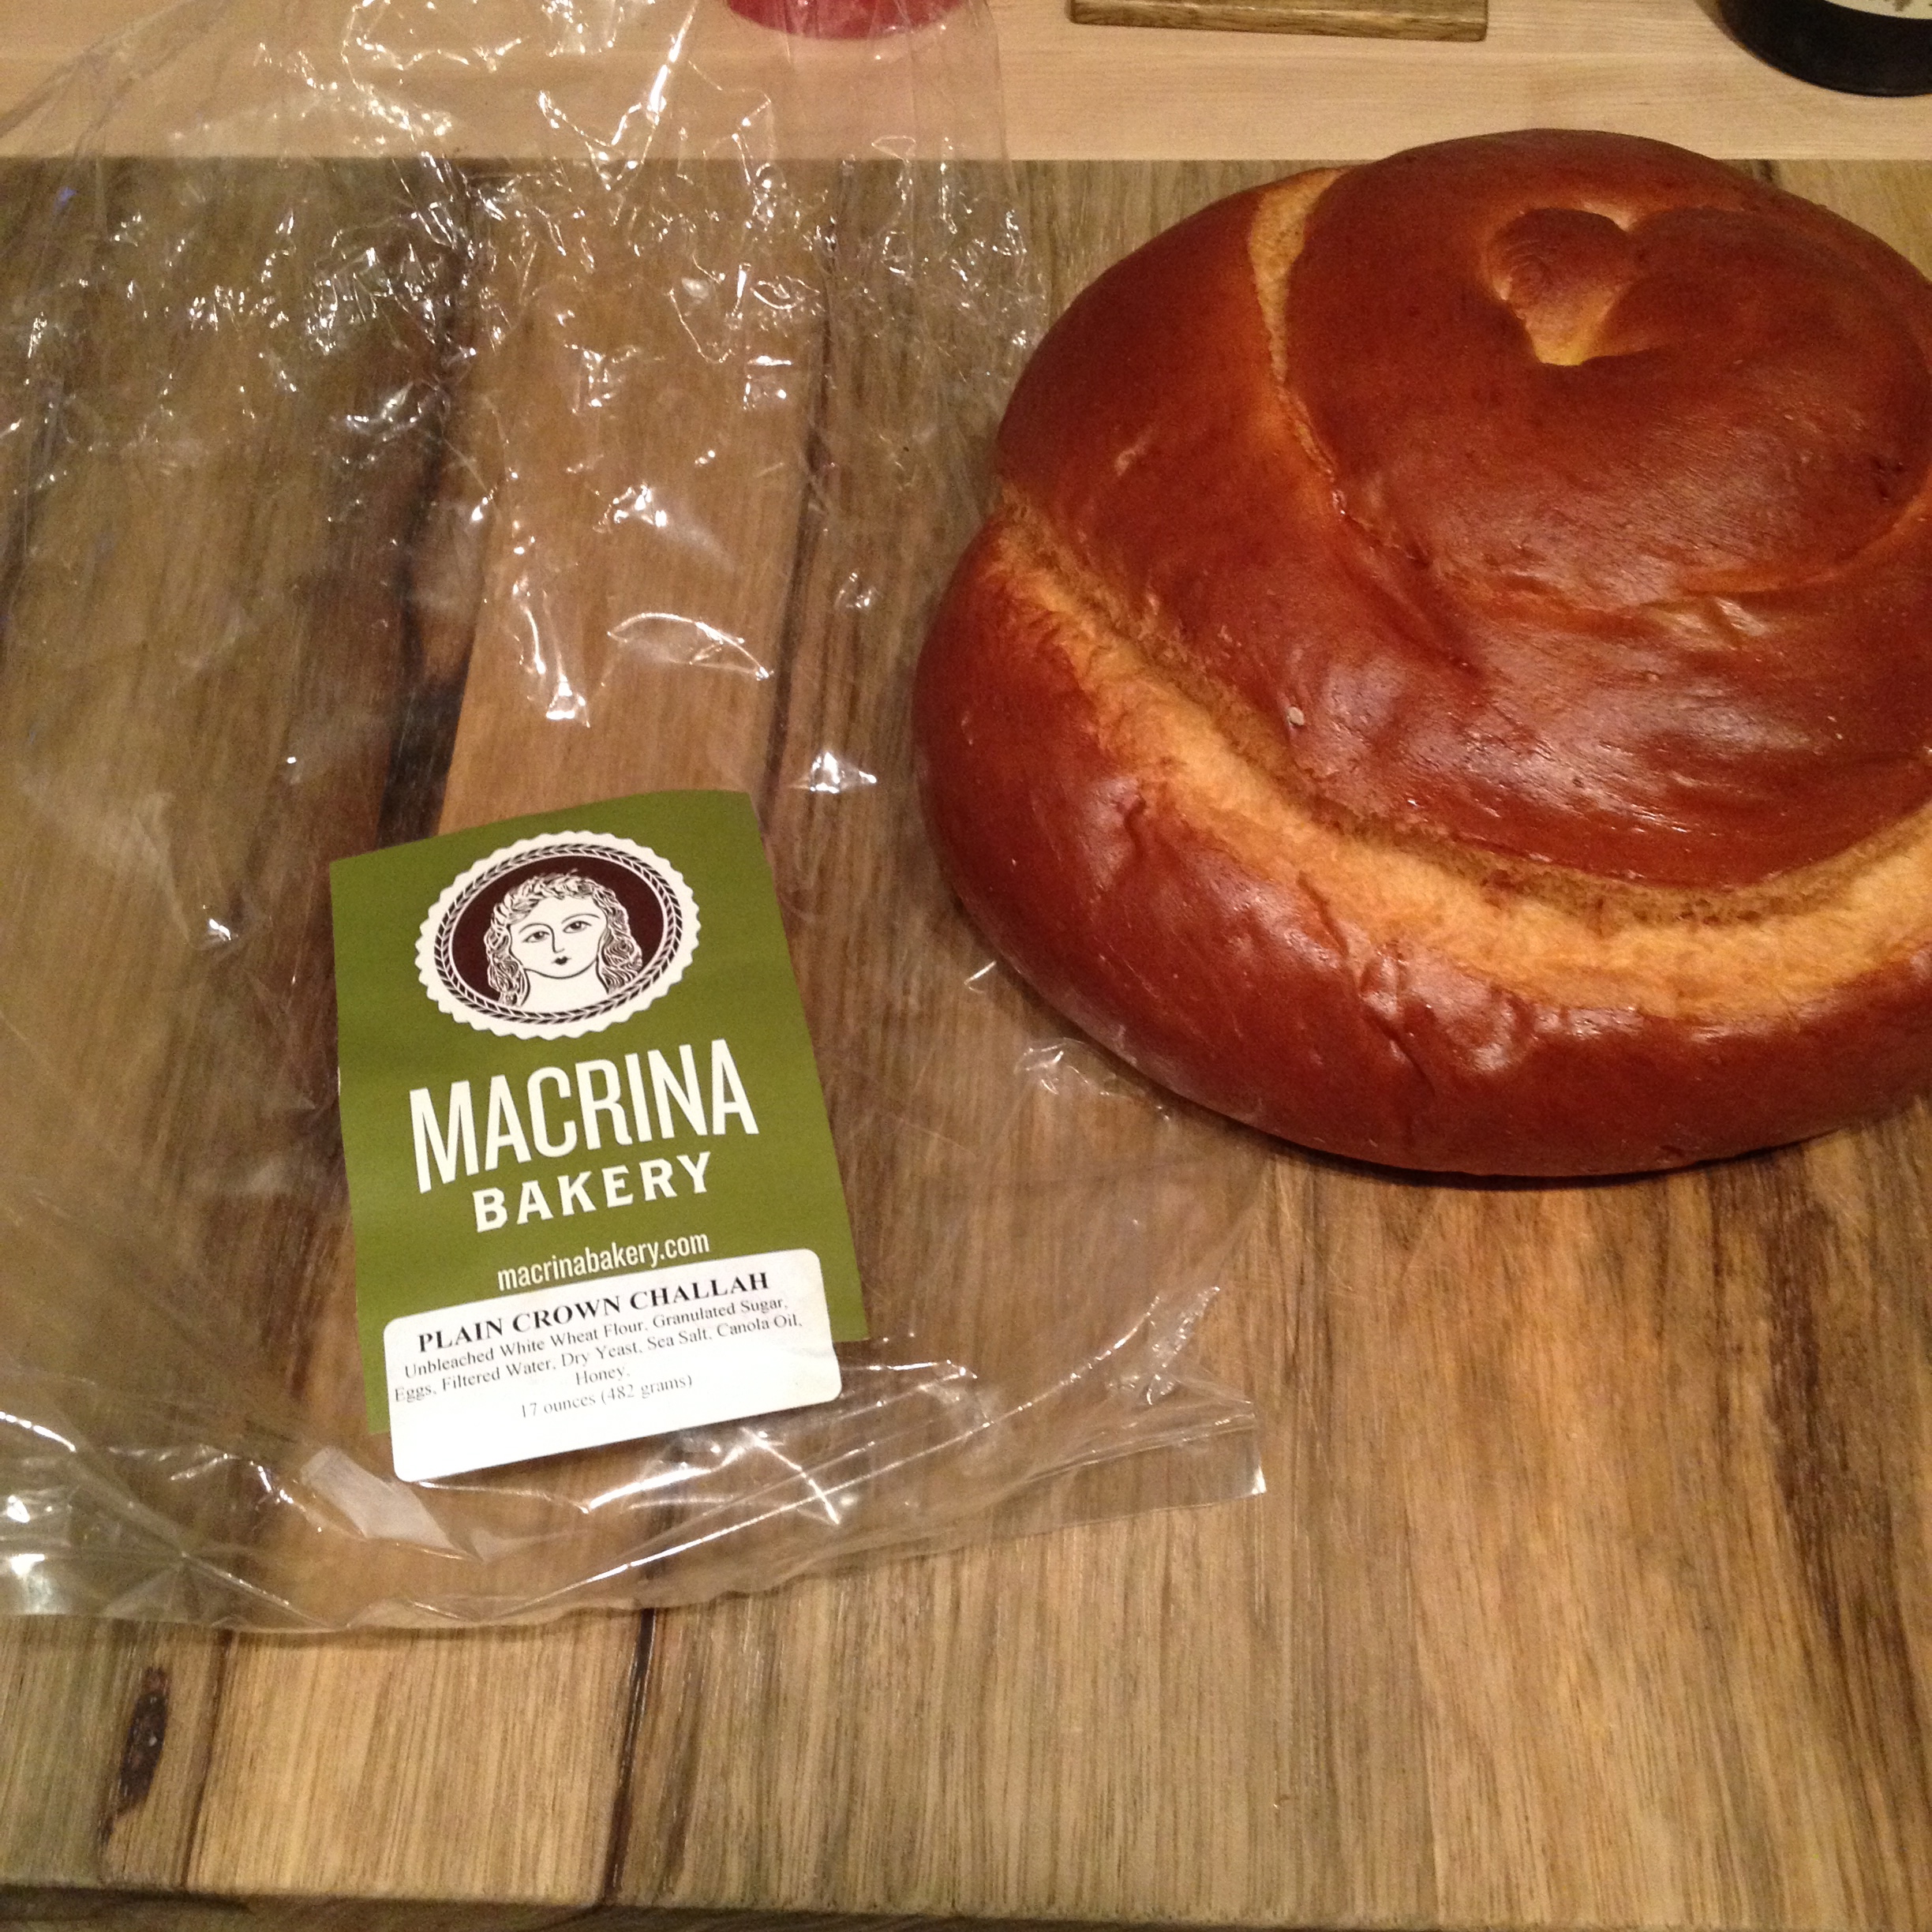
While doing some weekend reading around Easter, yes that holiday that was monthly ago, the mister came across a recipe in Seattle Times and put it on the “to make” request list. Since I’m not a big dessert person and this recipe looked like it would take some effort we put it on the backburner. For our first official gathering we hosted at our new place after moving a month ago, we invited two of his friends and one of their girlfriends over and the thought stuck… I’ll have three HUNGRY men and two gals and our theme is taco night. The only logical next thought was FRENCH TOAST CHURROS!!!! So, I dug up the recipe and call ahead to one of our local bakeries, Macrina Bakery, and reserved two loaves of challah bread!

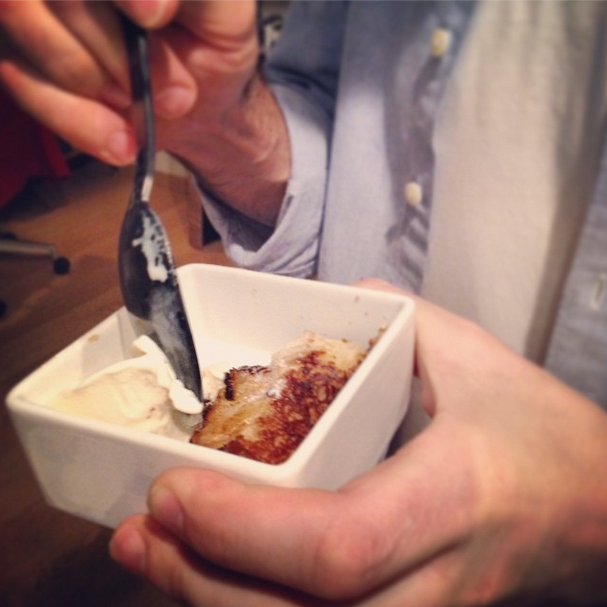
The original recipe calls for serving these delectable treats with a Sherry Caramel Sauce (which you can find in the original recipe link below) but we opted for vanilla bean ice cream.

IMG_9454I won’t lie, this recipe was a little bit of work but it was delicious! Gooey in all the right places, crispy on the edges, and much more satisfying in smaller portions that anticipated, it was a hit! In hing sigh, we barely used 1/3 loaf of the challah since the had such a good blend of rich flavors so I would only get one loaf next time, and a much smaller one at that! The amazing local shop where we get all our spices, Market Spice in Pike Place Market, had the aniseed and any local liquor store should have the anisette which is a is an anise-flavored liqueur. You need such a small amount for this recipe and we could only find it in the traditional 750ml bottle so I’ll be looking up a few cocktail and baking recipes to use that up! Overall, this recipe was such a fun experience to make and it was quite tasty!

Torrija
Serves 6
Original Recipe

Ingredinets:
1 loaf fine-crumb white bread (Aragona uses challah)
1½ cups milk
½ cup cream
¼ cup sugar
1 tablespoon aniseed
Pinch of salt
2 eggs
1½ ounces anisette
Extra-virgin olive oil for frying

IMG_9457Directions:
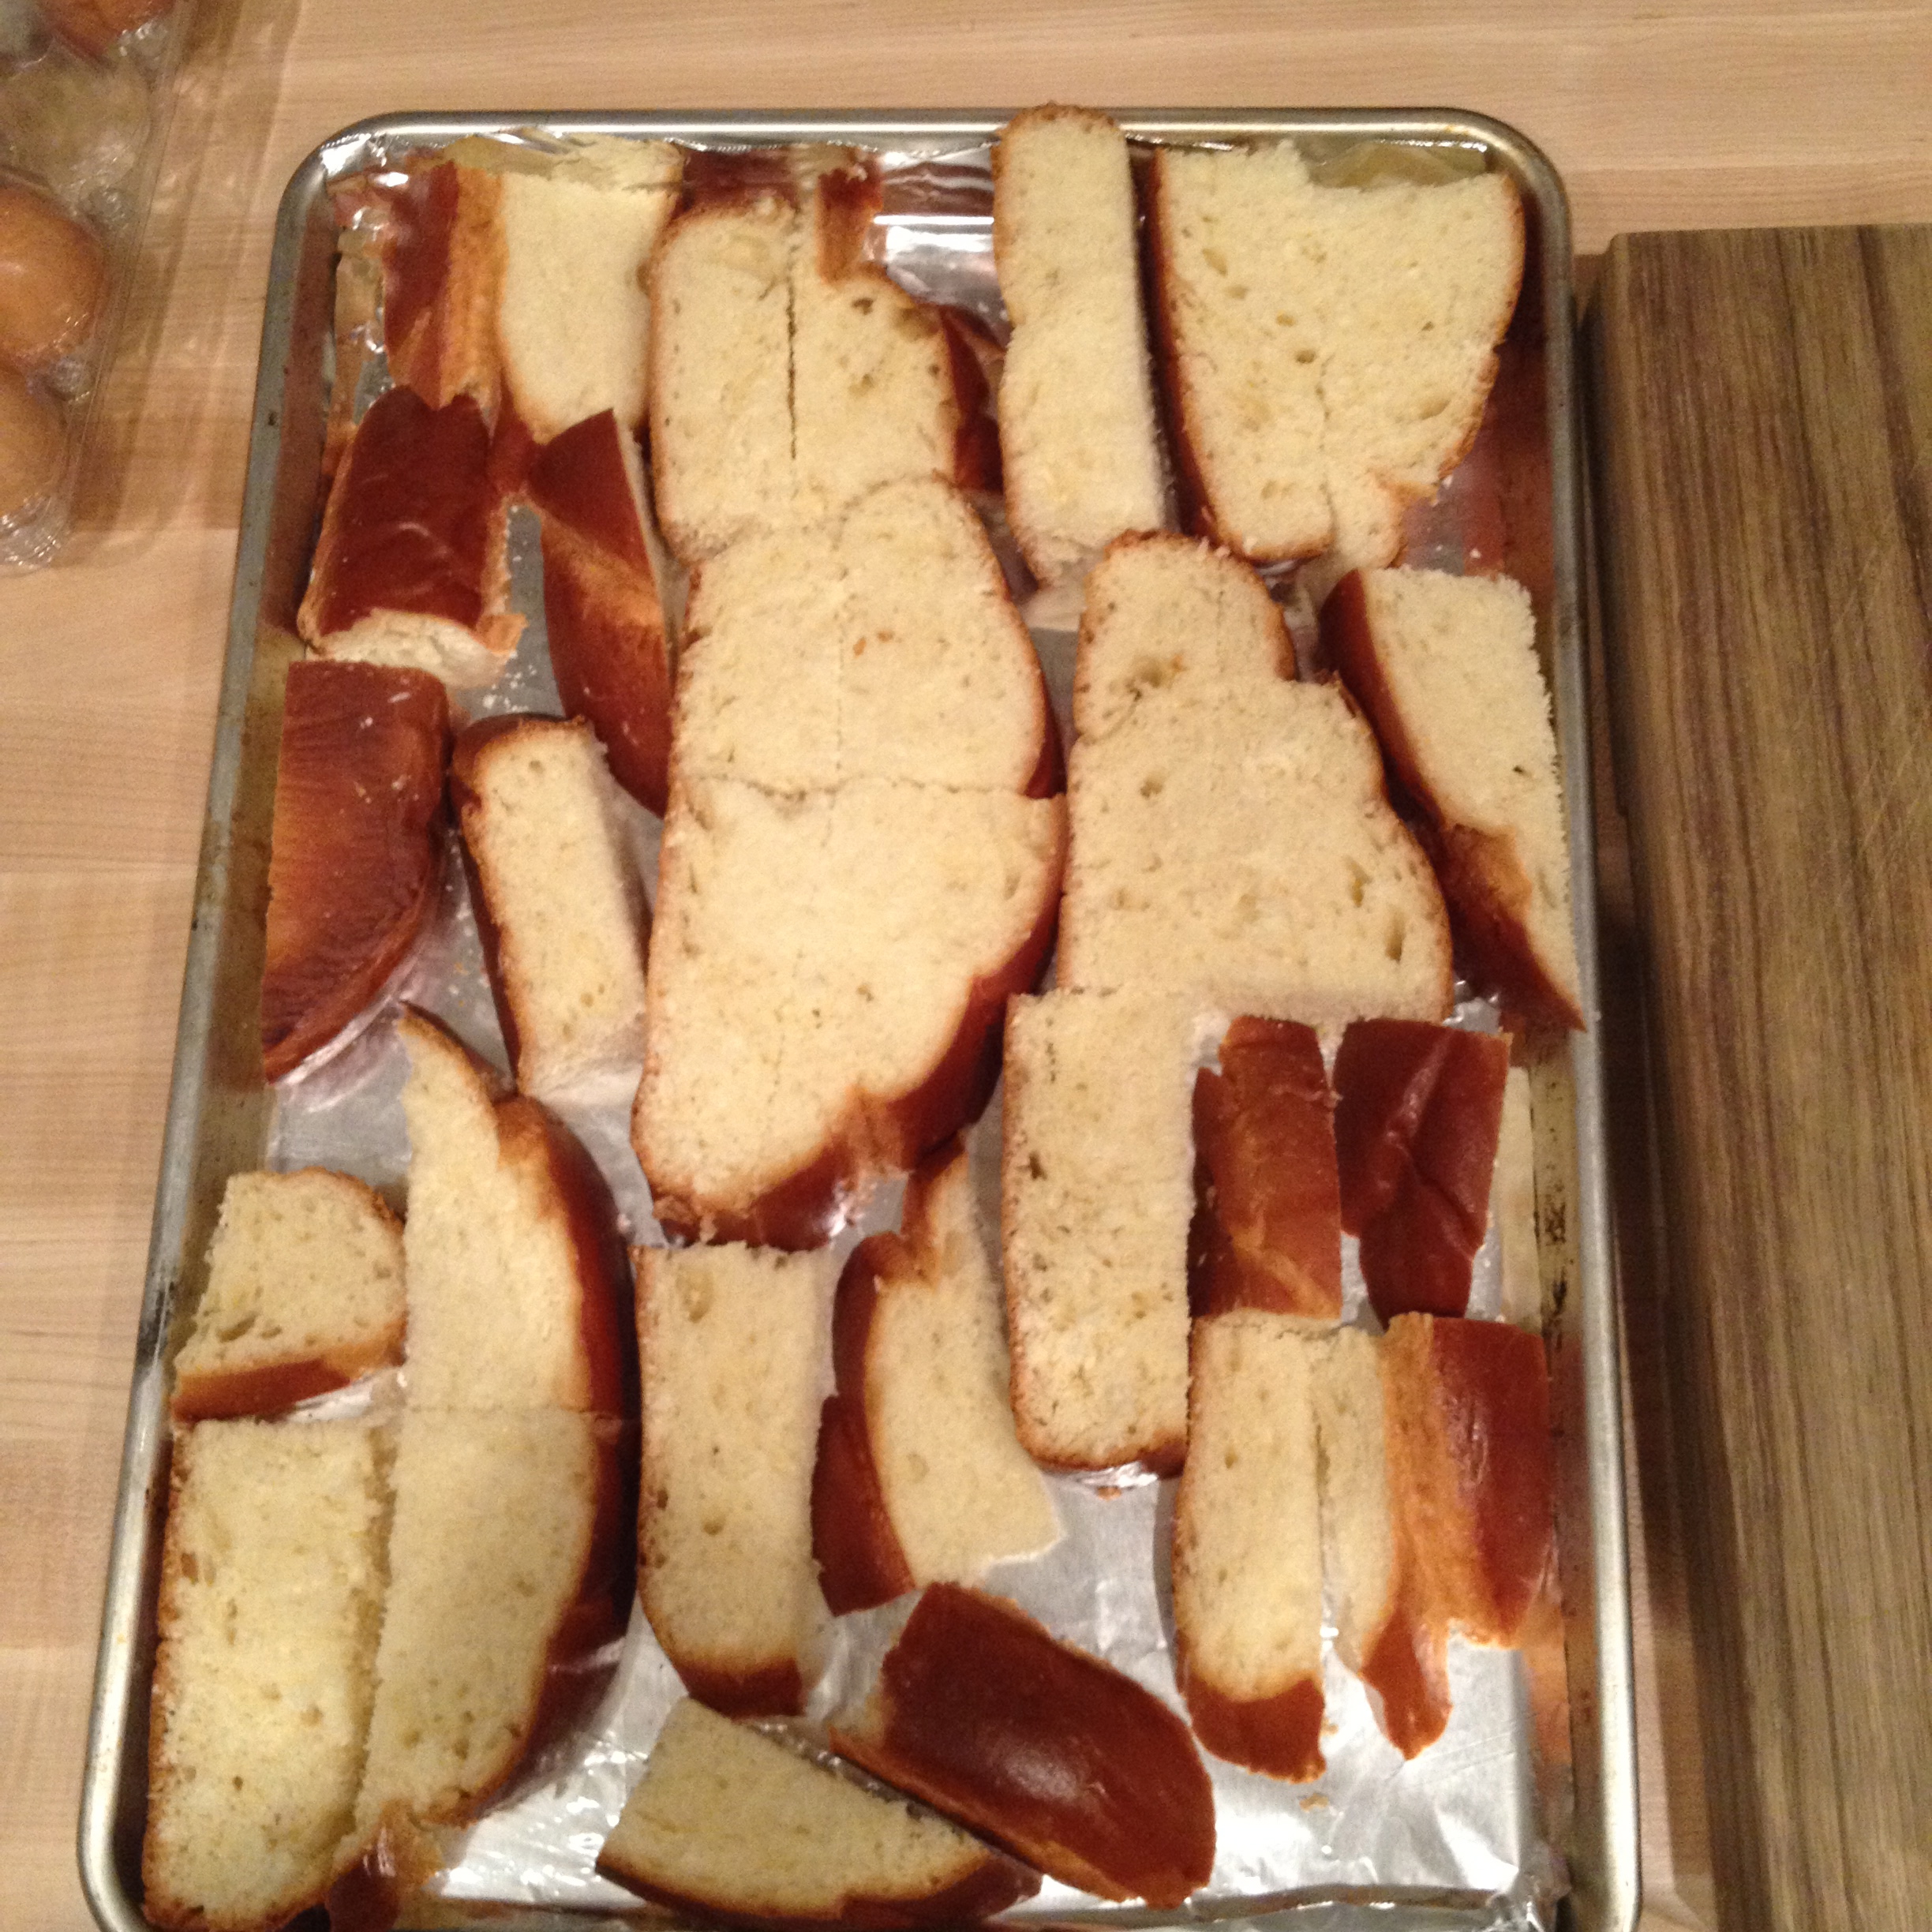
To prepare the bread: Preheat oven to 325 degrees. Cut bread into 4-by-1-inch logs. Toast in a single layer on a sheet pan until cut surfaces are just dried slightly, but not colored. Allow to cool. (Or, cut bread into logs and air dry on a rack for several hours.

To make the custard: Combine the milk, cream, sugar, aniseed and salt in a heavy saucepan. Scald over low heat until bubbles form around the edges, and a skin forms on the surface. Do not boil.

In a separate bowl, beat the eggs briefly. Slowly pour about one third of the scalded-milk mixture into the eggs to temper them, whisking constantly to avoid cooking eggs.

IMG_9456Slowly whisk the tempered-egg mixture back into the pot with remaining milk. Cook over medium heat, stirring constantly, until custard thickens enough to coat the back of a wooden spoon (about 10 minutes). Pour thickened custard into a shallow baking dish to cool. Add the anisette when the custard has cooled.

To cook the bread: Place dried bread pieces in a single layer in the custard. Allow to soak 3 to 5 minutes, flipping halfway through, until bread is saturated. Work in batches if necessary. Drain bread on a rack over the baking dish for several minutes.

Heat several tablespoons of olive oil in a heavy-bottomed pan over medium heat. Brown the bread pieces on all sides, working in batches.

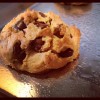
Serve hot or room temperature with ice cream!

IMG_9463

Flying Apron Chocolate Chip Cookies (Gluten-Free, Dairy-Free)

I fell in love with Flying Apron  bakery a bout 6 years ago when I was diagnosed with a dairy allergy. No dairy…means… no… BAKED GOODS!? What about my cookies, muffins, and scones!?  While lactose was the allergy, being a digestive tract allergy meant that gluten would quite possibly be an “irritant” for me even thought I wasn’t necessarily allergic to it. “Oh Joy” … my first thoughts… and many of the subsequent thoughts afterward. This diagnoses came before food allergies were really becoming main stream and I must confess it was a very rough life adjustment for me, being miss baked goods lover, to find things that were both dairy-free and yet still tasteful. Flying Apron specializes in gluten-free, vegan baked goods, and breads as well as savory lunch items including savory veggie hand-pies, macaroni dishes, pizzas, soups, and salads to name a few. They rotate their menu to feature dishes that incorporate seasonal and local ingredients.

It was at their Fremont Cafe that I first had the realization that gluten-free and/or dairy-free baked goods didn’t have sacrifice taste and make me feel like I was chewing on a soggy 10 day old strip of cardboard! Previously, adhering to food allergies meant an immediate departure from any sort of taste, texture or delightful food experience.  But when I first bit into a Flying Apron muffin, my food allergic life changed for the better. Their baked goods, breads, and savory items are really delicious and intensely palatable. Mind you, this review is coming from both the dairy-free AND the “MORE BUTTER PLEASE” review voice of this household. I’ve got him hooked on both the  Flying Apron  Chocolate Chip Cookies (which are both Gluten-free & Dairy-Free) as well as the Mighty O Vegan Sprinkle Doughnuts. Muwahaha!!)

Well, I’m quite obsessed with their chocolate chip cookies which is saying a LOT for someone who isn’t particularly fond of chocolate. My all to often nightly ritual consists of mixing a Flying Apron cookie and a few small scoops of LivingHemp Ice Cream which can actually become an expensive habit and deprives me of both my baking fix and smelling the house up with cookie scent!


Flying Apron’s Gluten-Free Chocolate Chip Cookies
15 cookies 

2 3/4 cups brown rice flour
1 1/2 cups plus 1 tablespoon garbanzo bean flour
1 teaspoon baking powder
1/2 teaspoon baking soda
3/4 teaspoon sea salt
1 cup canola oil
1 cup organic whole cane sugar
1 teaspoon vanilla extract
1 cup soy milk
1 cup (8 ounces) dairy-free dark chocolate chips

1. Preheat the oven to 350 degrees F.
2. Combine the brown rice flour, garbanzo bean flour, baking powder, baking soda, and salt in a large bowl. In the bowl of a standing mixer fitted with the paddle attachment, combine the canola oil, organic whole cane sugar, and vanilla until well mixed. With the mixer on low speed, add the flour mixture and rice milk alternately, a little at a time, until smooth, about 3 minutes. Stir in the chocolate chips.
3. Scoop the dough onto greased or parchment-lined baking sheets with an ice cream scoop. Bake until golden and slightly firm to the touch, about 17 minutes. For a fancy look, dust the cookies with cocoa powder while they are still hot.


Golden Vanilla Cupcakes (Gluten-Free, Vegan)

Gluten & Dairy Free Vanilla Cupcakes

Birthdays are wonderful and they are especially for someone who LOVES to bake! Bakers invent holidays just for the opportunity to whip up some delicious treat! Growing up I was given the nickname “Martha Stewart” because I was the chick who showed up for every holiday with the corresponding cookie/treat. Gingerbread for Christmas, heart-shaped shortbread with pink and red frosting at for Valentines Day, Shamrock cookies and green frosting for St. Patty’s, Easter treats, May Day cookies, July 4th something-or-rather,  Halloween trick or treat bags… Thanksgiving…Birthday’s Cupcakes…Picnic Pies and never white frosting after Labor Day!

Well, that was “back in the day” (am I even old enough to say that!?) before food allergies became so prevalent. Now, a baker must be VERY aware of those that might not be able to join in the sugary delicious consumption of a well-baked treat. Well, those bakers that want friends do!

It was a co-workers birthday a few weeks back and I immediately went into “Martha Mode”… “IF cupcakes just happened to show up on your desk what flavor would they be?” I inquired. “Not made by me” was the response…every bakers dream or dread! That is either the field of dreams to explore or a stress sentence of deciding what kind of baked good says what about you. Quickly I got over my female phobias (it’s true… women DO think of things like this!) and decided that I’d just make cupcakes that I’d be happy to take home if no one ate them.

 Gluten & Dairy Free Vanilla Cupcakes Texture
Gluten & Dairy Free Vanilla Cupcakes Texture

Being mindful of both a gluten AND a dairy intolerance I quickly realized that I didn’t have a go-to cupcake recipe to suffice. So I did what any good, sound, logical baking blogger did and headed to Google! This recipe is from Vegan Cupcakes Take Over the World  and they were a HIT!!!! Not just… hey this doesn’t taste like a rotten breaded sardine but actually got compliments of “These are AMAZING!” Even the birthday boy was skeptical when I told him they were gluten-free (omitted the dairy free part…have to ease them into the idea you know) said they were, and I do directly quote, “DELICIOUS! I was worried when you said gluten-free but those are REALLY GOOOOOOOD!

I LIVE BY Bob’s Red Mill Gluten-Free Flour for my gluten-free recipes so with that, ladies and gentlemen, I give you the ultimate go-to birthday baked good! It’s chewy and moist with the correct density and texture of a “real” cupcake while incorporating various intolerance’s. It’s pretty much amazing! I also love the other book from these authors and have it on the cookbook shelf, Vegan Cookies Invade Your Cookie Jar.

Culinate, who also posted this recipe suggested  Vegan Fluffy Buttercream Frosting or Not-Too-Sweet Blueberry Mousse for a topping but since I was short on time I just picked up a ready-made can from the grocery store and let people frost themselves. Okay…short on time AND lazy.

Golden Vanilla Cupcakes

Yield: 12 cupcakes
Ingredients
1 c. Soy Milk
1 tsp. apple cider vinegar
1 1/4 c. Bob’s Red Mill Gluten-Free Flour
2 tbsp. cornstarch
3/4 tsp. baking powder
1/2 tsp. baking soda
1/2 tsp salt
1/3 c. canola oil
3/4 c. sugar
2 1/4 tsp vanilla extract

Directions

  1.  Preheat oven to 350 degrees. Line muffin pan with cupcake liners.
  2. Whisk the soy milk and vinegar in a measuring cup and set aside for a 4-5 minutes to get good and curdled.
  3. Beat together the soy milk mixture, oil, sugar, vanilla, and vanilla in a large bowl.
  4. Sift in the flour, cornstarch, baking powder, baking soda, and salt, and mix until no large lumps remain.
  5. Fill cupcake liners two-thirds of the way and bake for 20 to 22 minutes.
  6. Transfer to a cooling rack, and let cool completely before frosting.


Cooking Cupcakes

Gluten Free Gingerbread Cookies

Disclaimer: This is a recipe for GLUTEN-FREE gingerbread. If you’re looking for regular gluten-FILLED gingerbread, you can find the recipe HERE.

Starting before Thanksgiving, there is a certain craving that I start to notice. It’s not just for the warmth of a cup of tea, or the delicious flavors of roasted turkey and holiday meals. No, it’s much MUCH more than that… I get the urge to bake EVERYTHING in my recipe books!  Channeling the reverse of Santa who consumes the baked goods, I try to make enough cookies, cakes and treats to feed everyone who might get within 10 feet of my door! Unless you adore baked goods being forced upon you at every turn, it’s best to avoid me for the holiday season!

While I do a lot of baking for others, which includes cooking with those luxuries I can’t enjoy like whole milk and butter, there are a few treats that I make in abundance purely to keep around the house. Gingerbread  cookies are my ALL TIME favorite! How can one go wrong with the delicious rich spices, the crunch of the crispy edges and the soft wonderful center… the complimentary royal icing that adorns the top of that lovely treat and even more, the sprinkles or toppings that are hand-picked to decorate the surface of such a treat. Okay okay, I’m getting a little too into the description of the cookie but does that explain how much I adore them!

I love gingerbread and use ANY excuse to throw a party (yes, it’s actually true!) so it goes without saying that I host a gingerbread decorating party each year. This year, there were actually quite a few gluten-free guests in attendance and I decided that it would be a good exercise to be a bit more mindful with minimizing gluten in my own diet. So, off on the adventure I was to make a gluten-free gingerbread cookie! COOKIES FOR ALL!!! For the cookie part, I complied the recipe from a few different ones that I found and  kinda pulled a “wing-it” with this one. They turned out GREAT! I love Bob’s Red Mill gluten-free flour, even the non-glutards (don’t get offended… I’m a lactard) couldn’t tell the difference and enjoyed them!!


Gluten-Free Gingerbread Cookies

Ingredients

5 Cups Bob’s Redmill Gluten-Free flour
2 T. baking powder
2 t. baking soda
2 t. cinnamon
1 t. ground ginger
1 t. salt
1/2 t. ground nutmeg
1/2 t. ground cloves
1 1/2 cups brown sugar
1/2 cup applesauce
1/3 cup oil
1/3 cup molasses T. vanilla

In a small bowl, stir together gluten-free flour, baking powder, baking soda, cinnamon, ginger, salt, nutmeg, and cloves, and set aside.
In a medium bowl, place the remaining ingredients, and stir to combine.
Add the dry ingredients to the wet ingredients and stir well to combine.
Cover the bowl, place it in the refrigerator, and chill the dough for 1 hour or more.
Using a little safflower oil, lightly oil (or mist with oil) two non-stick cookie sheets and set aside.
Sprinkle a little gluten-free flour over a work surface.
Divide the chilled dough into quarters, work with only one-quarter of the dough at a time, and keep the remaining dough covered and chilled until needed.
Working in batches, roll out the quarter of dough to 1/4-inch thickness, and cut into desired shapes with cookie cutters.
Carefully transfer the cut cookies to the prepared cookie sheet.
Bake them at 350 degrees for 6 minutes (the cookies will feel slightly soft to the touch).
Allow them to cool on the cookie sheets for 3 minutes before transferring them to a rack to cool completely.
Repeat the rolling and cutting-out procedure for the remaining cookie dough.
Store the cookies in an airtight container.

Good House Keeping Royal Frosting
2 cup(s) confectioners’ sugar
2 tablespoon(s) meringue powder
3 tablespoon(s) water, plus additional as needed
Assorted food colorings (optional)
Directions
In bowl, with mixer at low-speed, beat confectioners’ sugar, meringue powder, and water until blended. Scrape side of bowl with rubber spatula. Increase speed to medium; beat until soft peaks form, about 10 minutes. Icing should be stiff enough to hold its shape when piped. Thin with more water, if needed.
Tint icing with food colorings as desired; keep surface covered with plastic wrap to prevent drying out.