Homemade Almond Milk

aomond milkAhh the weekend. Wonderful, sweet weekend. It’s 48 hours to unplug, relax, catch up, and generally not be in an office. This was the first full week back at work after the shortened work weeks through the holidays and I won’t lie, Monday and Tuesday I was a little ‘struggles’.  But Friday was here in no time and I was actually surprised how quickly the week flew by and left me at another Friday night. Phew, MADE IT!

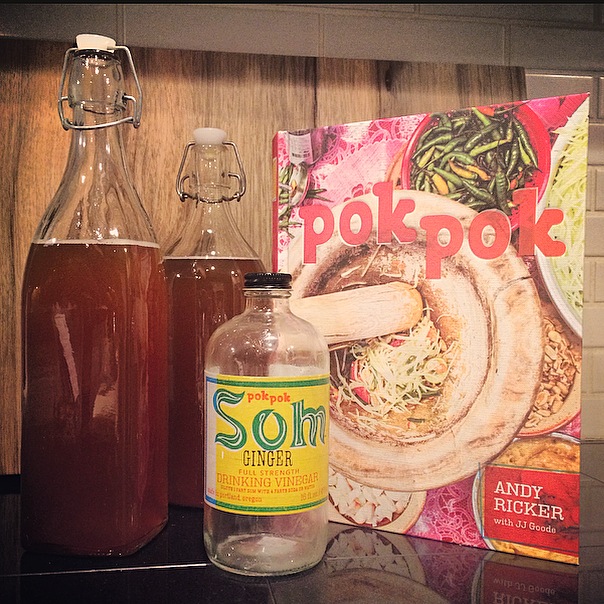
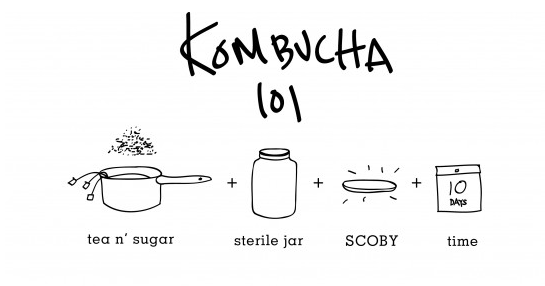
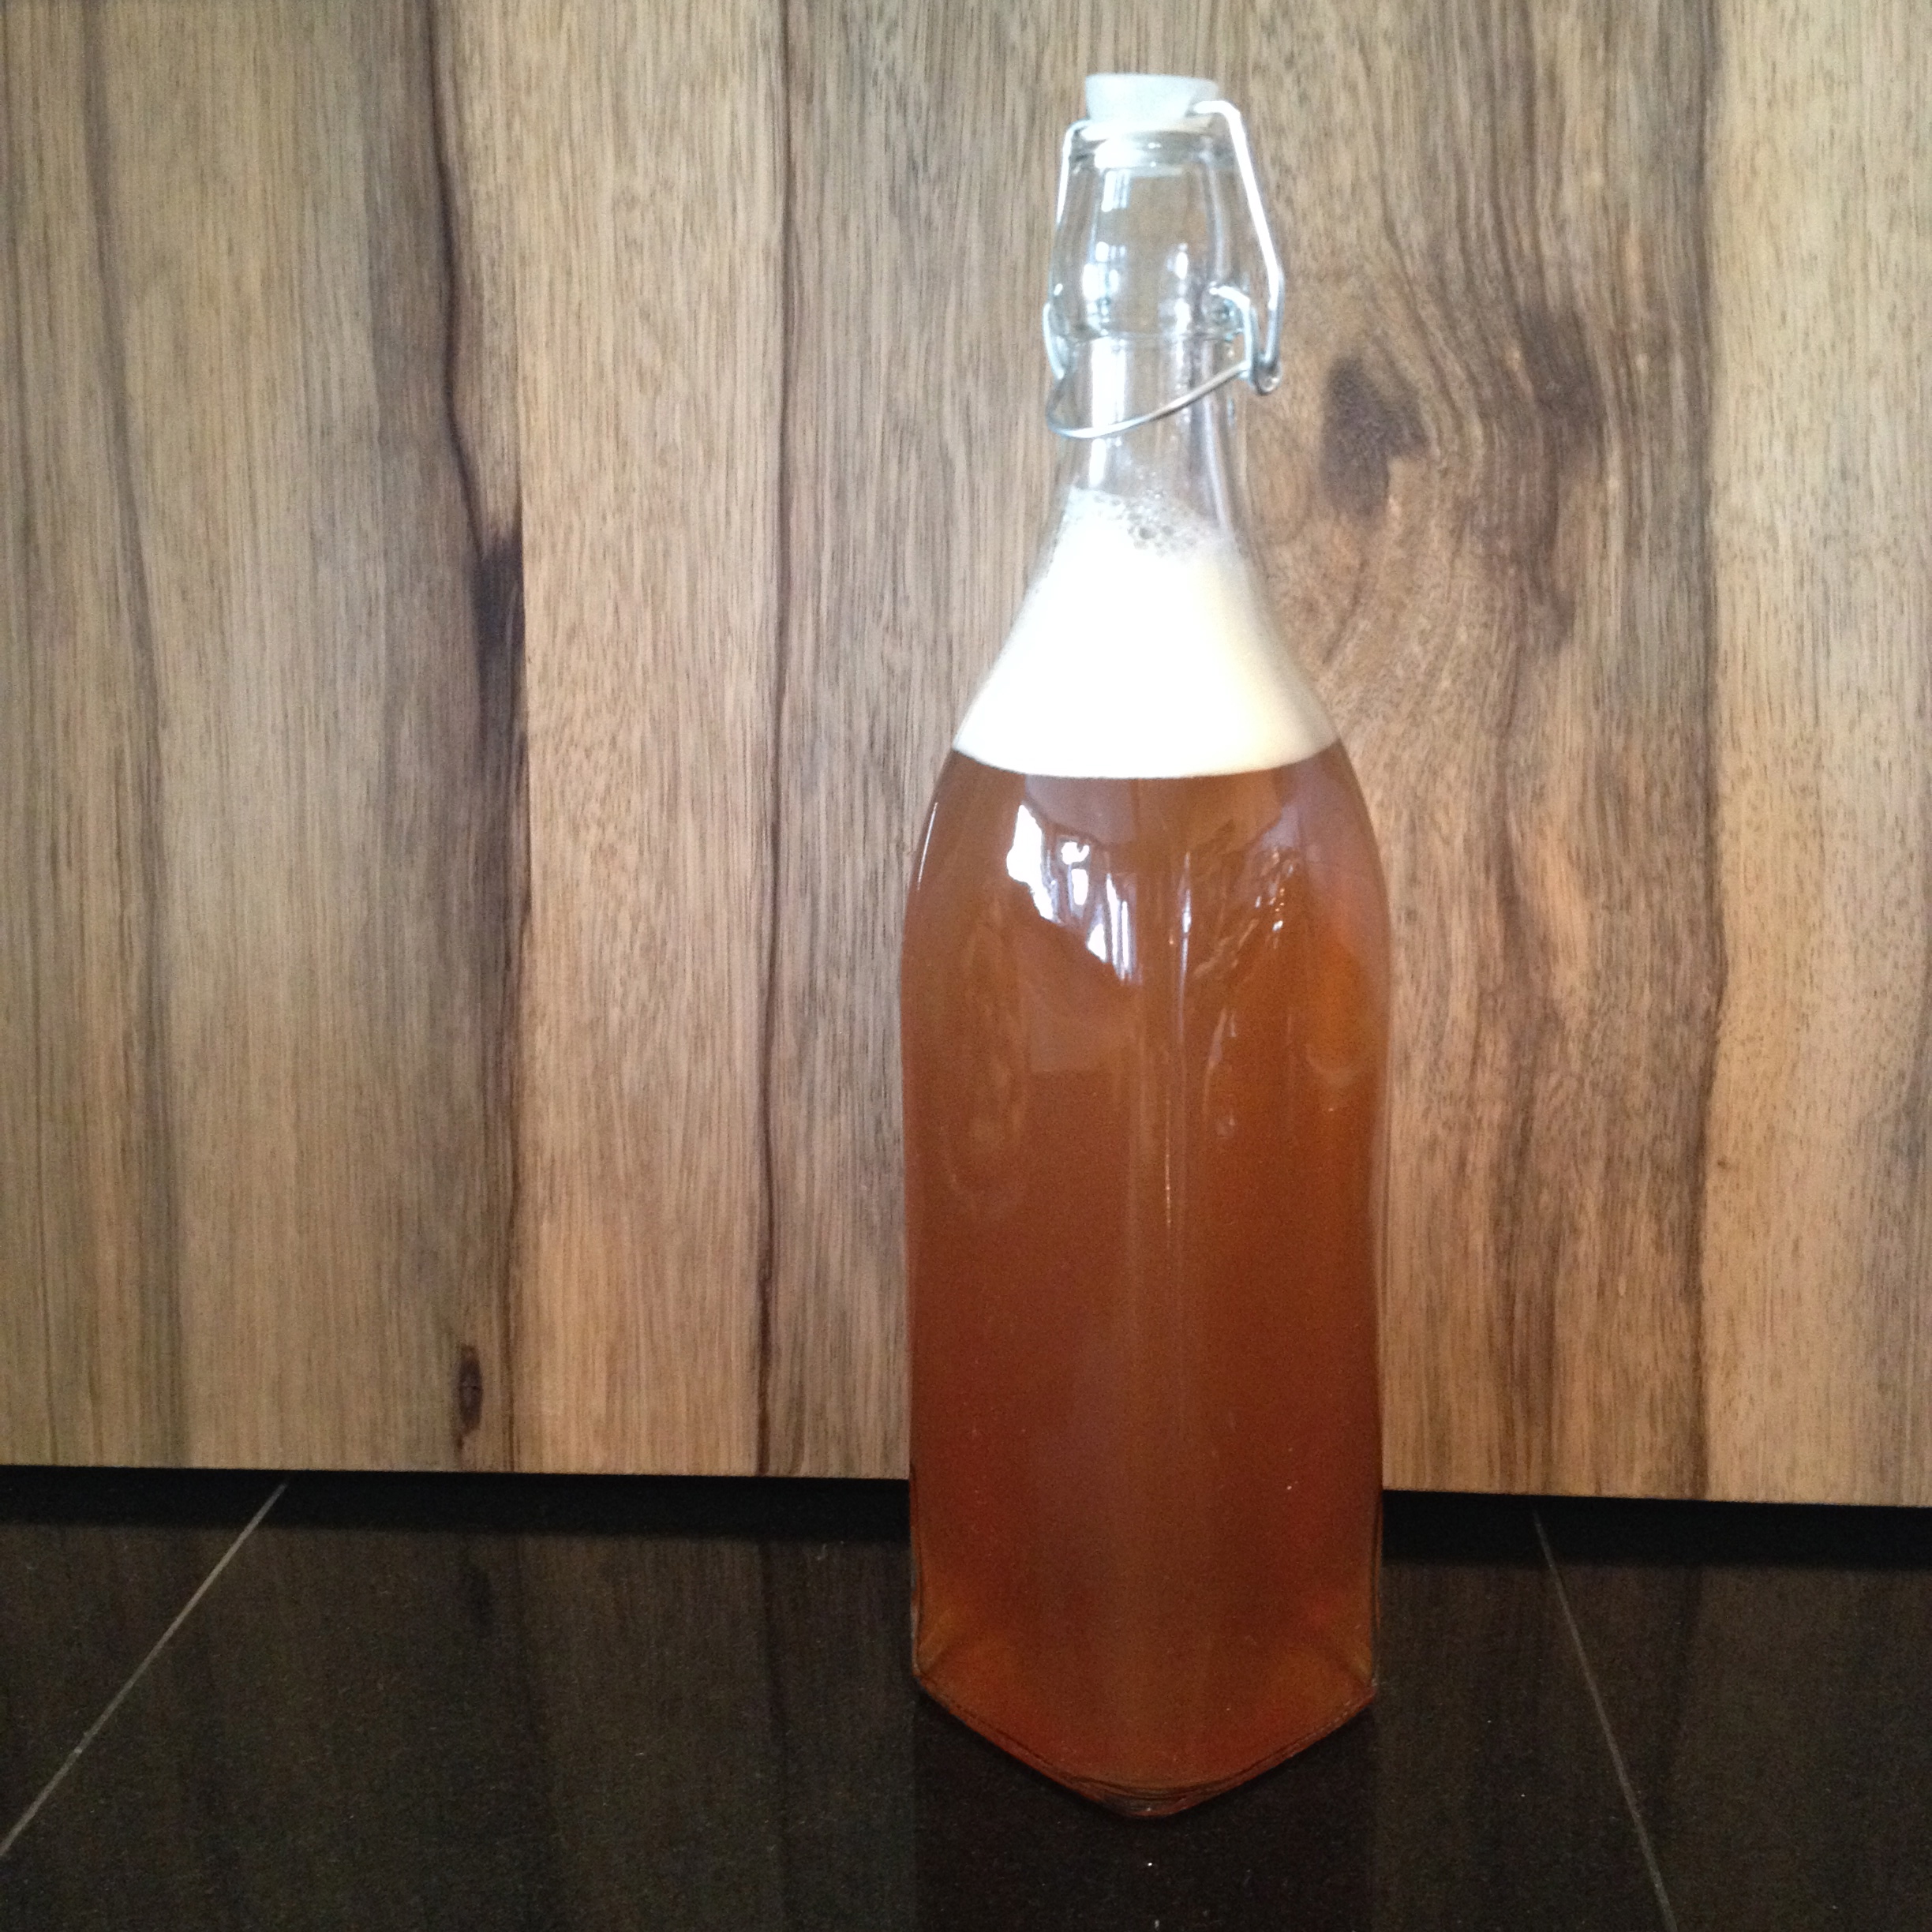
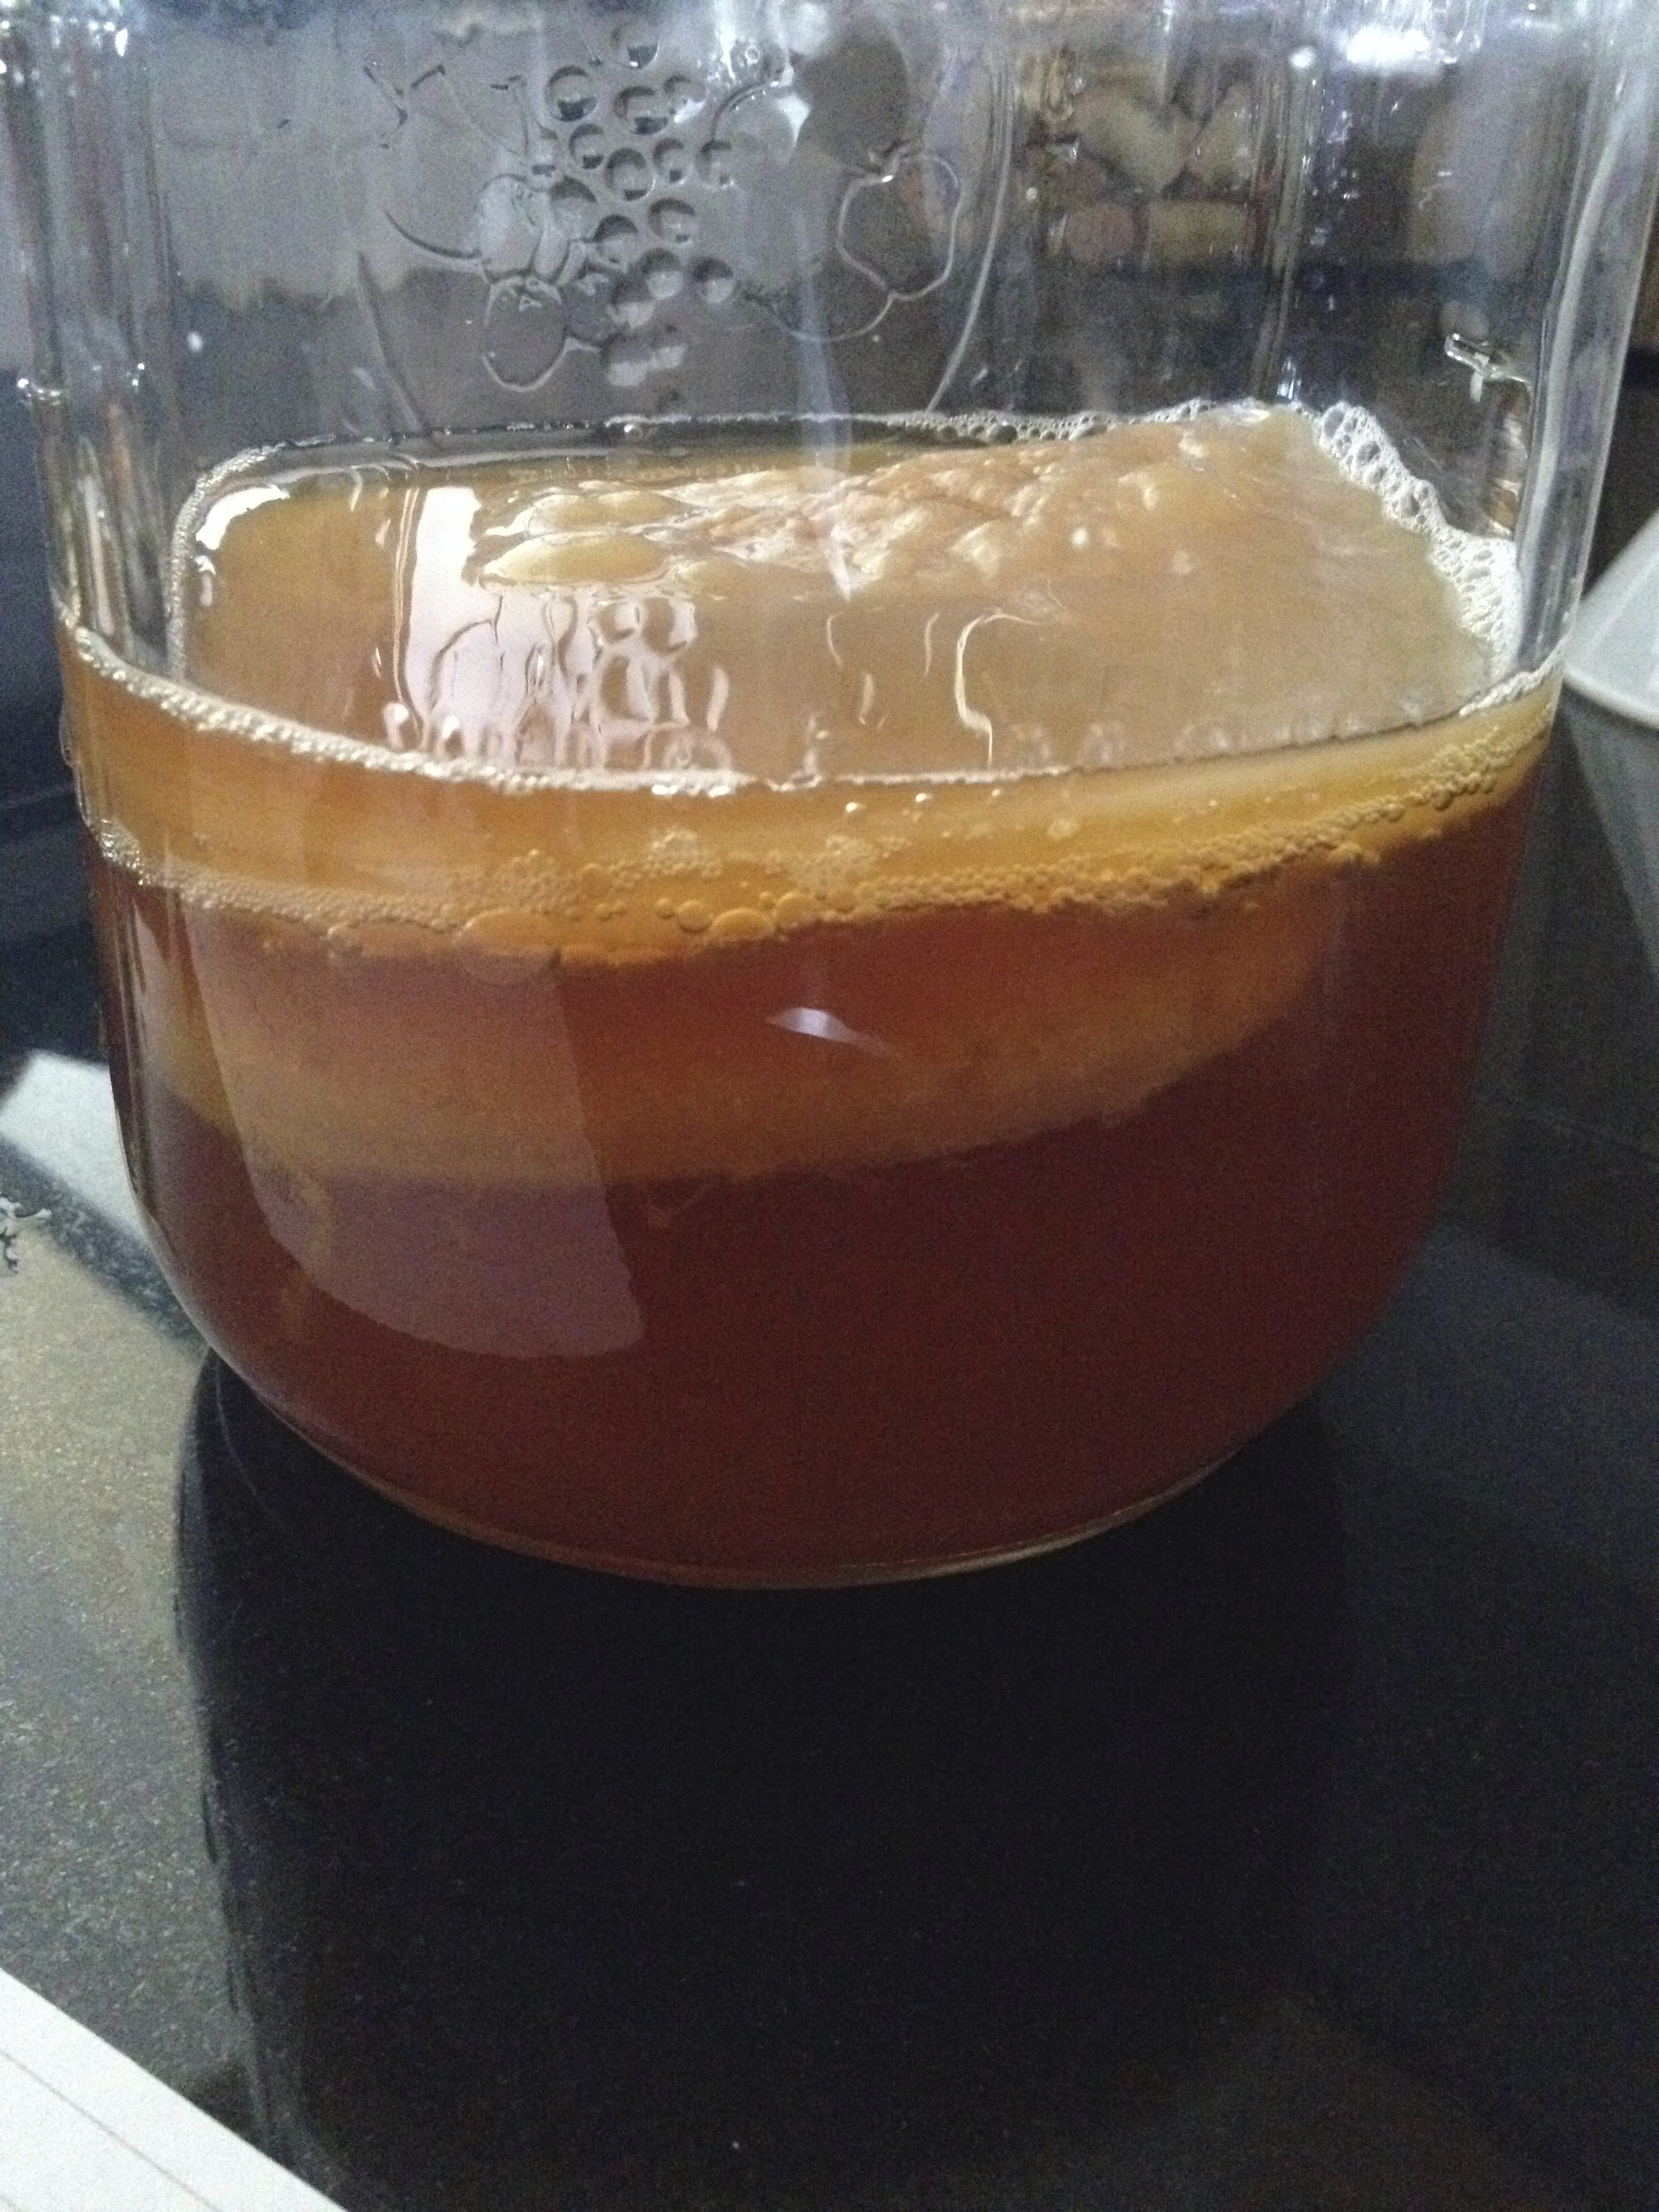
Saturdays are my favorite. You can stay up late on Friday if you want because it’s not a school night, and you know when you wake up that there are 24 more hours where these came from just waiting for you to enjoy! Saturday’s have a pretty regular ritual. The morning starts with a trip to my AMAZING acupuncturist, followed by grocery shopping. Then I head home to focus on food prep and house cleaning. I wash and chop all the veggies and prepare as many meals as I can for the upcoming week. Every week there is a batch of homemade almond butter, a pot of toasted quinoa in the mix and every other week Saturday is Kombucha bottling day too. I’m going to try out the continuous brew method this next batch so stay tuned for the results!

Today I got sucked into reading one of my favorite healthy living sites, Wellness Mama, and saw her recipe for homemade almond milk. We go through about a gallon of almond milk per week and Whole Foods hasn’t been carrying the vanilla kind so we’ve been stuck with the ‘original’ flavor for months. I’m a DIY/Homemade fanatic and I can’t believe I haven’t tried my hand at making almond milk myself yet! It always seemed a little daunting when I’ve read about it before, needing nut bags, sprouting, blanching, it always just seemed easier to pick it up at the store. The recipe on Wellness Mama seemed attainable and I was well over due to give it a try.

I love how she explains the reason for soaking the almonds and even gives an idea for how to use the leftover almond pulp that remains after you squeeze the milk thorough cheese cloth. Done and done!

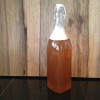
It didn’t come out as thick as the store-bought kind I like but I’ll just try a bit less water next time. I omitted the dates on the first batch and that is a MUST (also confirmed by the mister on a blind taste test of each version). Use high quality vanilla and start with a 1/2 teaspoon (NOT tablespoon like I did). All in all, the first batch was actually good which is a win since I would have taken ‘drinkable’ as a passing grade!

Homemade Almond Milk

2 cup raw organic sprouted almonds – soaked overnight
7 cups pure filtered water (not your soaking water)
1  teaspoons high-quality vanilla extract
5 large dates  (honey, stevia if you prefer)
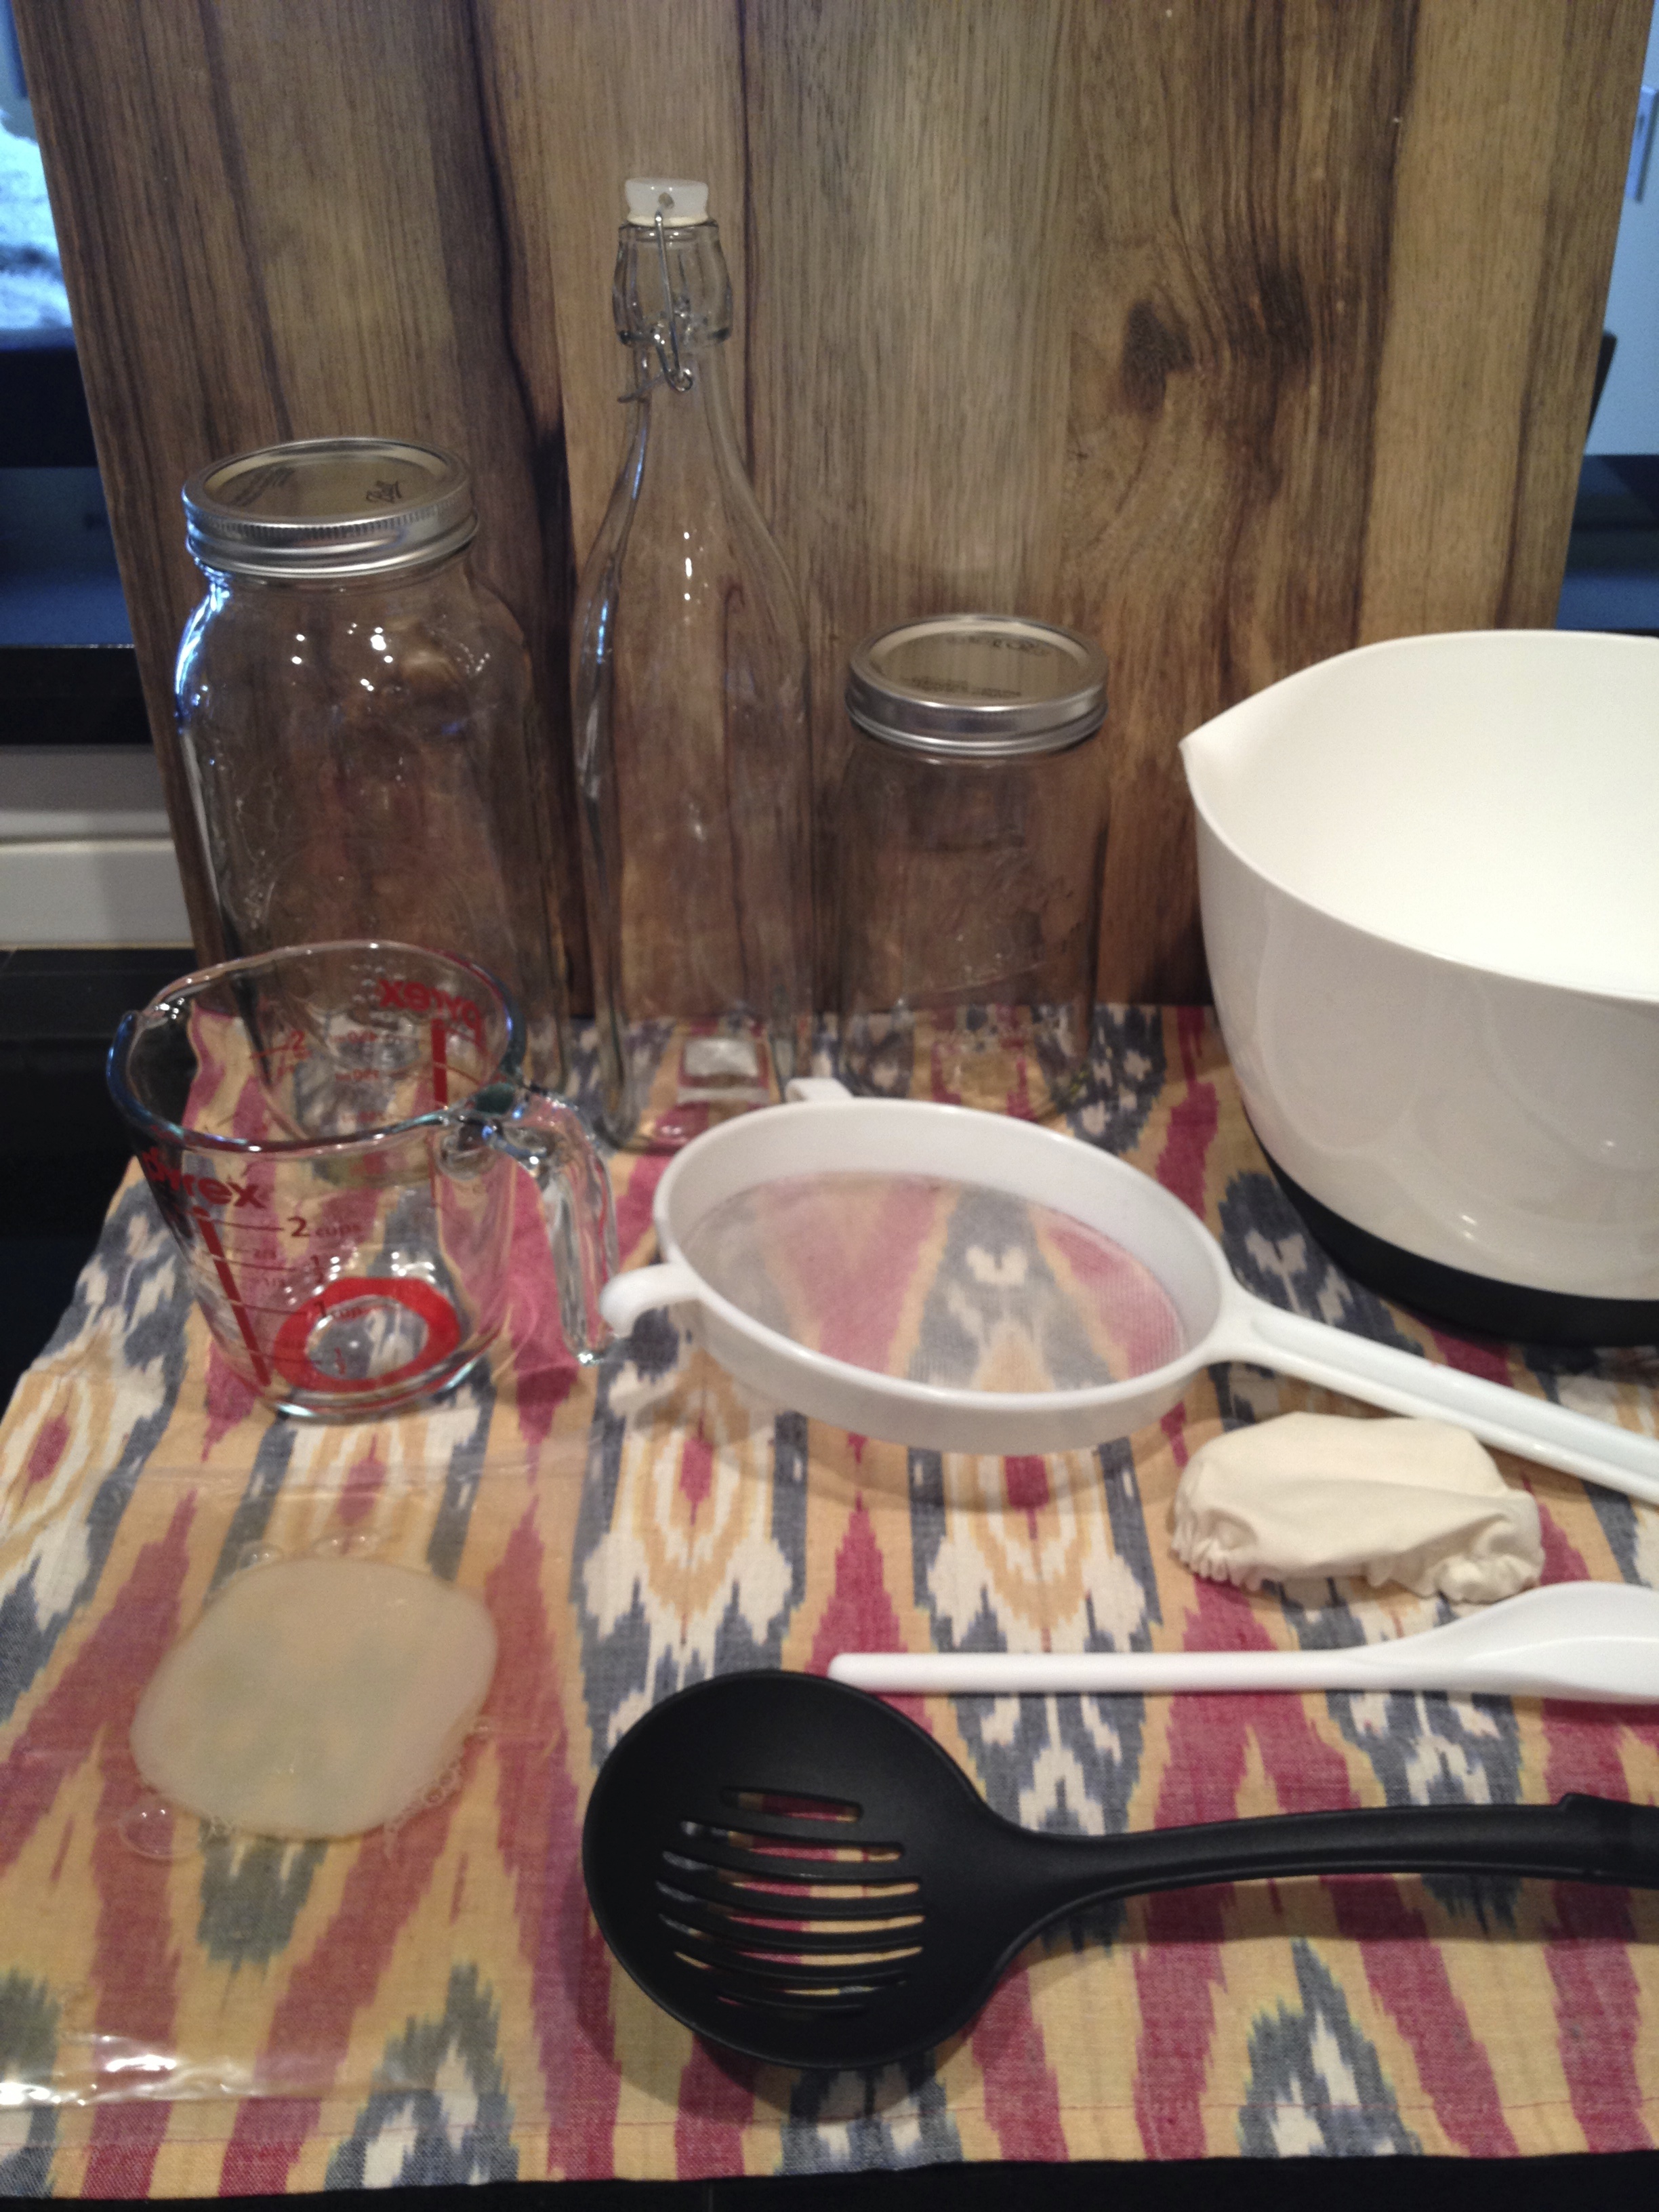
Nut bag to strain (Recommended Nut Bag)
You can use cheese cloth, but it’s WAY more work!
1 tsp sea salt for soaking

Directions:

Soak almonds overnight (at least 8 hours, preferable 10-12) in pure water with 1 tsp sea salt. Wellness Mama says that this is an important step as it breaks down the phytic acid and enzyme inhibitors and cultures beneficial enzymes in the almonds. Basically, doing this helps your body to absorb the enzymes and nutrients in the almonds.

soak almondsRinse the almonds well and add to the blender.

Add in the 7  cups of filtered water and blend on high until the mixture looks smooth.  Work in half batches if your blender won’t fit the whole batch. You’ll see that it can get quite frothy so don’t fill your blender to capacity.

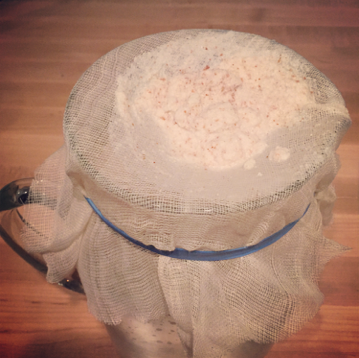
If using nut bag: secure bag around the top of a pitcher or 8 cup container and pour the mixture through the bag. Squeeze the bag and wring out as much almond milk as you can from the bag. You can retain the almond mixture and make almond flour if you want.

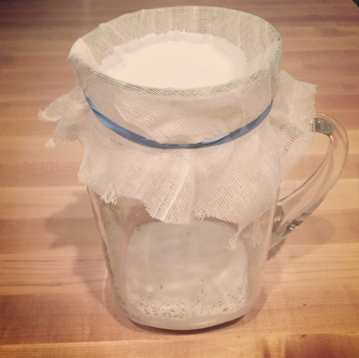
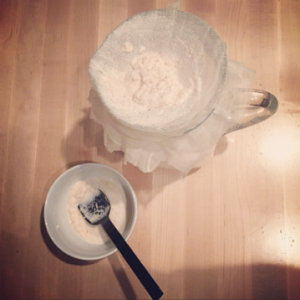
If using cheese cloth: secure the cheese cloth (with a rubber band or string) over the top of a canning jar or large pitcher and also get a medium-sized bowl and  a spoon for the almond mixture. Make dip in the cheese cloth dip deep into the container but make sure it’s still secure. Slowly pour the almond milk through a cheese cloth and use the back of the spoon to press down on the almond mixture to press the water out. Remove the rubber band and squeeze the last liquid from the remaining almond meal and set the meal aside.

IMG_1598

IMG_1599

IMG_1600

Pour the strained almond milk  back into blender and blend it again with whatever sweeteners you’d like… vanilla bean, dates, warmed honey etc.

Pour your homemade almond milk into a glass jar or pitcher with a lid and store in fridge for up to one week.

Recipe Notes

  • For the first batch, The vanilla I used was NOT high quality and you could totally taste it. That, and I put in 1/2 tbsp which might have been a bit excessive. Next time I’ll try with high quality vanilla. It seems like a waste to blend a vanilla bean just to strain it all out (they’re not cheap)
  • A few recipes call for 3 1/2 cups of filtered water versus 4 which would make a creamier texture
  • All of the other recipes called for dates to be added so I’ll have to remember that next time too since I didn’t add anything but the vanilla in
  • I poured a little of the milk into the blender and tried it with a date and it did add a little sweetness to the milk
  • Next time I’ll try blending the vanilla bean with the almonds and water, then straining the mixture and see how that works
  • Some recipes also suggest blending in a 1/4 tsp cinnamon or nutmeg
  • A nut bag might be easier than working with cheese cloth so I might try that too
Save the Pulp
Save the pulp of the almonds, put on cookie sheet and dehydrate in oven on lowest heat until completely dry. Run through blender or food processor to make almond flour, which can be used in recipes in place of flour.
I’ll be posting about this soon!

Blended Birdie: The Jungle Bird Remix

photo
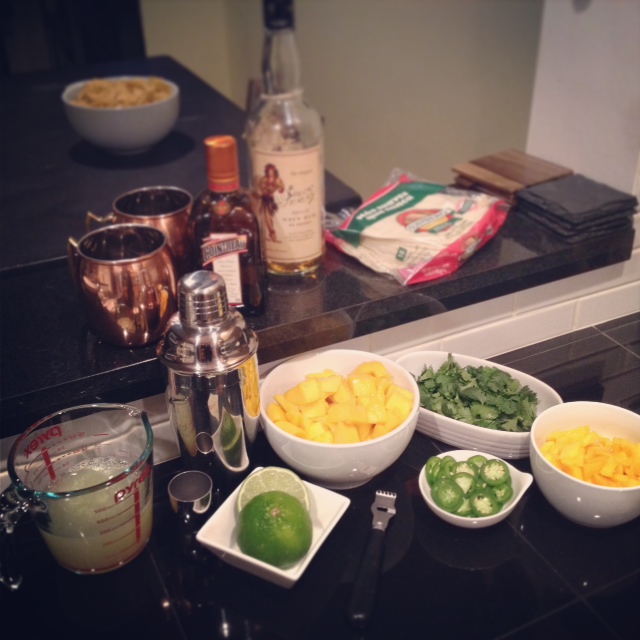
This little treat was discovered at one of our favorite local bars, Damn the Weather. They have a drink called Jungle Bird, but could also operate under the name ‘Vacation in a Glass’ without a second thought. This simple mix of half alcohol and half citrus is the perfect compliment to the beachiest of vacations or the dreariest of Seattle winter days. One sip of this magical little birdie and your vacation self will start to emerge. It’s a great reminder of of the amazing summer days we all look forward to when all we see is cold, wet grey streets for days on end. The only thing better than ordering this delightful little libation when out on date night is drinking it in the cozy comfort of your own home! The mister was tasted up for trying one of these at home so he grabbed the alcohol and I grabbed the citrus. He originally asked me to wait on blogging this until we had it dialed in, but the first time was the charm so we’re a little short on pictures for this post. All you have to know is that this is the most delicious smoothie you might ever consume.  The original drink didn’t include banana and wasn’t blended, but we were ready for a one night stay-cation so blending was a necessity! 


Blended Birdie: The Jungle Bird Remix
Adapted from the Jungle Bird at Damn the Weather

5 large chunks pineapple (retain the pineapple leaves for garnish)
Lazy squeeze of 1/2 a lime
1 small banana (pick one the’s more on the green side)
2 ice cubes
1 shot dark rum (we swear by Plantation Dark Rum)
1/2 shot Campari

Put all ingredients in a ninja blender and blend until smooth. Garnish with a pineapple chunk and a washed pineapple leaf. If you happen to have mini drink umbrellas, those are fun too!!

Enjoy!

Kombucha, Som, Pok Pok and a new Kitchen

Dear friends! As you can tell, I’ve been on a bit of a writing hiatus the past few… months! Works been busy, personal life has been busy, there’s been travel and apparently it’s important to sleep every now and then?! What a cramp on a busy gals schedule hey? But i’ve dearly miss and you and even though I haven’t been posting, I have still been cooking up a storm and gathering new recipes to share! We had the weekly staples- batches of kombucha,and almond butter.We traveled to visit our family and threw in a few beer soaked grilled bratwurst, paleo chocolate chip banana bread and Pecan Pies with fresh homemade crust (of course!). I can’t visit without baking a few pies! One of my favorite parts about visiting family is playing the role of both ‘imported resident chef’ and ‘kitchen instructor’. I have So much fun teaching the niece and nephews to cook! We had a ball in the kitchen and they do great!

photoBut, as I was saying. This entire summer has been booked SOLID with both work and play. And just when I thought things would calm down in the fall, our landlord decided to sell the condo after four years of renting so we had to find a new place. Luckily, we found a place that we just LOVE and we move this weekend. THIS WEEKEND! A matter of hours away! I’m so excited I can barely handle it! I can’t wait to unpack and organize the new kitchen! With the fast pace of the last 3 months, cooking as been more of a chore than it usually is. I’ve really leaned on simple recipes, the local pho restaurant, and cereal for dinner. But with a new kitchen comes new recipes and excitement to cook! Which brings me to my fall and winter sports.

I HATE to, and won’t, drive in snow and/or ice… so my fall/winter sports consist of cooking, baking, menu planning from the ridiculous amount of time I spend on Pinterest (A Byte of Life boards here), testing out my wine cellar, catching up on all the shows that everyones been raving about and listening to the rain falling outside. Oh, and pumpkins! I LOVE PUMPKIN!  I’ll eat slow roasted pumpkin right off the baking sheet! And Gingerbread. I LOVE gingerbread! But back to the point- my winter sports are gingerbread and/or pumpkin flavored, with a side of wine, and a good show in the background.

This year, I have a new hobby to add to the list. Pok Pok. If you’ve NEVER been to Pok Pok, you HAVE to go to either Portland or New York and experience their wings and one of their drinks with their drinking vinegar called som. Som is a drinking vinegar that has been an age old practice in many cultures around the world for it’s health benefits. Pok Pok has been serving their drinking vinegars since 2005, both as a cocktail mixer and diluted with soda as a soft drink. They use organic cane sugar for sweetener and let me tell you, while I’m not a soft drink person in the slightest, this stuff is downright addicting! You can purchase the Pok Pok Som online form both Pok Pok and ChefShop.com. A girlfriend and I just took an amazing cooking class at ChefShop.com so you can expect future blog post about them too!

Well, their chicken wings are known nation wide, and their cocktails are red-eye flight worthy. This, coming from a confirmed wine and anti-chicken wing girl. Let’s just keep this short and say that Pok Pok changed my life, as evidenced by the fact that after the first bite I waived down the waiter and asked if I could PLEASE purchase their cookbook but only if the amazing chicken wings were included. He handed me a copy to review. Each page coated in plastic which was an amazing idea because I was pouring over it as I was elbow deep in eating amazing chicken wings,The Pok Pok cookbook holds a special spot on my shelf , I personally confirmed that the chicken wing recipe is included, and it has been added to the list of fall and winter hobbies.

Tune in for more amazing thai inspired recipes from the Pok Pok cookbook, updates from this years International Food Bloggers conference (last years post) and to see how the Som Kombucha turns out! I had a bit of Som leftover and had a batch of kombucha ready tonight so I figured I’d do a little variation on my blueberry ginger kombucha and try some ginger som kombucha. I’ll let you know how it goes!

Summer Sangria & Salad Shirazi

Image from TotalWine.com

Friends, we can officially say that we’re closer to warm weather than we have been in MONTHS! I LOVE warm weather eating and drinking, but specifically eating and drinking alfresco. I’m a sucker for rooftop’s, balcony’s, patio’s, and picnic’s!  Get me outside breathing the fresh Spring or summer air, put delicious food in front of me, and a drink in my hand and you’ll see one happy gal! I love the transition to warm weather, and eating delicious salads like the one we’ll get to in a minute, but there is one part of the transition that is hard for me. I know, I know, that sounds ridiculous! But here’s the deal: I’m a red wine kinda gal. Not the fruity, light stuff that’s easy to drink in the heat. No, I’m a Malbec, Chianti, Barolo (younger so it’s not as fruity), or Cab kinda gal. Those delicious wines that are not quite as common place at, say a summer picnic! Well, there are two things that changed my life: Spain & Australia.

We took a trip to Spain two years ago, you can read the write up here, and fell in LOVE with Sangria but never really knew what wine I should use to use to make it. That’s where Australia comes into the picture. I lived there my senior year of high-school and fell in love with the country. So, once I got back to the States and started drinking wine, I was drawn to the Australian wines, specifically Shiraz! I was approached by a company to partner in posting an article featuring two of their recipes. Low and behold what recipes do they ask me to do a write-up on and feature? Sangria with Shiraz and a delicious summer salad! It was meant to be! I’ll stop the yapping and let you get to the reading and the drinking, but I had to layer in my little story for you. Below is their article and the recipe for the AMAZING Sangria! Cheers! (My own pictures of these dishes to come soon!! Stay tuned!)

Australia has become quite known for its Shiraz, a great-tasting wine with aromas that vary between fruity cherries, plums and raisins, to complex chocolates, coffee, and earth. The wine can also vary between fresh and fruity to highly concentrated and intense.

The renewed popularity of Australian Shiraz can be widely attributed to Michael Fragos, chief winemaker of Chapel Hill in McLaren Vale, which supplies wine for M&S. Fragos has been touted as one of the few winemakers who have gone to great lengths to promote his country’s wines, travelling across the globe to educate the media and wine connoisseurs about their recent developments. Thanks to winemakers like Fragos, the Australian wine market has flourished, and the land’s own wines have become well-known.

This is probably why, when people hear the word “Shiraz”, they immediately think of the deep, delicious red wine. Unbeknownst to many, Shiraz is also the name of something different entirely: a city in Iran, which has been as a regional trade center for over a thousand years. Shiraz is known as the city of poets, literature, wine, and flowers, and it’s also become famous for a deliciously refreshing summer salad that hails from the beautiful city.

Today, we feature recipes that honor Shiraz — both the deliciously deep red wine of Australia, and the city which gave birth to a light salad — right in time for the summer.

Summer Sangria
Ingredients:
· A bottle of Australian Shiraz
· 1 lemon, sliced into wedges
· 1 orange, sliced into wedges
· 1 lime, sliced into wedges
· 2 tbsp of sugar
· A splash of lemonade or orange juice
· 1 cup of frozen strawberries
· 1 small can of diced pineapples
· 4 cups of ginger ale

Pour the Shiraz into a large pitcher, and squeeze the juice from the fruit wedges into the pitcher. Toss in the wedges as well, leaving out the seeds if you have the time. Add the pineapple cubes (with the juice!) and the sugar, gin, and lemonade. Allow the mix to chill overnight, or for 24 hours if you can. The next day, add in the ginger ale, berries, and ice just before serving.

Salad Shirazi
Ingredients:
· 1 large cucumber
· 1 large onion
· 1 large tomato
· 1-2 tbsp of olive oil
· 1/4 cup of lemon juice
· Parsley
· Salt, to taste

Simply chop the vegetables into evenly-sized pieces, and toss everything together with the olive oil, lemon juice, parsley, and salt. This will make a great side salad that goes well with everything.

Blueberry Ginger Kombucha

photoContrary to what you might think, making your own Kombucha is NOT that hard. It’s actually QUITE easy. You simply brew some tea, add organic sugar, let it cool to room temperature and then pour into a jug with your SCOBY and let it chill for a week or two. Viola, homemade Kombucha! I’ve been making my own kombucha for almost two years now and decided that it was time to start experimenting with some flavoring. Regular brewed kombucha is completely drinkable, but it’s just that… drinkable. Not super exciting. So, it was time to add some excitement to my kombucha making routine! Watch out kids, magic is about to happen!

Remembering back to when I first started drinking kombucha I LOVED the Gingerberry flavor from Synergy Organic. Off to the inter-webs I flew and found some great tips from a website called Cultures for health. Their  Kombucha FAQ listed some delicious recipes, pointers on second fermentation and flavoring, and many other kombucha resources as well as a place to purchase your SCOBY. Well, I blueberry juice and gingered up and have been trying my hand at a few batches of homemade gingerberry kombucha. The second fermentation process is a great way to add some flavor to your brewed kombucha. “A byproduct of fermentation is that the sugar is turned into carbon dioxide giving the kombucha the fizzy texture it is often known for.” ( Quote from the  Kombucha FAQ ). I have two glass bottles that I use for my second fermentation. There is no rhyme or reason to these bottles, or pro/con of using one over the other can I can tell so far. One is the KORKEN bottle from Ikea. It’s $3.99 and is a nice round shape that should fit in the door of most refrigerators. The other is the square glass bottle from Cost Plus which is $5.99 and is a bit taller yet equally as useful. Bottle shape and size is really up to your personal preference. Just make sure it’s a glass bottle and that it has the sling top, which allows the bottle to burp (lovely description, I know!) and release the carbon dioxide as it ferments. If you don’t have a bottle that burps, you’ll have a bottle that bursts. I for one don’t need to come home to glass and kombucha scented kitchen. You can find some GREAT tips on second fermentation from Cultures for Health: Flavoring and Bottling Kombucha. They’re a GREAT resource that I’ve used many times along my Kombucha journeys. I am also lucky enough to have my very own kombucha guru on speed dial who can answer my “am I going to die if I drink this” and “should it look like that” questions. That is one of the MAJOR benefits of having friends that are also obsessed with making their own kombucha and I highly  recommend having a few on retainer! The “if flavoring with…use…” below is from the Cultures for Health website and remember, the flavor will develop during the second fermentation period so go easy on flavoring the first time you make it and adjust on the second batch. If flavoring with…use…

  • Fresh, frozen, or dried fruit…start with 10% to 30% fruit and 70% to 90% Kombucha.  Fresh fruit yields the best flavor.
  • Juice… start with 10-20% juice and 80-90% Kombucha.
  • Herbs… the variety and strength of herbs varies so greatly, experiment and come up with the best ratios and combinations for your taste preferences.
  • Flavor extracts such as almond extract or vanilla extract… start with 1/4 teaspoon extract per cup of kombucha and adjust to taste.

I’ve only used fruit juice and various types of ginger so far, so please comment and let me know what flavors you try!!! Blueberry Ginger Kombucha  1/2 c 100% blueberry juice 1 tsp chopped ginger 7 c  Homemade Kombucha 2 sling top glass bottles Mix half the blueberry juice and ginger in  each of the glass bottles and shake to mix. Add 3 1/2 cups of the homemade kombucha to each bottle, making sure that you leave room in the bottle between the kombucha and the opening. Leave on the counter for 2-14 days. Once you achieve the desired flavor and carbonation, re-bottle and keep in refrigerator to consume at your leisure.

Mango Margaritas + Cilantro Lime Tacos

photo I’m sure you’ve all heard the phrase, “When life gives you lemons…” which is followed by some wise phrase like “make lemonade” or “add vodka”. Personally I prefer the second option, or making the first option then adding the second. All of this is supposed to remind us that we can either look at life as a sour lot that’s been handed to us, or we can add a little goodness and make a delightful treat out of it. Well, lemons are quite an option-filled food. You can add them to all kinds of things, but you can’t eat them straight. At least I don’t, gross! On Thursday, I discovered something in the fridge that I never thought I’d find. Forgotten mangos! I LOVE mangos, they might just be my favorite fruit! Well, immediately that phrase “when life gives you lemons” came to mind so I turned to the mister and suggested that we  take our life given mangos and add tequila, and a few delicious cilantro lime chicken tacos! And that’s exactly what we did. Friday night was dubbed celebration taco margarita night. Coming back to the whole life giving you lemons thing seemed quite fitting since mangos are delicious and we were simply adding another layer of delicious AND we were celebrating not only the weekend, but my job transition. Friday was my last day at my old job which I loved, and Monday is my first day of a new job, which I’m THRILLED about. It felt like live was not giving me sour lemons, but delicious mangos and it only seemed fitting that we add a little tequila and some good friends to celebrate! Let’s end this long-winded intro and get to the good stuff, MANGO MARGARITAS! For the tacos, I used my Cilantro Lime Chicken recipe and served with my Grilled Cabbage Slaw.

Pre-tequila arrival... margarita bar set up and ready to rock!
Pre-tequila arrival… margarita bar set up and ready to rock!

Mango Margaritas Fresh mango, cubed or pruréed (You may also want to retain a few slices for a garnish) Ice Tequila Cointreau or Triple-Sec Sugar Limes, juiced and zested (You may also want to retain a few slices for a garnish) 1/2 of one lime, un-juiced to wet the rim for the salt Sea Salt Cayenne Pepper (if you like a spicy margarita like me) Shaker and Mudler, and zester First, wash the mangos, peel, cut and cube them. You can either keep them in chunks or throw it in the blender and make puree. If you do the puree route, you can add a little cayenne on this step if you all prefer spicy margaritas. We just cut ours into chunks so everyone could personalize their drink. Then, get your shaker and add  2 shots of tequila, a “dink” of Cointreau or triple sec, fresh lime juice, 2 spoonfuls of sugar, and 2-3 ice cubes. You can also add orange juice if you prefer a more smooth margarita. Shake well. Take the half lime and rub it over the rim of your glass then dip in the salt. Pour your margarita into the glass and garnish with a lime or mango wedge if you like! There you go! Fresh Margaritas!

Homemade Kombucha: A Step-by-Step Guide

IMG_3770When I first thought about making my own Kombucha at home I was a little wary. What if I do it wrong it turns out horrible and make myself sick! For those of you that are like me, all you really know about Kombucha is that is some healthy drink that you see littering the aisles of health stores and somehow helps you be healthy and has something to do with mushrooms.

The Kombucha starter, often called a “mother” or a scoby, stands for symbiotic colony of bacteria & yeast. The reference to mushrooms comes with the disc like form that the scoby grows into, which can sometimes look like a Portobello mushroom or to be more specific, a very slimy slightly yeasty smelling version of a mushroom. So, there you have it, there are no mushrooms involved in the making of Kombucha! There are a bunch of SCOBYs out there, Amazon has a bunch of options and the only recommendation I’d make is to ensure that you get one that is hydrated – the dehydrated ones are a pain!

This drink is made from a process called fermentation, which simply means that bacteria or yeast is used to chemically break down a substance. While the sounds a little gross, I’ll admit, it’s quite good for you! It contains healthy bacteria called probiotics which support intestinal health and help with digestion and elimination as well as encouraging detoxification. For an extended list of possible health benefits, please visit Kombucha Kamp.

The process of making Kombucha is actually much easier that I thought it would be! I LOVE this picture below from a the Eat Life Whole post on Kombucha.

Screen Shot 2013-09-25 at 2.41.12 PM

See it’s simple! First, you’ll need to purchase a scoby from a reputable source. Unless you have a friend that has a baby scoby to share, you can purchase the same on that I did from Yemoos or Cultures for Health.  Next, you brew some tea with sugar, which feeds the bacteria, let it cool COMPLETELY to room temperature, then pour it into the jar with the scoby and let it hang out for 5-10 days and viola, you have Kombucha! I have to lead this post with a shout out to one of my dearest friends who’s pioneering into the world of Kombucha (and responsiveness to my contestant Kombucha support line texts of “DOES THIS LOOK NORMAL!?”) really helped me in making my first few batches. If you’re lucky enough to have someone that’s also making Kombucha you can trade stories and pictures of your ever growing SCOBYS (yes, you’ll want to take pictures as gross as that might seem) but if you DON’T have someone making it at the same time as you, please consider this your Kombucha support forum! Post pictures of your scoby, ask questions, let us know your favorite flavors that you’re brewing, and anything else Kombucha that comes to mind.

One of the most important things you have to remember when making Kombucha, and most other fermentations, is that metal utensils/containers and plastic containers are not a good idea. The metal and plastic can actually harm the fermentation so it’s best to brew using plastic utensils and a glass jar, which are easily sanitized.

If possible, try to prepare your first batch of Kombucha the day your scoby arrives. You can store the scoby in a cool cabinet until you’re ready to brew your first batch. I have to tell you, I put mine in the fridge because I thought it needed to be kept cold, and THEN decided to read the direction and freaked out thinking I had already killed my little scoby. It was in there over night and I contacted the team at Yemoos right away who quickly settled my worry and said that it would likely be just fine having spent the night in the fridge. Phew, guess I should read the directions FIRST next time hey? The nice thing about this process is that the scoby is pretty resilient so you don’t have to worry too much about “messing it up”.

As far as drinking this good stuff, most people are fine starting off with a full glass but for a few people it can be a little shock for the body since it’s packed with probiotics that encourage, well, elimination and promote intestinal balance. If you find that you DO have a little tummy rumbling response to the Kombucha, back off to a half glass and work up your consumption level daily.

So, are you ready to make some Kombucha!? I got my ball gallon glass jar and sling top bottle at Cost Plus. The quart glass jar came with the yemoos Sourdough kit I ordered at the same time as the Kombucha SCOBY starter, but you can get a great gallon jar HERE on Amazon.com them or find jars of various sizes at Cost Plus.

finished kombuchaHomemade Kombucha: A Step-by-Step Guide

Tools:
1 gallon glass jar
Plastic spoon or spatula
Pyrex glass measuring cup (for measuring the water)
1 Plastic bowl for steeping and cooling the tea (one with a pour spout is easiest)
3 Sling top glass bottle to store finished Kombucha
Funnel that fits in the top your sling top bottle
(Optional) Strainer, used to strain out the little strands of Kombucha if  bother you
Cover for the Kombucha- cloth or paper towel secured with a rubber band works

Ingredients:
1 Scoby (called the “Mother) & Starter Tea liquid it arrived in
8 tea bags or 3 tbsp loose leaf tea  in a tea bag
14 cups filtered water
1 cup organic white sugar

  1. Get your large bowl and get your tea bags out, tying the strings together. Add in one cup of organic sugar.
  2. Boil your filtered water then add it to the bowl with the tea and sugar, stirring with your plastic spoon while you pour so the sugar dissolves.
  3. Let the tea steep and cool COMPLETELY to room temperature, if you pour it in with the scoby when it’s too hot it can harm the scoby cultures.
  4. While the tea is cooling, wash your hands and carefully open the scoby packet, which should also contain the starter tea. Gently pour the tea and the scoby into your sanitized jar that you will be brewing your kombucha in.
  5. Once the tea and sugar mixture is cooled, tilt your brewing jar to the side and carefully pour the cooled tea mixture into the jar trying to get the tea under the scoby. Cover the jar with a cloth or paper towel, something breathable, and secure with a rubber band. Place your Kombucha out of direct sunlight and let it brew for 7-10 days undisturbed.
  6. You can taste your Kombucha around day 5 if you’d like by dipping a straw into the Kombucha, covering the exposed end with your finger, then removing the straw so you don’t contaminate the rest of the batch. The sugar is what feeds the scoby, so if the tea still states sweet, it needs to brew longer. When you taste it, it should be a little acidic or tart first, then have a little touch of a sweet finish.
  7. When you have reached your desired taste, you’re ready to bottle! Get your sanitized swing top bottle, a strainer, and a funnel.  I didn’t actually use the strainer. This is an optional step where you can strain out the dead yeas cultures that you will see floating in the brewed tea- they’re just little pieces of dead yeast and are perfectly fine to consume. They don’t bother me but if you’d prefer to strain them out while you bottle it, you can. Place the funnel in the top of the swing top bottle and carefully pour the finished Kombucha into the bottle. Reserve about a cup of the liquid for the next batch of Kombucha and repeat the steps!
  8. Keep your finished tea in the fridge to slow down the fermenting that can slowly continued even after you’ve removed it from the scoby jar.

IMG_4118A Few Notes:

  • As the Kombucha brews, you’ll see another layer growing on top of the Kombucha. While it might resemble mold, it’s simply the start of a “baby scoby”. This is perfectly normal and actually what you will be using to keep brewing Kombucha at home. As long as the baby scoby isn’t thick, you can brew both the scobys together for your second batch. After the second brewing, you’ll want to carefully separate the bottom scoby, which is the mother, and continue to brew using only the baby scoby. You can either discard the mother scoby, or give it to someone else so they can home-brew Kombucha!
  • The scoby can sometimes sink a little, and it’s completely fine if it does. Just make sure it doesn’t completely sink to the bottom.
  • If you’re worried about the sugar, remember that this is what the scoby metabolizes, along with a good portion of the caffeine in the tea so there will be very little of either left in the final product. While it won’t completely remove the caffeine it will greatly reduce it.
  • You can use the same jar for your second batch, but make sure to separate the mother and baby scoby after the second brewing.
  • If you prefer your Kombucha fizzy, I suggest using a bottle with a sling back top so any pressure that accumulates can release itself. Simply pour the Kombucha almost to the top of the sling back bottle and set it on the counter for 2-5 days. You can also manually “burp” the Kombucha if you start to notice pressure on the lid.

You can also make flavored kombucha soda on a second ferment!

Blueberry Ginger Kombucha


Kale Smoothies

Photo from MyWholeFood Life.com
Kale and Mixed Berry Smoothie from MyWholeFoodLife.com {Photo from MyWholeFood Life.com}

Okay, let’s pause for just a moment because some of you are already wrinkling up your noses and saying, “KALE!? SMOOTHIES!? Alright that’s just GROSS!” I too though that would be a combo that I would only ever “choke down” because I mentally knew it was good for me but would never actually enjoy. I’ve never been more happy to report that I was wrong!

I’m not sure what started the kale kick, maybe I was just drawn to how fully and richly colored the kale has been at the farmers markets this year. Or, maybe it was a particularly delicious kale salad I had earlier this summer, or the fact that mentally I know it’s good for me. Perhaps it was the sudden realization that it’s SEPTEMBER and I better get started on those new years resolutions! Whatever the reason, two massive bunches of fresh kale decided to come home with me from the farmers market last weekend. The past few weeks I’ve tried to start mixing up what we make at home. I get into a comfort rut where I buy the same veggies and prepare them the exact same way and because I apparently need more of a mental challenge in life (careful what you ask for!) I decided to try using the same veggies we always buy but cooked or prepared in a different way.

Enter the kale smoothie! Now, I consider it a feat that not only do BOTH of us consume these smoothies but we actually ENJOY them! I think the mister has actually had more of them than I have! “I you PLEASE make me one of your amazing smoothies” is not a joke, he really says it! Today one of my girlfriends asked me for my kale recipe when she saw the gorgeous massive bunch of kale peering out proudly form the top of my market bag and I started to tell her about the kale smoothies. She asked for the recipe and I figured, maybe someone else would want to experiment with kale smoothies so I’m putting it out there in the bloggosphere and hoping that someone else will also be able to enjoy kale in liquid form! I’ve started reading up on kale, and there are many different opinions on whether it’s healthier to cook it or eat it raw and I think that a healthy balance of both is important.

Warning, this smoothie will not LOOK pretty. It will however, taste delicious! Here are a few nutrition fun facts about this smoothie. The blueberries and kale do not make for a lovely look, but the nutrition is out of this world! Blueberries are a super food packed with antioxidants which can prevent heart disease can help with memory. In addition to fiber and vitamin c, they also have Manganese which helps with building healthy bones and metabolizing proteins, carbohydrates and fats. Kale contains both protein and fiber, which help you feel full, and also contain cholesterol-lowering traits. It also contains Vitamin K which is vital for blood clotting, Vitamin A which helps with vision and Vitamin C which helps with healing wounds. It also contains many minerals which are helpful for healthy body functions and health. Bananas are a good source of potassium, fiber, manganese and vitamins B6 and C. Oranges are high in Vitamin C and fiber. Apples not only help with sweetening the smoothie, but they contain phytonutrients that are excellent for helping regulate blood sugar and contain fiber which also helps to keep you full. (Nutrition info from WebMD)

Kale Smoothie

1/2 apple
1-2 cups chopped kale, ribs removed
1/2 c blueberries
1 Orange or Oj, to your liking for consistency  (water or almond milk also works)
1/2 banana (I like to freeze bananas to make the consistency a little thicker

Wash all ingredients and place in blender and mix until you reach the consistency that you desire. If it’s too thin, you can freeze the fruit or add ice cubes.

Here are a few more recipes for using Kale in smoothies that you can try! Post in the comments what your favorite kale smoothie recipes are, I’d LOVE to hear them!

And here is a great compilation of Kale smoothie recipes:

Healthy Water


IMG_3244Let’s all agree on something, shall we? Water can be boring. Okay, now that we all agree, we can also agree that it cam be a challenge to achieve your daily recommended intake of water. Water just get’s so…bland! In the summer heat it’s important to stay hydrated but it can be such a chore when you just feel like your drowning in bland liquid and all you want is an iced tea, or a sangria or… SOMETHING other than straight water! I’ve tried both cucumber AND lemon water, and they just get “old”. One of my girlfriends passed along this recipe for “healthy water”. It’s simple to make, tastes refreshing, and helps combat the “boring” aspects of straight water. The mint and ginger also help with digestion! Double score!  


IMG_3243Healthy Water:

1 large pitcher
filtered water
1 medium cucumber peeled and sliced
1 lemon washed and sliced
1 tsp minced ginger
1 branch of mint leaves (in produce section)

Place all ingredients in the pitcher and muddle together a bit. You can drink right away or let it marinate overnight in refrigerator. The ginger and mint will calm your intestinal track, which reduces bloating and results in a flatter stomach!